Sharing Files
Introduction
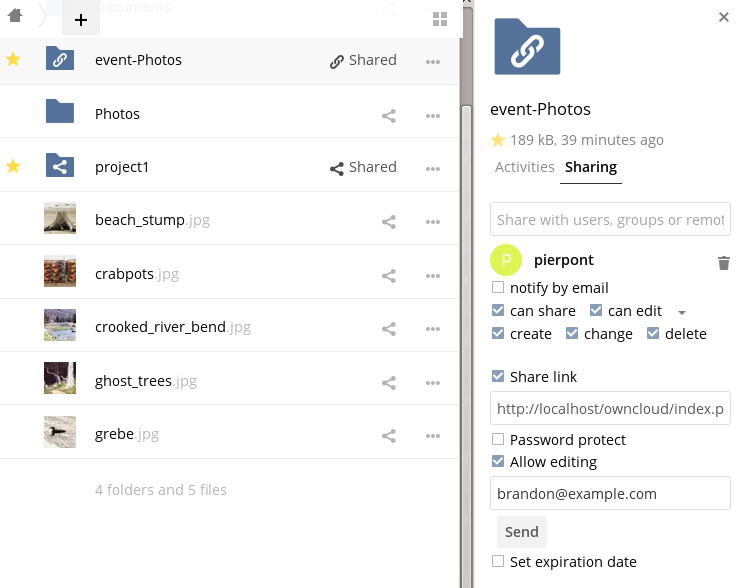
Clicking the share icon on any file or folder opens the Details view on the right, where the Share tab has focus.
Sharing Status Icons
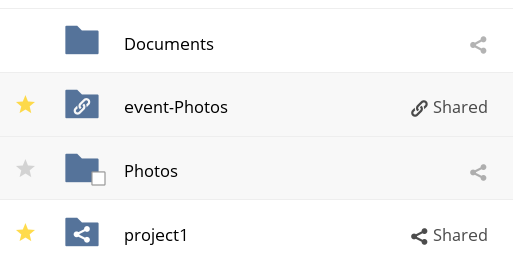
Any folder that has been shared is marked with the Shared overlay icon. Public link shares are marked with a chain link. Unshared folders are blank.
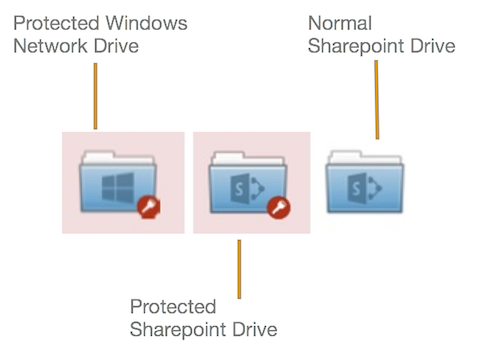
If your ownCloud server is the Enterprise edition, you may also have access to Sharepoint and Windows Network Drive file shares. These have special status icons. An icon with a red plugin and background means you have to login to get access to the share.
Creating Shares
-
For sharing a file or folder, there is a text field below the Share tab. In this sharing dialog, you can enter multiple users at once using their identifiers (e.g., display name, user ID, email address, federated cloud ID) as a comma-separated list (e.g.,
alice,bob@example.org,carol.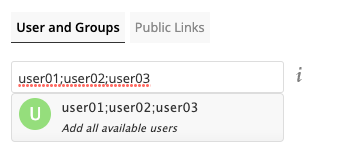
Based on the input, ownCloud will decide how to create the shares (e.g., share with an internal user, invite a new guest, create a federated share). This way, users can easily invite many recipients at once.
-
If username auto-completion is enabled, ownCloud will try to complete it for you when you start typing the user or group name.
|
From 10.0.8, user and group name search results are dependent on a new
configuration setting, called |
After a file or folder has been shared, Share Permissions can be set for it. In the image below, you can see that the directory "event-Photos" is shared with the user "pierpont", who can share, edit, create, change, and delete the directory.
What Happens When Share Recipients Move Files and Folders?
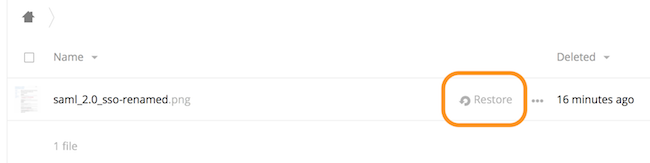
If a share recipient has "can edit" privileges and moves files or folders out of the share, ownCloud stores a backup copy of the moved file/folder in the Deleted Files (Trash) of the share’s owner. The user who moved the file/folder out of the share still has the original copy there, along with its attached metadata.
That way, the files/folders are not permanently lost. By clicking the Restore link, next to the respective file or folder, ownCloud will restore these files/folders to their original location.
| Restoring files restores the backup copy for all users, including the user that originally moved them, into the original folder. |
Sharing Files with Guest Users
Users can also share files and folders with guest users. To do so, your ownCloud administrator will need to have installed the Guest application.
If it’s already installed, in the User and Groups field of the Sharing panel type the email address of a user who is not already a user in your ownCloud installation. Note that the ownCloud admin can exclude domains. A popup with the suffix (guest) will appear as in the screenshot below.
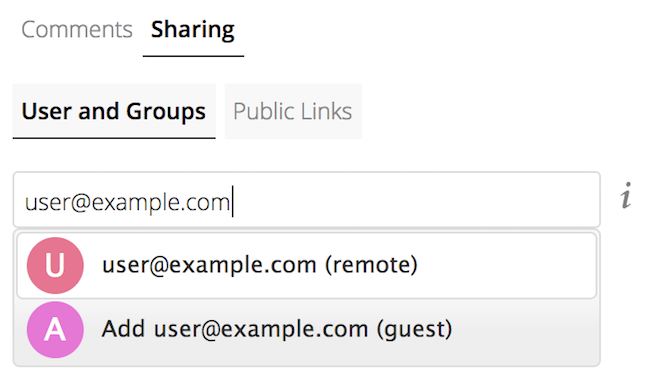
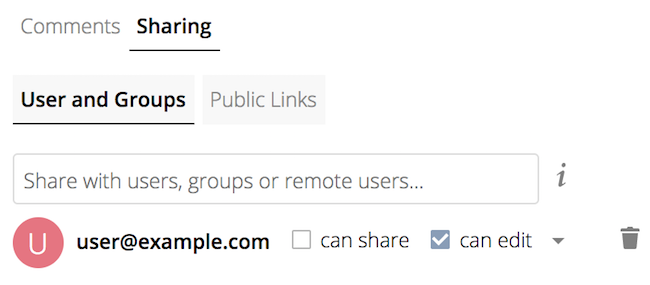
After you do that, the content will be shared with the user with all permissions applied, except for the ability to share with other users.
| Guest users can also use the Desktop/IOS/Android Sync Clients to access synced files locally. |
Updating Shares
To change any of the properties of a share, you need to open the Share tab again. From there, you can:
-
Delete a user’s access to a share
-
Give more users access to a share
-
Change a user’s share permissions
-
Add or remove password protection
-
Set or remove a share’s expiration date
This functionality is already described in other parts of this documentation and won’t be covered in more detail here.
Deleting Shares
Despite the name of this section, the content of shares is not really deleted, but access of users revoked. When all users' access to a shared resource has been removed, the resource is no longer shared.
To do that, you need to click on the rubbish bin icon, on the far right-hand side of the name of each user it’s been shared with, who should no longer have access to it.
Renaming Shares
Both the sharer and all share recipients can rename a share at any time. However, when one user renames a share, it only renames their version; other users don’t see the new share name but the original one.
In case that’s a little unclear, step through the following scenario:
User Jenny creates a directory called "Growth Projects 2019" and shares it with James, Peter, and Sarah. A week later, James renames the share to "Growth Projects 2019 — Draft!". James sees the share with the new name, but Jenny, Peter, and Sarah continue seeing the share with its original name ("Growth Projects 2019").
This feature may seem a little strange; however, it provides flexibility for all users to manage their files and folders as they see fit.
Password Protecting Files
It’s also possible to password protect shared files and folders. If you want to do so, then you need to enable this functionality. Click the checkbox labeled Password protect under the "Share Link" section.
A password field appears. Enter the password that the user will need to access the shared resource and press the return key.
Using Private Links
Another way to access a file or folder is via a private link. It’s a convenient way of creating a permanent link for yourself or to point others to a file or folder within a share. To access the private link, in the Sharing Panel for a file or folder next to its name you’ll see a small link icon (1) as in the screenshot below.
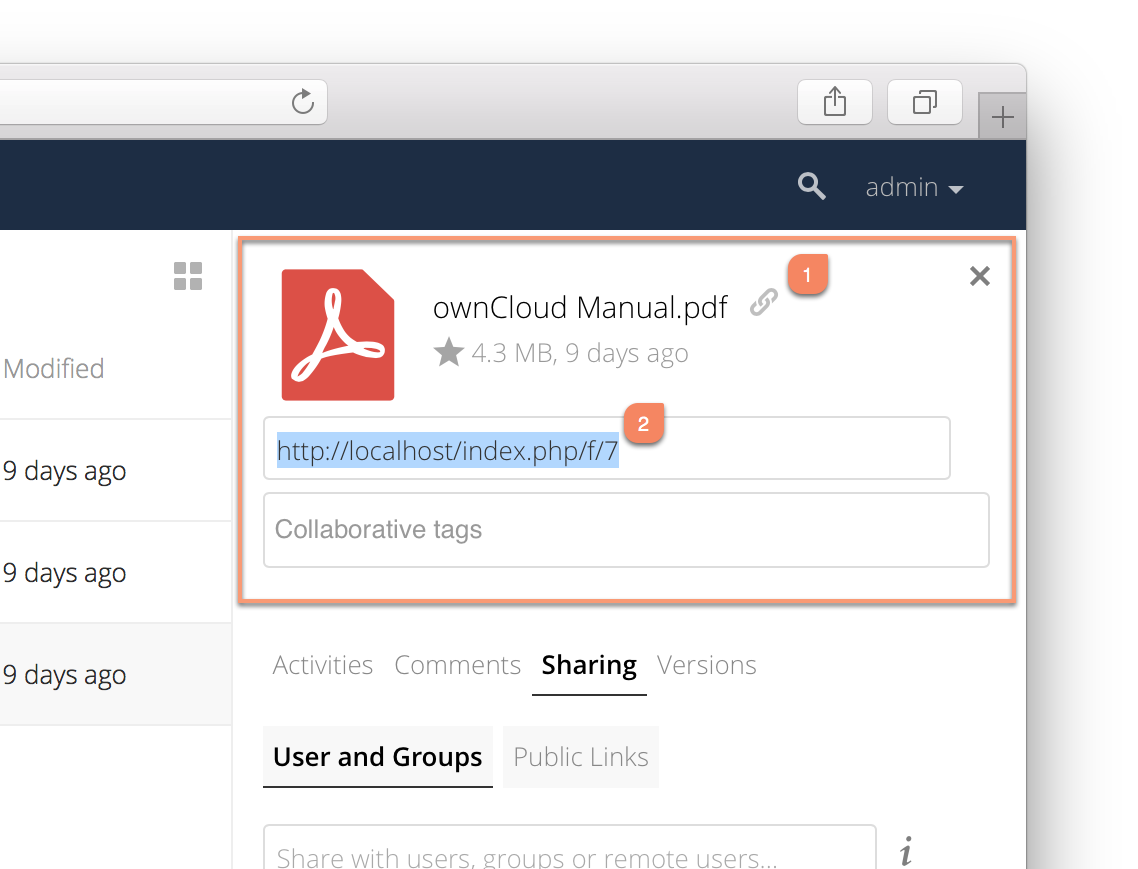
If you click it, a new textbox will appear above the "Collaborative tags" field, populated with the link’s URI (2).
| Only people who have access to the file or folder can use the link. |
Changing The Share Expiration Date
You can set an expiration date on any user, group, federated and public link shares. The administrator may have set a default expiration for shares. If so, then new shares will have the default expiration. You may adjust or remove the expiration date.
The administrator may have enforced the default expiration to be the maximum expiration. In that case, you must set an expiration date less than or equal to the maximum.
The share will expire at the end of the specified expiration date. Recipients of the share will no longer be able to access it.
Creating or Connecting to Federation Share Links
Federated Cloud Sharing allows you to mount file shares from remote ownCloud servers, and manage them just like a local share. See Using Federation Shares to learn how to create and connect to new Federated Cloud shares.
Share Permissions
Shares can have a combination of the following five permission types:
| Permission | Definition |
|---|---|
can share |
Allows the users you share with to re-share |
can edit |
Allows the users you share with to edit your shared files and to collaborate using the Documents app |
create |
Allows the users you share with to create new files and add them to the share |
change |
Allows uploading a new version of a shared file and replacing it |
delete |
Allows the users you share with to delete shared files |
Creating Drop Folders
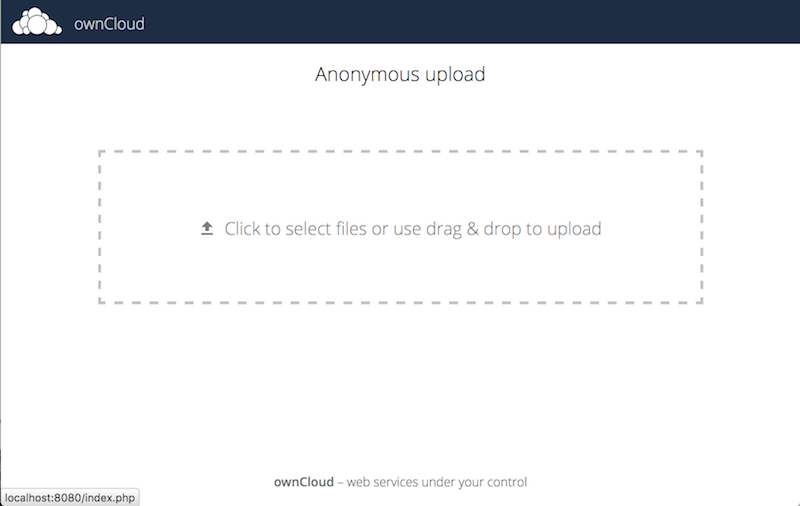
As of ownCloud version 10.0.2, users can create upload-only, public shares (otherwise known as "Drop Folders"). Drop Folders allow users to upload files to a central location, but don’t allow them to either see or change any existing files, which have already been uploaded.
To create one:
-
View the sharing panel of the folder that you want to share as a drop folder, select .
-
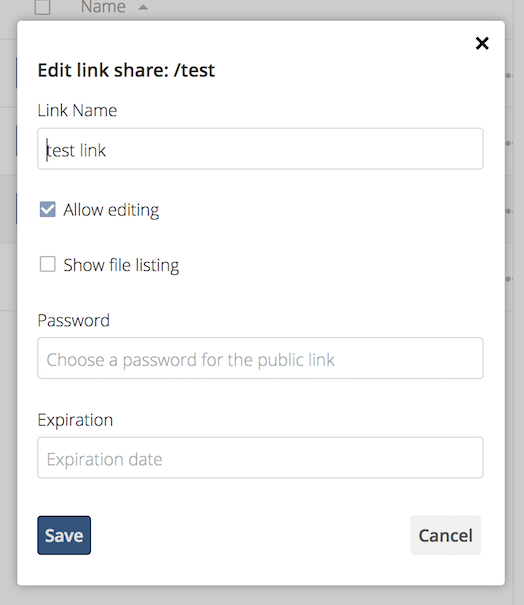
As with other shares, provide the name in the "Link Name" field.
-
Check Allow editing, un-check Show file listing, and then un-check Allow editing.
-
Finally, click Save to complete creation of the share.
Now, as with other public links, you can copy the link to the share and pass it on as necessary.