ownCloud on QNAP
- Introduction
- Minimum Requirements
- Preparation
- Installation of ownCloud
- Configuration
- Users
- Enabling ownCloud Apps
- Enterprise Edition and Licensing
- Accessing your QNAP ownCloud from the Internet
- Accessing ownCloud via Clients
- Using External Storage
- Secure Shell (SSH)
- occ commands
- Backing up and Restoring the Database
- Troubleshooting
Introduction
If you have a QNAP NAS, you will soon be able to install the ownCloud app from the App Center and enjoy a ready-to-use ownCloud. The free-of-charge community edition can be used with up to five users and an unlimited number of guest users.
If you want to use Enterprise features, you’ll need to purchase a license from the QNAP store, where you can also obtain licenses for additional users, after you’ve bought a license for the initial five.
The QNAP ready-to-use ownCloud installation should only be changed within very tight limits. If you change the database or web server configuration, the installation will likely break.
All configuration should happen in the Web interface. However, command-line configuration via occ commands is available.
Preparation
If you haven’t done so already, perform the following steps on you QNAP system:
-
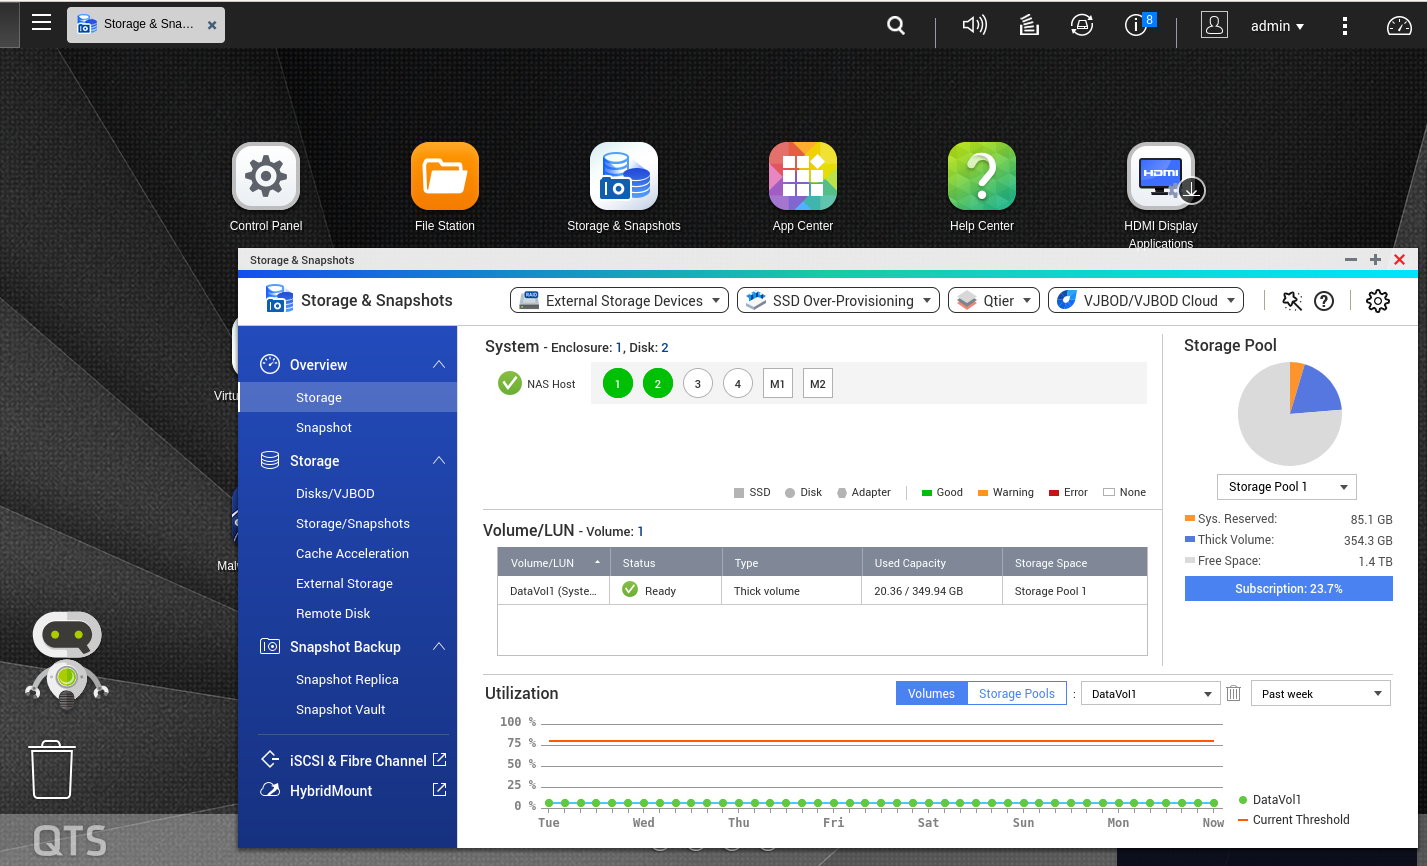
Create a storage pool in addition to the system volume. You can combine hard disks and solid state disks in RAID groups for flexible storage. This pool can be resized later if necessary. Go to or click on the icon.
-
Via the App Center install Container Station version 2.0 or higher.
Installation of ownCloud
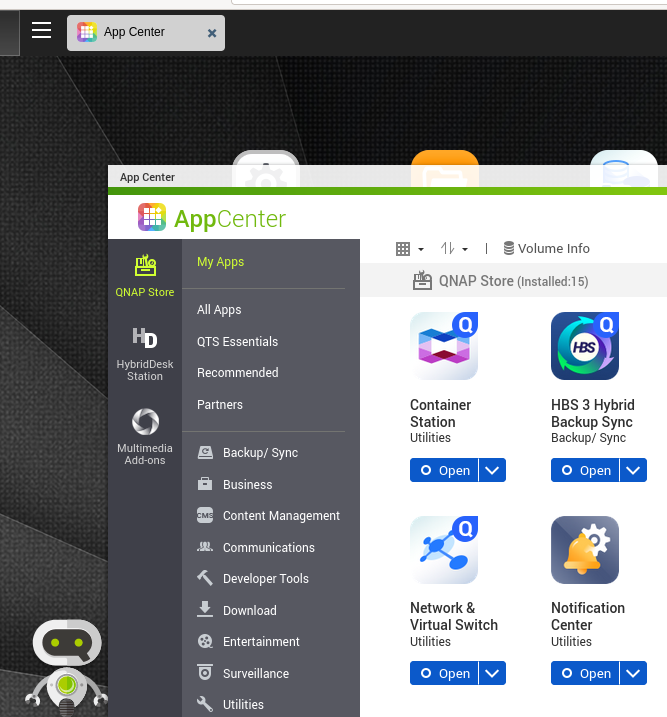
In the App Center search for ownCloud and click Install. Confirm that you want to install this app. During installation, you’ll see a progress bar.
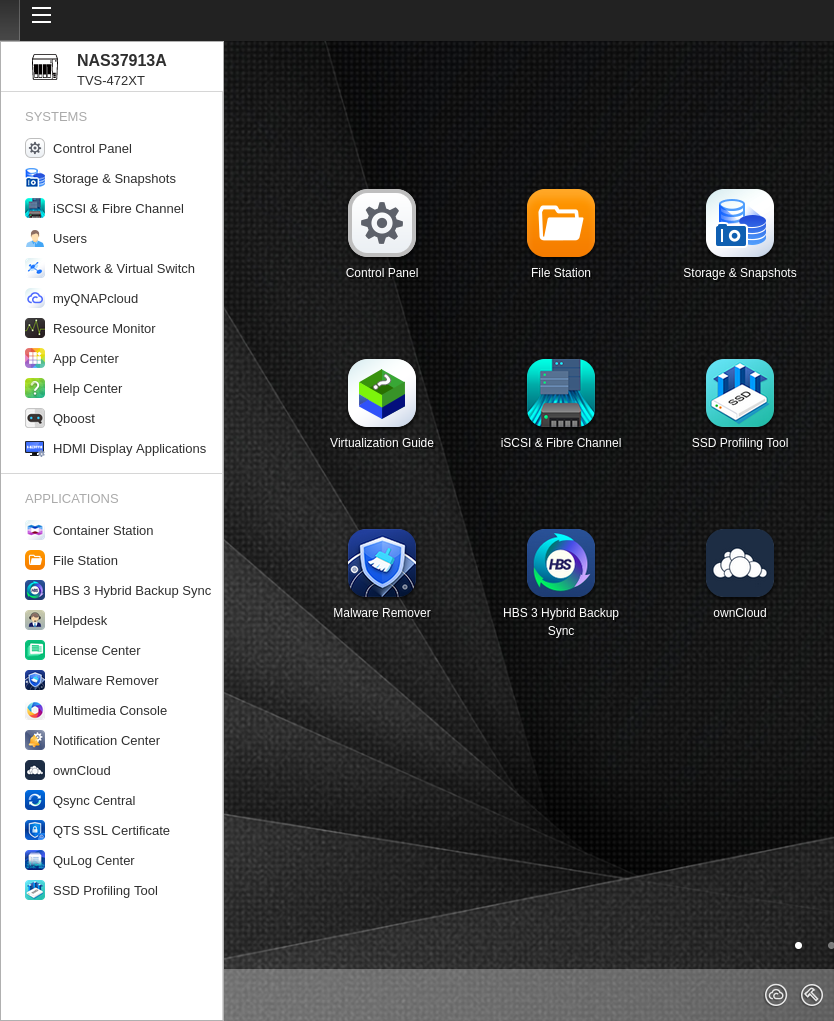
After a successful installation, ownCloud will show up on your desktop and in the App Center under . Click Open under the ownCloud icon and proceed with the configuration.
Configuration
First Steps
Log in as user admin. The default password is admin until you change it. In the upper right-hand corner, click on . In the left-hand navigation bar, you find personal configuration options and administration-specific options. Under you can change the password of your admin user.
For more information on the web interface, refer to the Web UI documentation.
Configure your Email.
Email is an essential tool in ownCloud for notifying users, user registration, password resets, etc. Logged-in as admin, you can configure email in the settings.
For more information, refer to section Email Configuration.
Cron
ownCloud performs regular tasks in the background. In order to schedule them, a mechanism called "cron" is used. It’s already set up for you, so you don’t need to do anything. Make sure not to change cron-related settings unless you have a very good reason to do so.
| In general, we recommend keeping the default settings in the admin section. |
Users
A key feature of ownCloud is to allow users to share files. In the free community edition you can create up to five users, including an admin user, and optionally grant access to an unlimited number of guest users.
Prerequisites:
-
An email server must be configured and working.
-
To share files with external users, the Guests app must be installed and enabled in . For detailed information on the Guests app, see the Guests App section.
Managing Users
In the section you can create, disable, enable or delete users, add them to groups, grant administrator privileges and more.
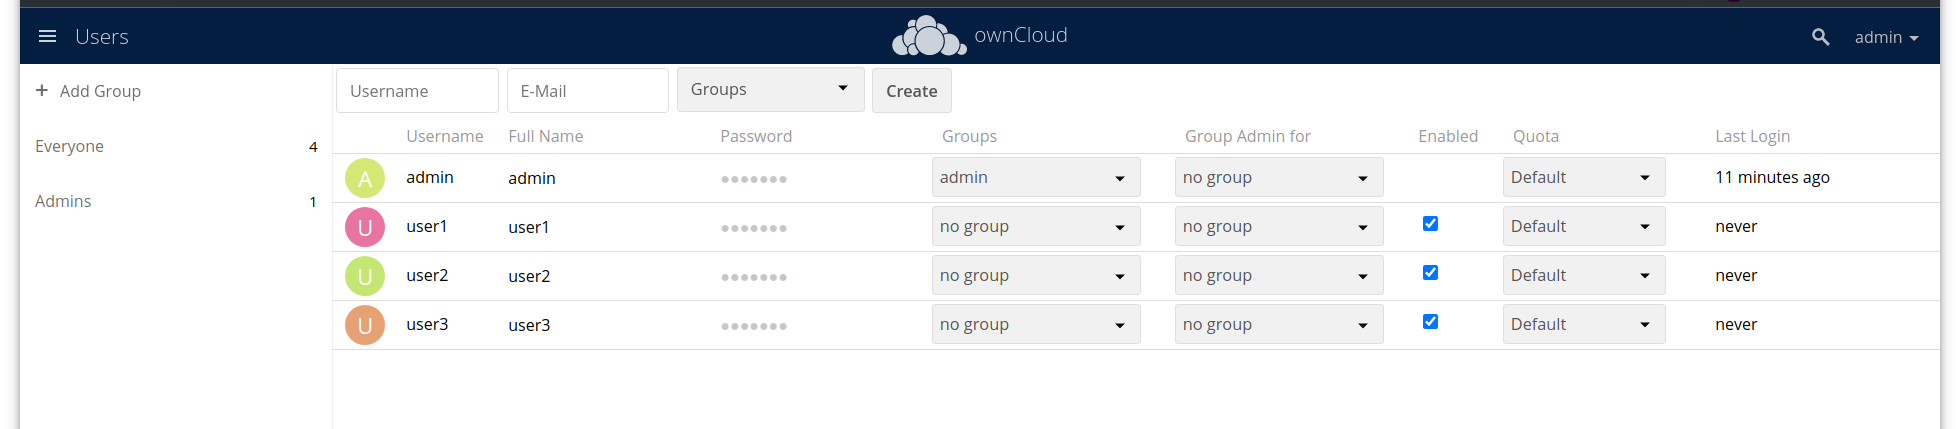
For detailed information see User Management.
After you have created users, they can upload files and share these with other ownCloud users and guest users. Folders can be created and shared as well.
Once a regular user shares a file or folder specifying an external email address, the recipient of the email becomes a guest user. Guest users must be able to access ownCloud either from within the same local network or via the internet.
Enabling ownCloud Apps
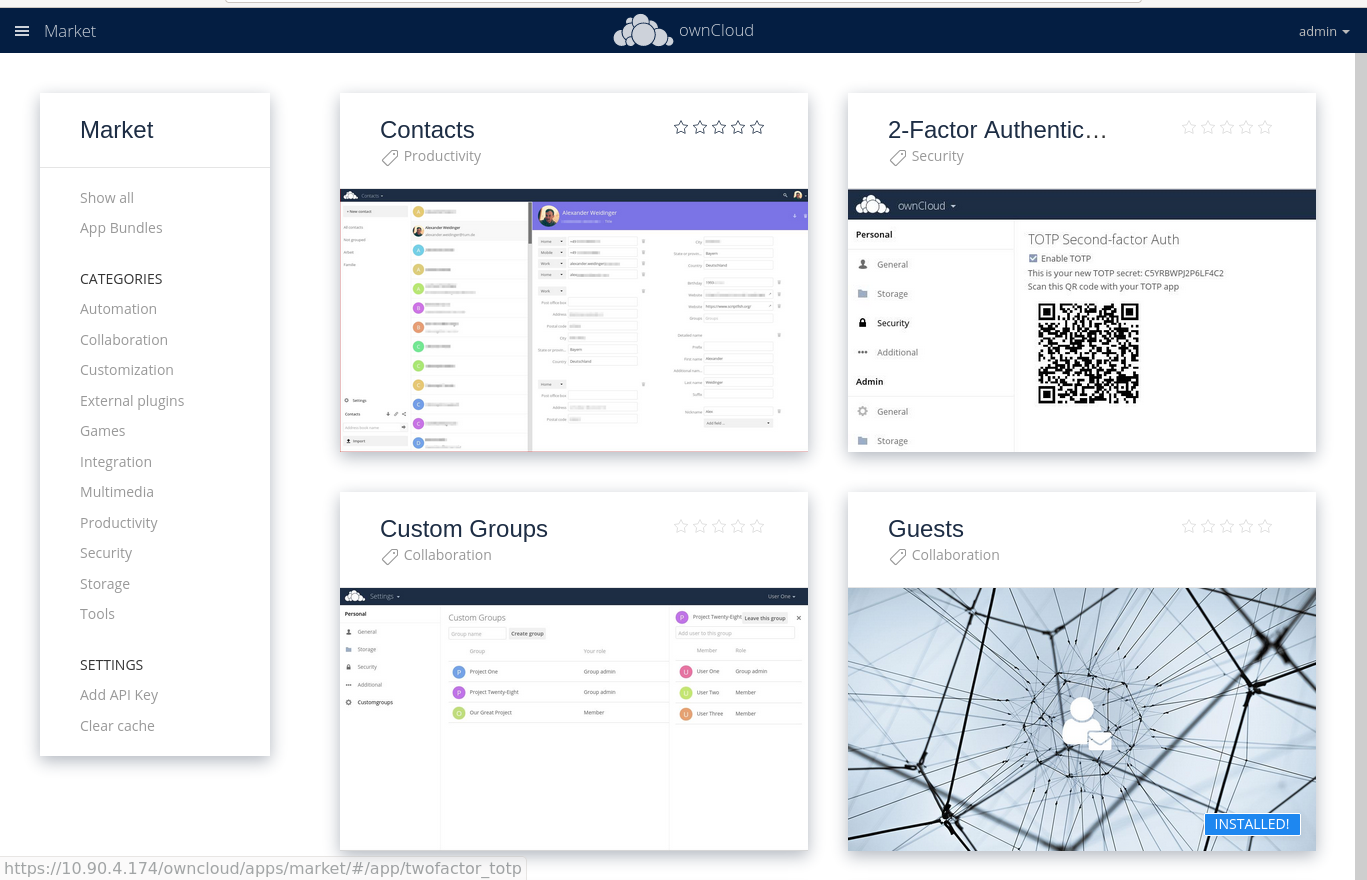
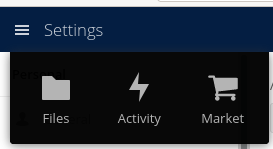
With the free community edition, you can use all apps that are published under the GPL or similar public licenses, e.g. the GNU Affero General Public License. These apps you can simply enable and enjoy. In the upper left corner, click on the main menu with the three bars, select Market and install what you like.
A bundle of Enterprise Apps is published under the ownCloud Commercial License and only available with the Enterprise Edition. To see what’s not included in the free community edition, select App Bundles in the left-hand navigation bar.
Enterprise Edition and Licensing
If you want to use enterprise features, obtain a license from the QNAP Store and activate it in the QNAP LicenseCenter. If you want to have more regular users, you can buy additional licenses.
Licenses are valid for a year. If you don’t renew them, only the first five users created will remain enabled and only non-enterprise apps. Should you decide to buy licenses again at a later point in time, you can enable the users you want to become active again in the web interface.
Users can also be enabled or disabled via occ commands. For more information on the ownCloud command line interface, see below. This would be particularly useful if the admin user accidentally gets disabled.
Accessing your QNAP ownCloud from the Internet
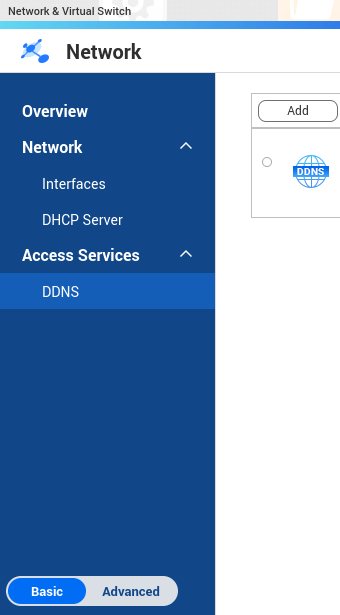
If you want to connect to your ownCloud on QNAP from the Internet, you need to configure the network accordingly. In the Main menu of your QNAP NAS, select . Under "Access Services" click on DDNS (Dynamic Domain Name Service) then Add. Here you can configure the DDNS settings.
If you want to assign a static IP address, you need to access your QNAP device via ssh on the command line and edit the file custom/user.config.php in your top-level ownCloud app directory, e.g. /share/CACHEDEV1_DATA/.qpkg/ownCloud.
Create an entry like in the following example with the correct IP address:
<?php
CONFIG = array(
    'overwriteprotocol' => 'https',
    'overwritehost' => '203.0.113.0:4490',
    'overwrite.cli.url' => 'https://203.0.113.0:4490/',
);
You may also want to check out the QNAP FAQ: QNAP: How do I access the files stored on my NAS at home when I’m outside?
If you want to use SSL certificates for increased security, check out the respective article: QNAP: How to Use SSL Certificates to Increase the Connection Security to your QNAP NAS
If you want to use SSL certificates with MyQnapCloud as a DDNS service, add a reverse proxy setup as described in this article: QNAP: How to use Reverse Proxy to improve secure remote connections?. To do so, add a reverse proxy from your myqnapcloud domain as your source and http://localhost:4490 as destination. Make sure to change the ownCloud config (custom/user.config.php) to use your myqnapcloud domain with following data:
<?php
CONFIG = array(
    'overwriteprotocol' => 'https',
    'overwritehost' => 'domain.myqnapcloud.com:4490',
    'overwrite.cli.url' => 'https://domain.myqnapcloud.com:4490',
);
For more information on command-line access, see below.
Accessing ownCloud via Clients
Besides logging in to ownCloud via the web interface, you can access it from iOS and Android devices by installing the respective apps, and there are desktop clients available for Windows, Mac OS X and various Linux distributions.
For more information, check out the ownCloud App and Client Releases
Using External Storage
With your ownCloud you can also use external storage services and devices. For more information, see section External Storage Configuration.
Secure Shell (SSH)
You may need to log in to your ownCloud on QNAP from the command line, e.g. to run occ commands.
Prerequisites
Secure shell (ssh) access needs to be enabled in the Control Panel:
-
In the Control Panel click on
Telnet / SSHin the sectionNetwork & File Services. -
Click on the checkbox
Allow SSH connectionand specify the port number (default 22). -
Next, check
Enable SFTP. Once you click Apply, your admin user can log in to your NAS remotely.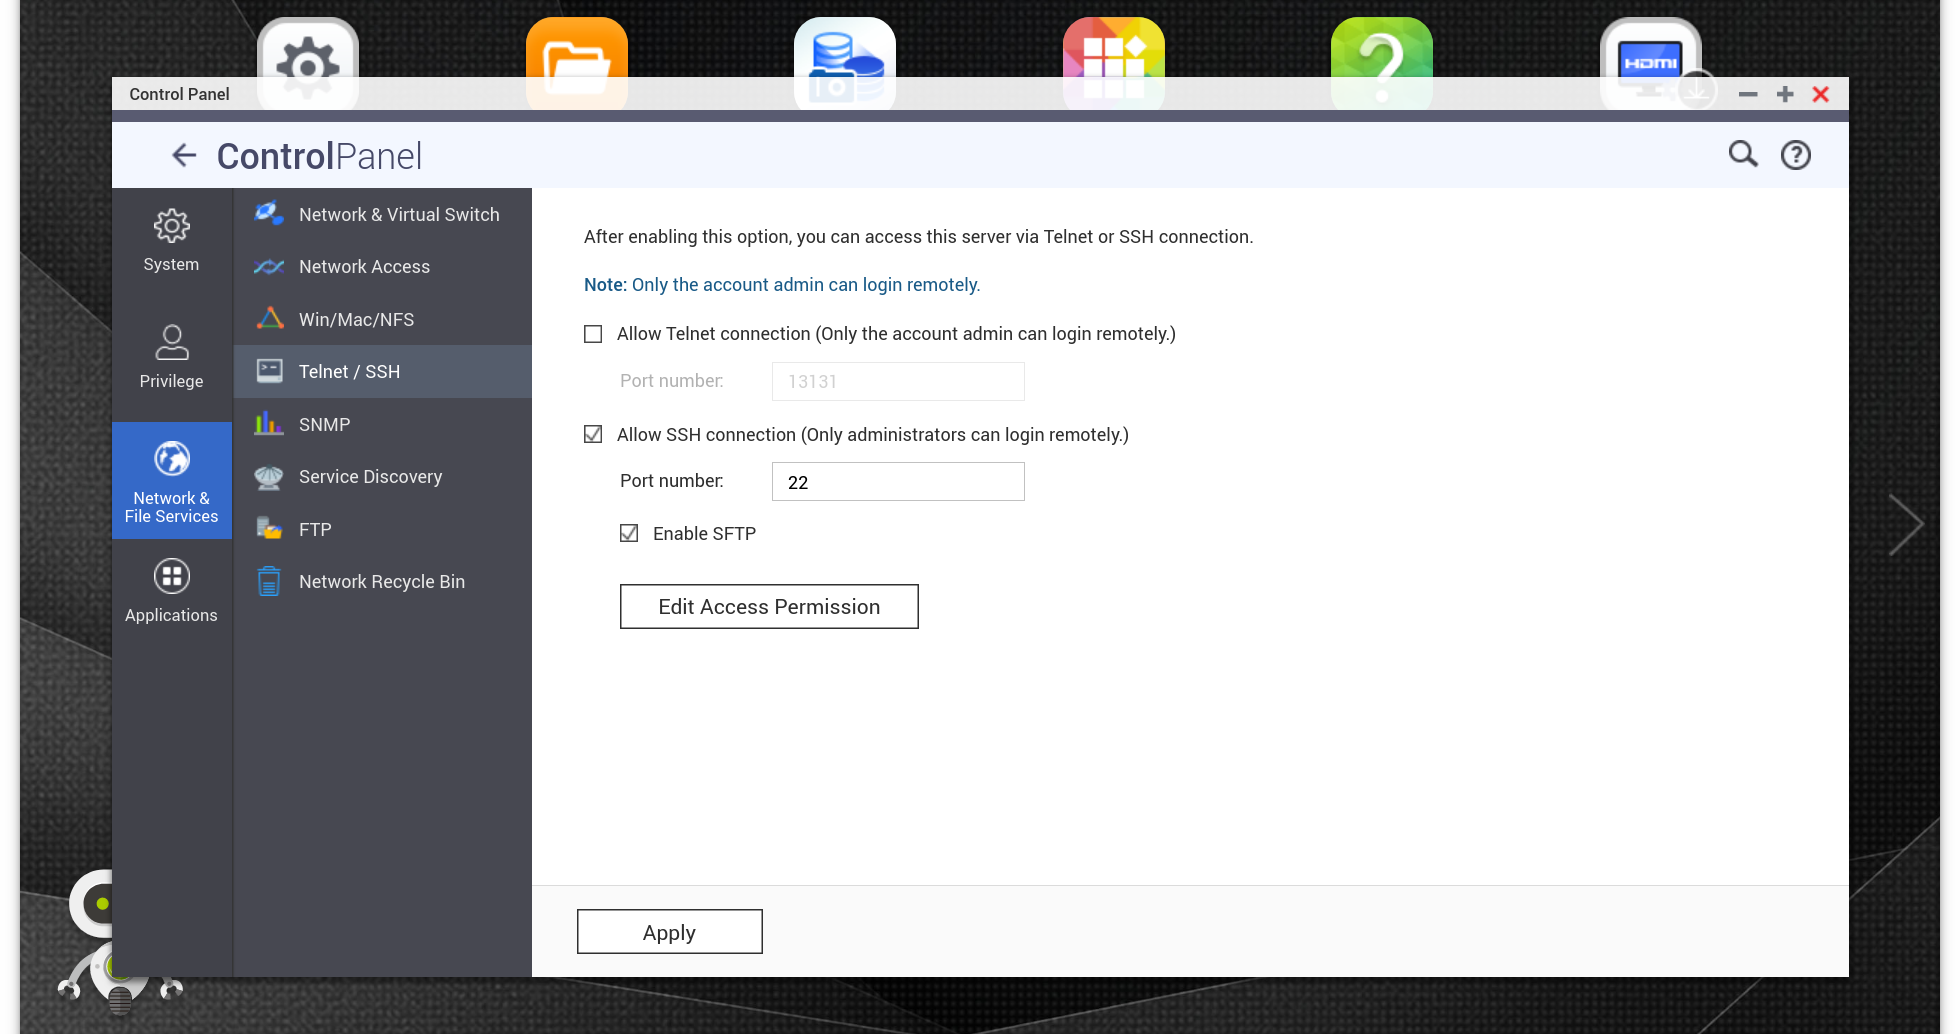
Access From a Windows machine
On Windows you need to install PuTTY from a source you trust, then start PuTTY and enter the host name or IP address in the Session dialog. Port should be 22 and connection type SSH. Click Open. A command line prompt appears. Press y for yes. You’ll be asked for a user name. Enter admin and in the next step the admin user’s password.
You are logged in to the QNAP NAS Console Management - Main menu.
Access From Linux or OSX machines
Open a terminal and enter the command:
ssh admin@<your-nas-IP>Enter the admin user’s password and you’ll be in the QNAP Console Management - Main menu:
Console Management
In the Console Management you have several options that might be useful at some point:
+--------------------------------------------------------------------+
|  Console Management - Main menu                                    |
|                                                                    |
|  1: Show network settings                                          |
|  2: System event logs                                              |
|  3: Reset to factory default (password required)                   |
|  4: Activate/ deactivate a license                                 |
|  5: App management                                                 |
|  6: Reboot in Rescue mode (w/o configured disk)                    |
|  7: Reboot in Maintenance Mode                                     |
|  Q: Quit (return to normal shell environment)                      |
|                                                                    |
|                                                                    |
+--------------------------------------------------------------------+
 >>
Press q to quit and confirm with y for yes and you’ll be logged in with your regular shell.
occ commands
Besides the web interface, ownCloud also offers a command-line interface (occ) for administrator tasks. Access via ssh needs to be enabled.
Running occ Commands
To issue occ commands, you need to use ssh to log in to your QNAP device. Then navigate to the top-level directory of your ownCloud app, e.g. /share/CACHEDEV1_DATA/.qpkg/ownCloud.
ownCloud on QNAP lives in a Docker container, therefore occ commands look a little different than on regular installations. The prefix system-docker-compose exec --user www-data owncloud is needed:
system-docker-compose exec --user www-data owncloud occ <your-command>For more information on which occ commands are available and how to use them, check out section Using the occ Command.
| Unless you know exactly what you are doing, you shouldn’t run commands that change the database connection (could be done with occ:config:* and occ:db:*), the redis connection (could be done with occ:config:*) or remove a license key (could be done with occ:config:*). |
Backing up and Restoring the Database
To prevent data loss, the ownCloud database should be backed up regularly. To do so, you need to log in to your QNAP device via ssh and navigate to the ownCloud app root directory, e.g. /share/CACHEDEV1_DATA/.qpkg/ownCloud. Here you can create a database snapshot with a time stamp by entering the following command:
system-docker-compose exec db pg_dumpall -c -U owncloud > \
  ownCloud_database_$(date +%Y-%m-%d_%H_%M_%S).sql
For more information, see section Backing up ownCloud. ownCloud on QNAP uses PostgrSQL.
Should something happen and you need to restore the data, perform the following commands:
Delete / drop the current database
system-docker-compose exec db dropdb owncloud -U owncloudCreate a new database
system-docker-compose exec db createdb owncloud -U owncloudRestore data to database
cat ownCloud_database_xxxxx.sql | system-docker-compose exec \
   -T db psql -U owncloud -d owncloud
Troubleshooting
General
Via the QuLog Center app on your QNAP NAS, you can check the log entries.

| The event notifications in the top toolbar will also tell you if something has gone wrong. Look for the i in a circle. |
Specific Problems
-
What to do if you forgot to install the Container Station?
An error message will pop up during the installation of ownCloud. Click on the link System Event Log in the pop-up window to find out what actually went wrong or hit OK and install the Container Station. Then start the installation of ownCloud again.