Adding Users and Groups in UCS for ownCloud
Introduction
If you want to add users and groups to your ownCloud installation via the UCS (Univention Corporate Server) UI, here’s a concise guide showing how.
Login to the Univention Management Console
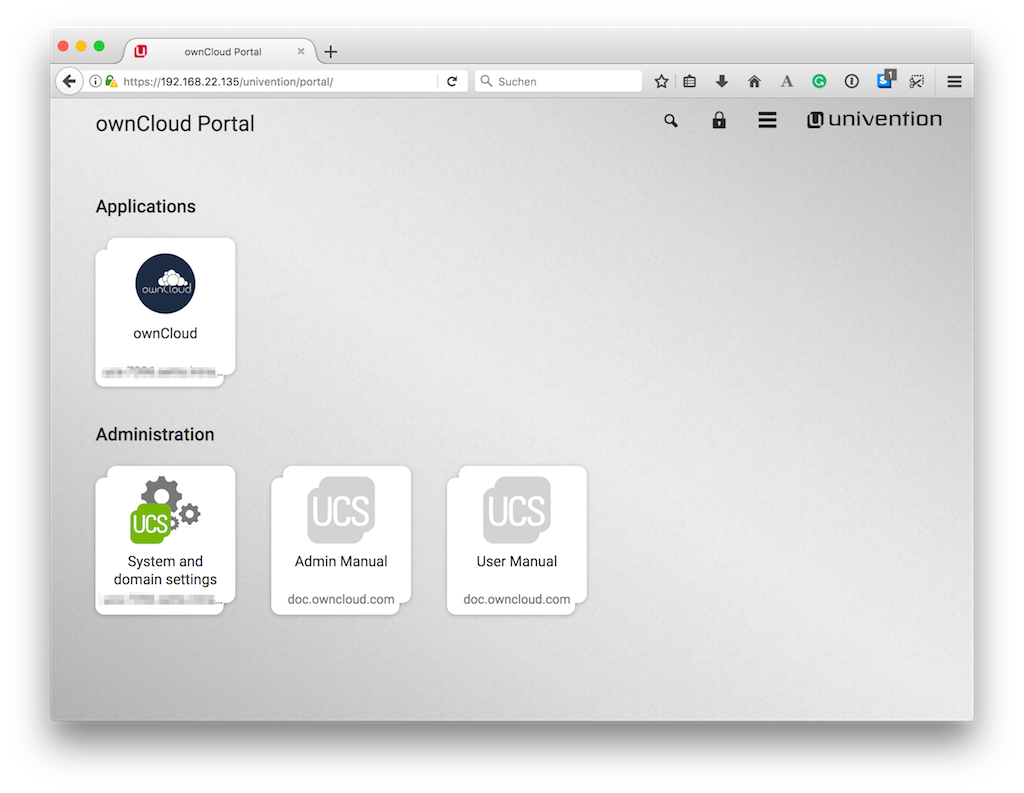
After logging in to the Univention server, under "Administration", click the first option, labeled System and domain settings.

This takes you to the Univention Management Console.
Create the User
Once there, click Users.

In the screen that appears, add a new user by clicking ADD in the top left-hand corner of the users table.

This opens up a new user dialog, where you can supply the relevant details for the new user. Enter a username and optionally a first name, last name, and a title. Then click NEXT.

In the next dialog that appears, enter and confirm the password. You can, optionally, choose some further options, if desired. Then click CREATE USER.

The new user will have been created, so click the CLOSE button, in the top right-hand corner, to go back to "Favorites".

Create the Group
Now it’s time to create a new group. Click Groups, which is located between "Computers" and "Software Update".

From there, click ADD, located on the left-hand side of the groups table.

In the next dialog that appears, first enter the name of the group and optionally a description. Then, under "Members of this group", click ADD.

This opens up an "Add objects" (or "Add new group" ) dialog. Find the user, in the list at the bottom, that you want to add to the group, check the checkbox next to their name, and click ADD.

After that, click on ownCloud in the left-hand side navigation, and check the option ownCloud enabled. And lastly, click CREATE GROUP.

With that done, the new user and group are now available in your ownCloud installation.
Depending on your installation, you will either see these changes immediately or you will have to wait for the user sync to be done. This happens ever 10 minutes by default.