Google Drive
Introduction
Using the Google Drive external storage in ownCloud, you can mount all or a subfolder of Google Drive.
For subfolders, use the following scheme:
-
subfolder = empty (mounting the root, all of Google Drive will be used)
-
subfolder = $user ($user variable represents the current logged in ownCloud username)
-
subfolder = name (a folder name, can be cascaded like name1/name2 or name/$user)
| If the subfolder is not present in Google Drive, no Google Drive mount will be shown in the users file list. |
| Using subfolders is beneficial if you want to selectively encrypt Google Drive mount points |
The variable $user is the substitute for the currently logged-in user. The subfolder with the username must be created manually in Google Drive.
|
ownCloud uses OAuth 2.0 to connect to Google Drive. This requires configuration through Google to get an app ID and app secret, as ownCloud registers itself as an app.
All applications that access a Google API must be registered through the Google Cloud Console. Follow along carefully, because the Google interface is a bit of a maze and it’s easy to get lost.
In the examples used, <your domain> represents how you access your ownCloud server, where you see the login screen. This may look like:
https://example.com
 or
http://example.com
 or
IP/owncloud
Preparations in the Google Cloud Console
Create a Google Drive Project
-
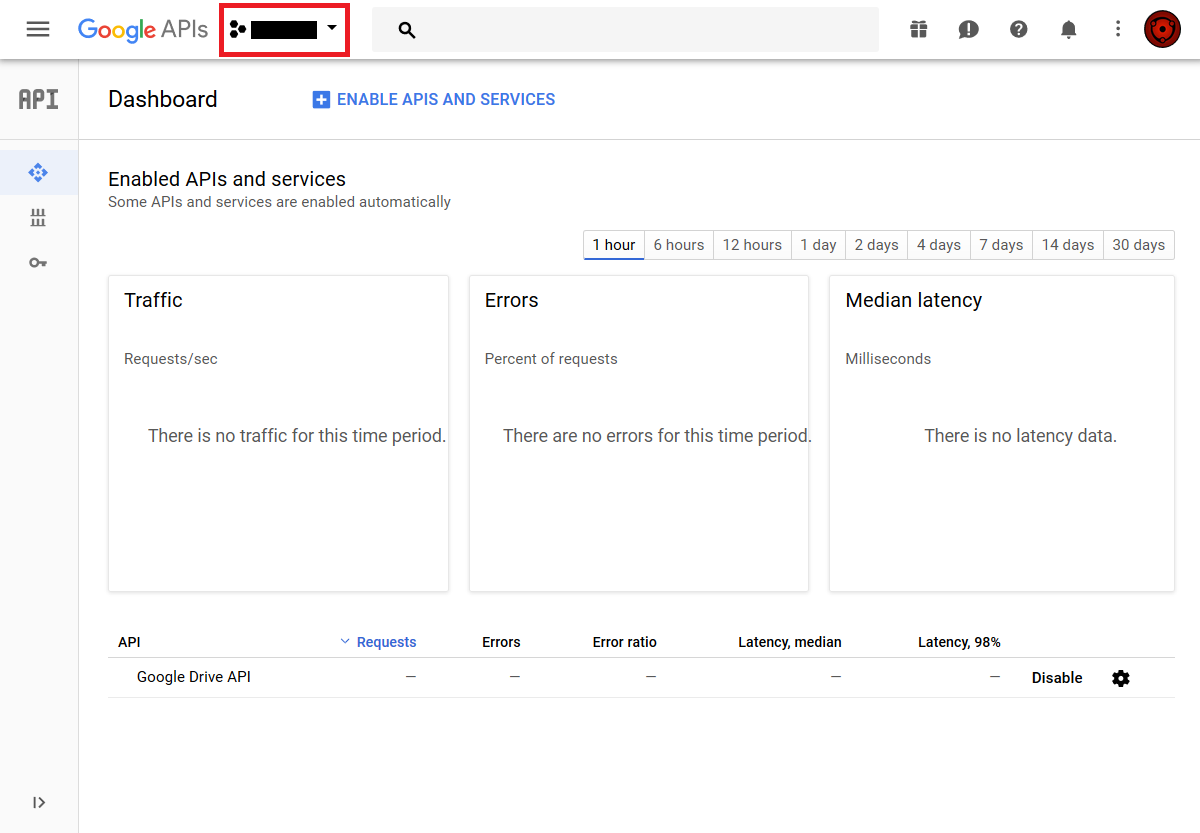
You can use your existing Google account such as Groups, Drive, or Mail, or create a new one and log into the Google Cloud Console. After logging in click the Create Project button on the top right side.
-
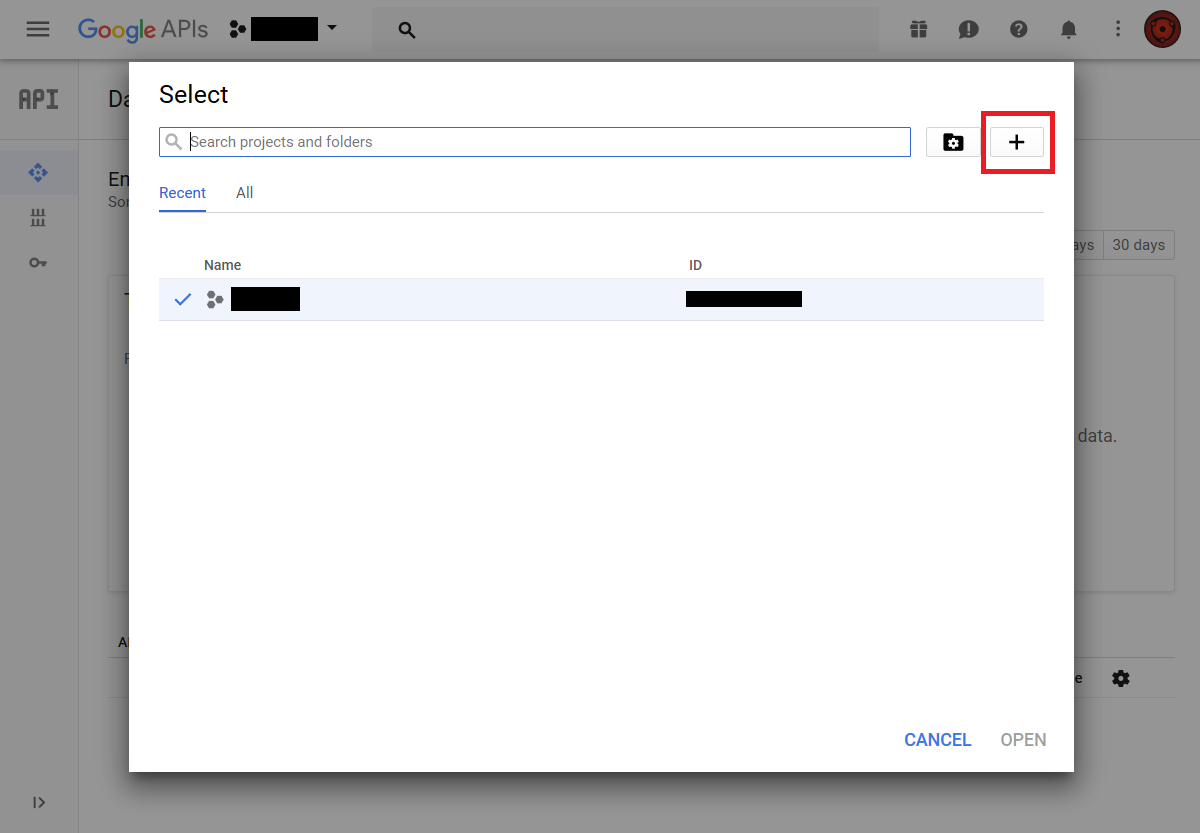
Add a new project by clicking the + button on the top right side.
-
Give your project a name, and either accept the default Project ID or create your own, then click the Create button. For this example a random name was chosen, "owncloud-04-27". However, feel free to choose your own name.

-
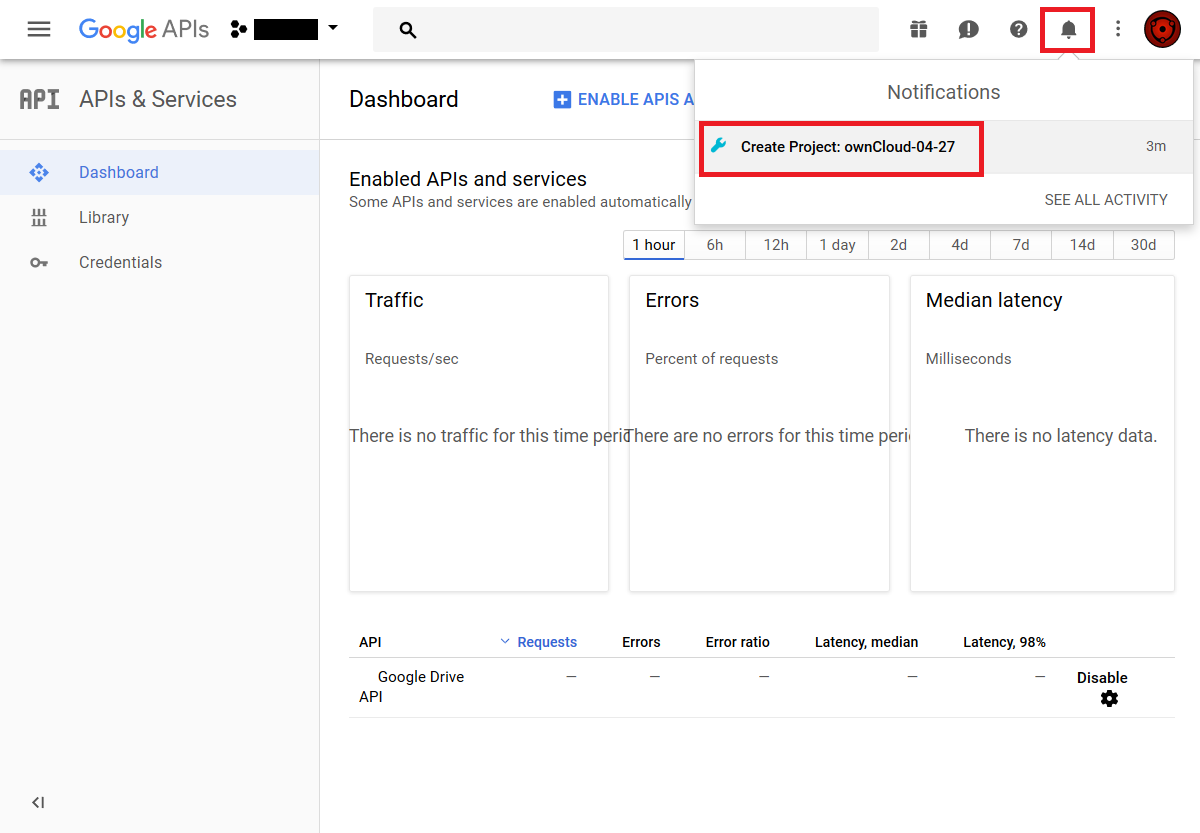
After your project is created, click on the notifications bell and select your project.
-
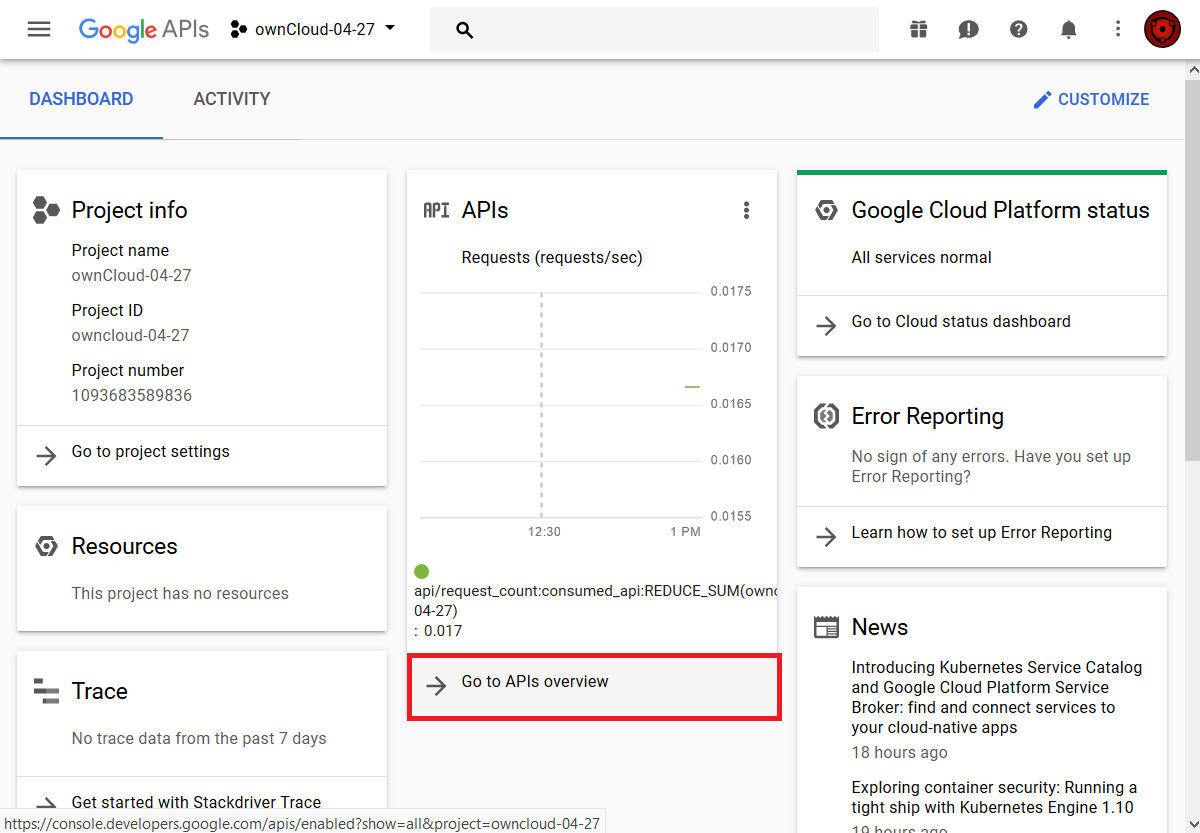
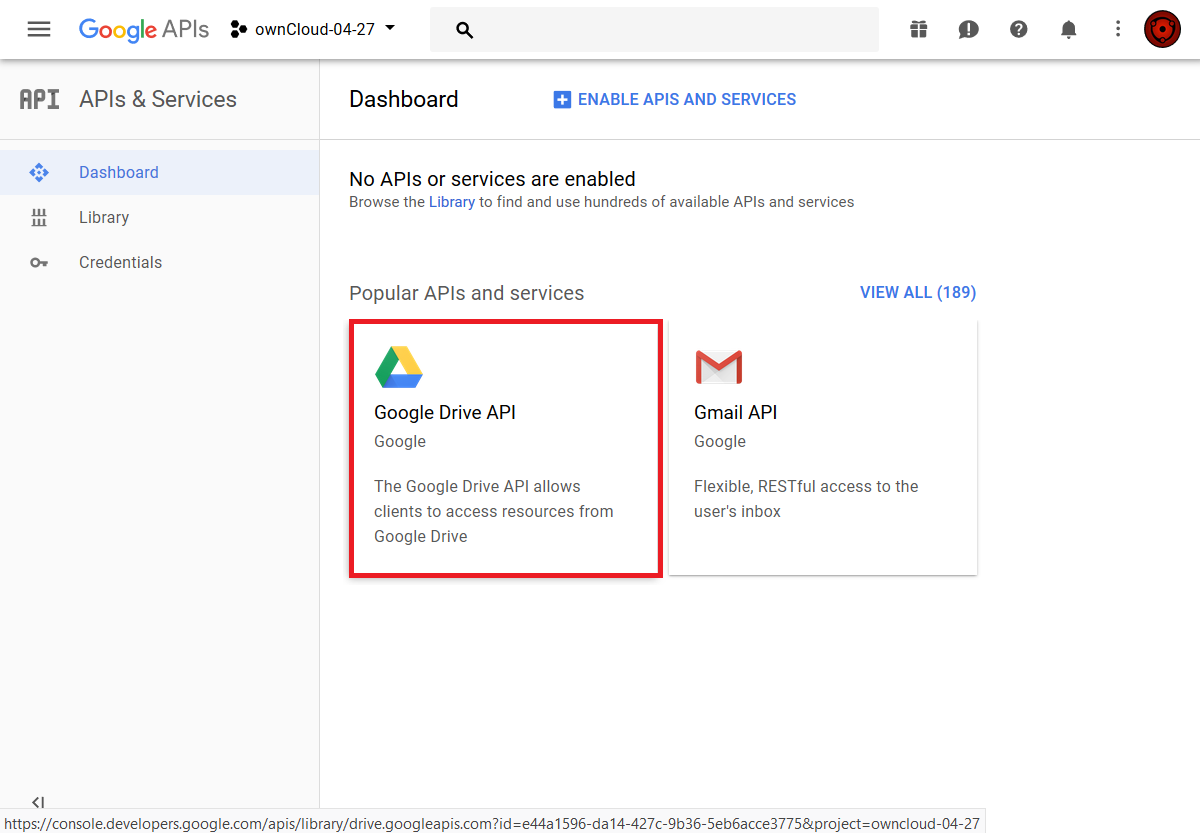
Go to Api overview to select google’s API.
-
Select Google Drive API
-
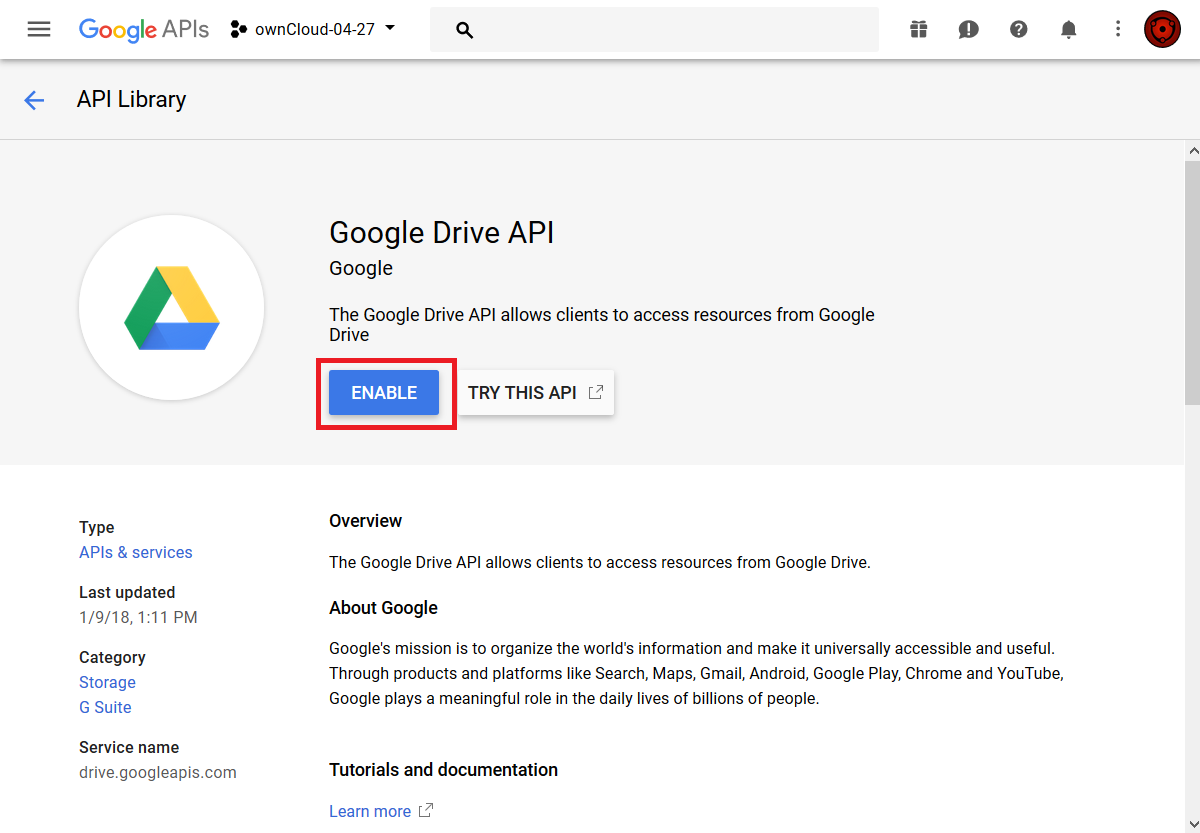
Enable the Google Drive API
-
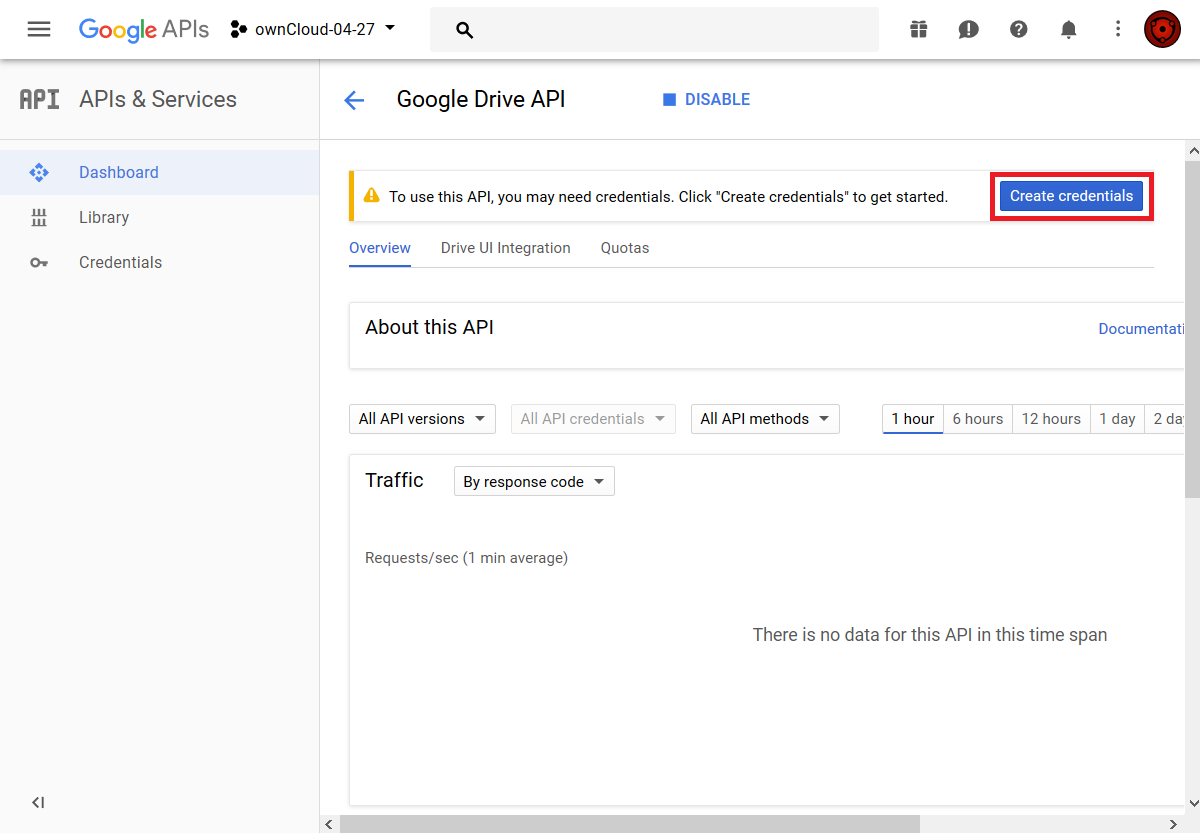
You now must create your credentials.
-
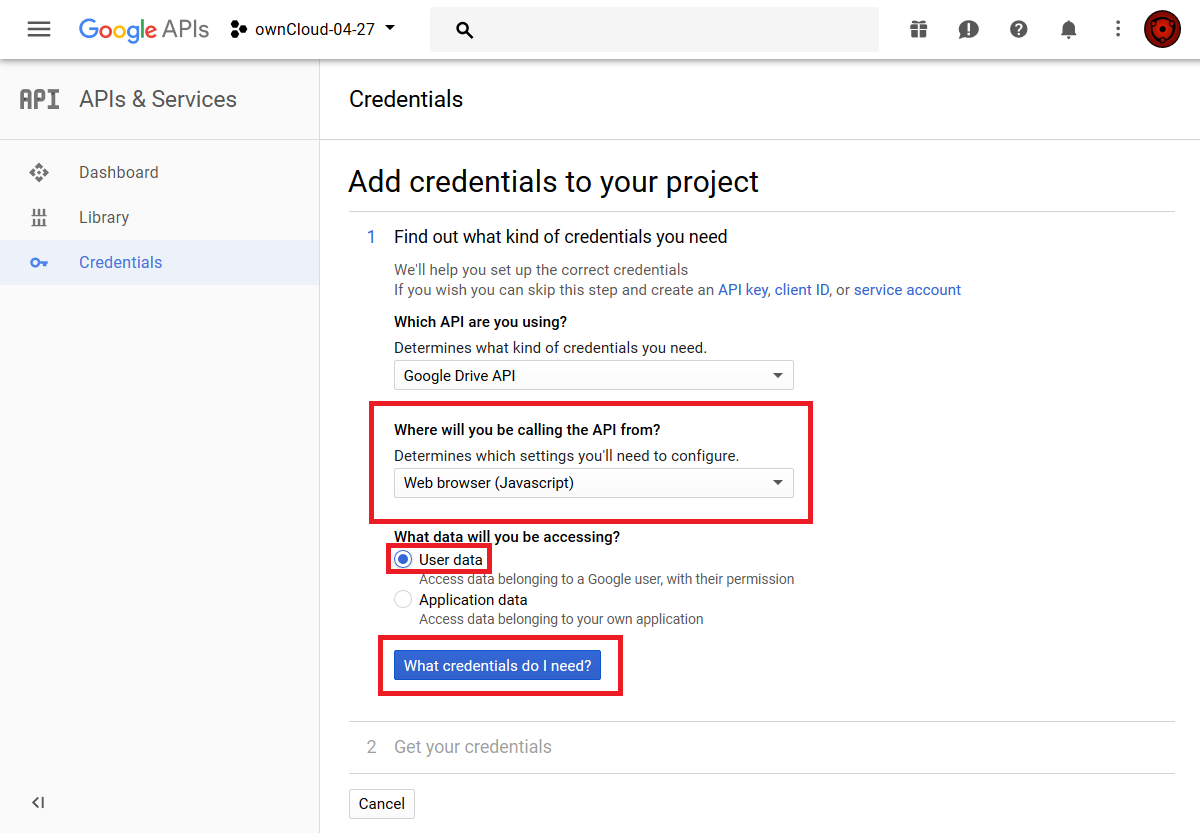
First, select Web Browser and User data.
-
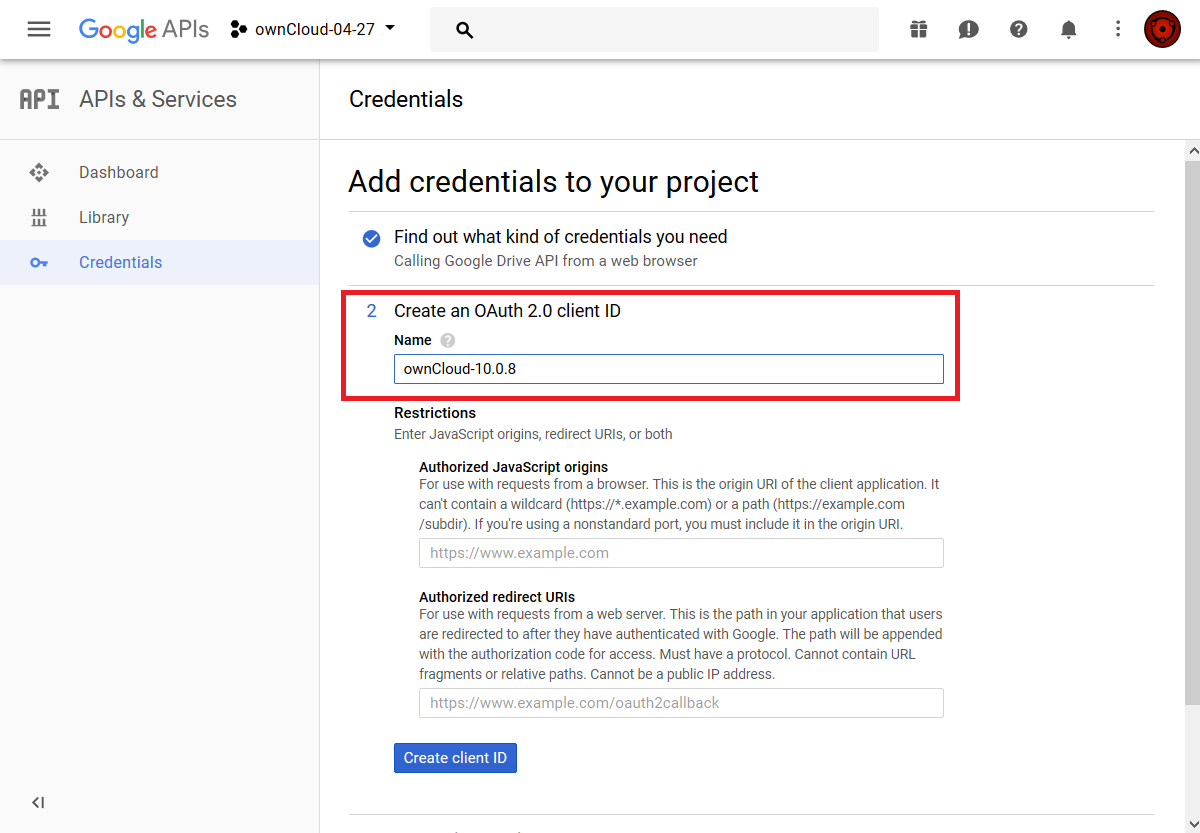
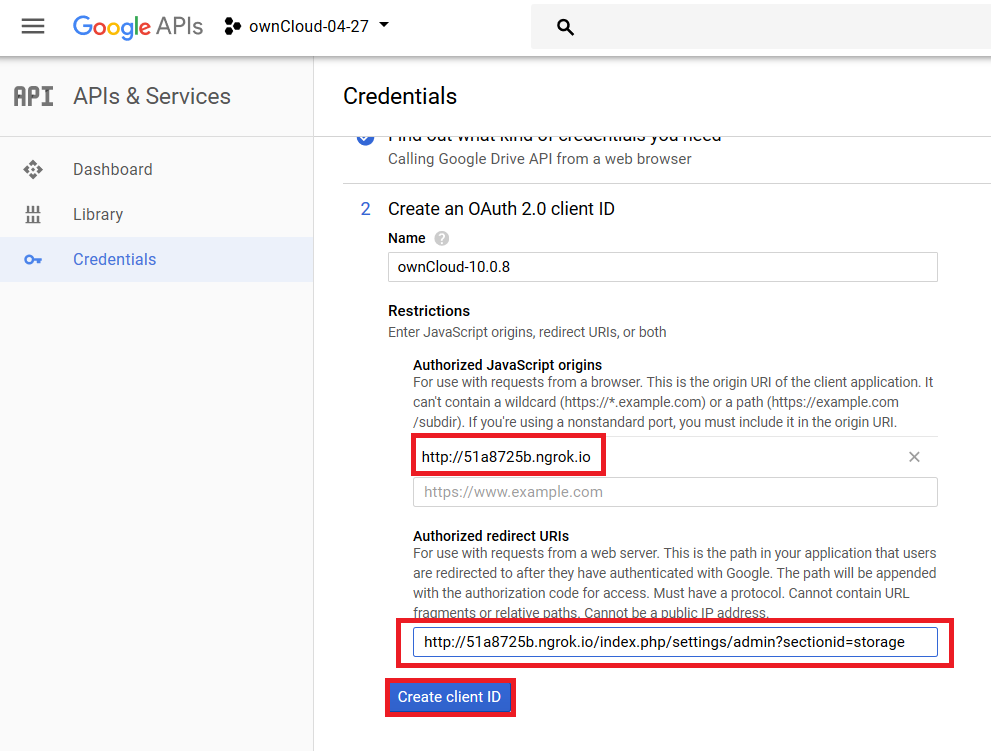
The next screen that opens is Create OAuth 2.0 Client ID. Enter your app name.
Configure Authorisations
These authorizations are necessary to tell Google which source URI requests are allowed. You can configure multiple Authorized URIs if you wish to enable admin and personal access at the same time for different purposes.
Authorized Redirect URIs
To configure Authorized Redirect URIs, select one of the two possible URI Schemes:
-
If you are configuring storage as an administrator - choose the admin URI,
-
If you are a user and configure your personal storage - pick the personal URI.
https://<your domain>/index.php/settings/admin?sectionid=storage
 or
https://<your domain>/index.php/settings/personal?sectionid=storageConfigure to connect to Google Drive
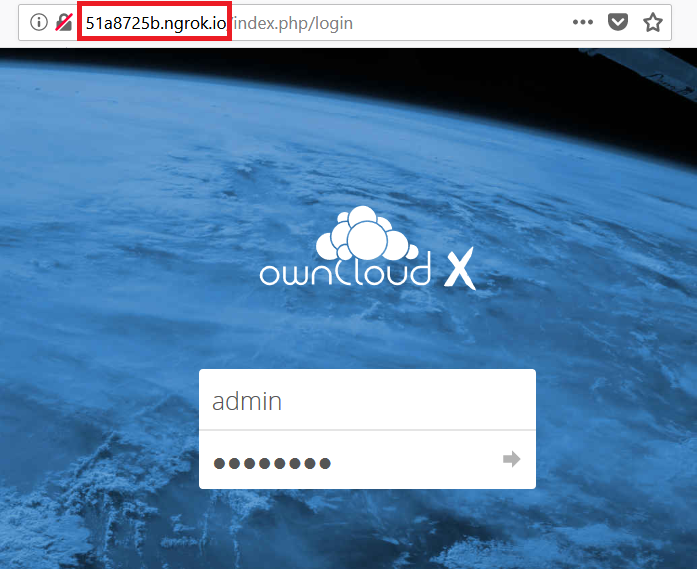
The following example procedure configures an admin-based storage mount. The domain used in this example is http://51a8725b.ngrok.io
-
Login to your ownCloud account
-
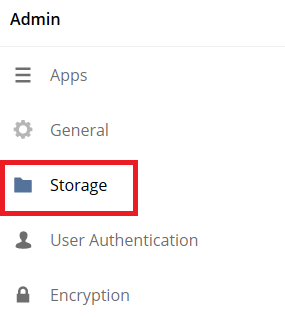
Go to Storage in the Settings
-
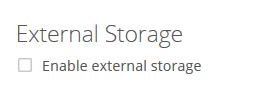
Enable external Storage
-
Select Google Drive
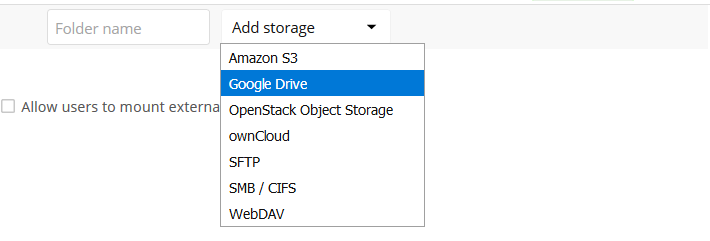
-
The Google Drive App is enabled
Give the mount point a meaningful name. We have used
Google Drivein this example.
-
Copy the Authorized Redirect URI from the browser

-
Enter it the Google Drive Console here
-
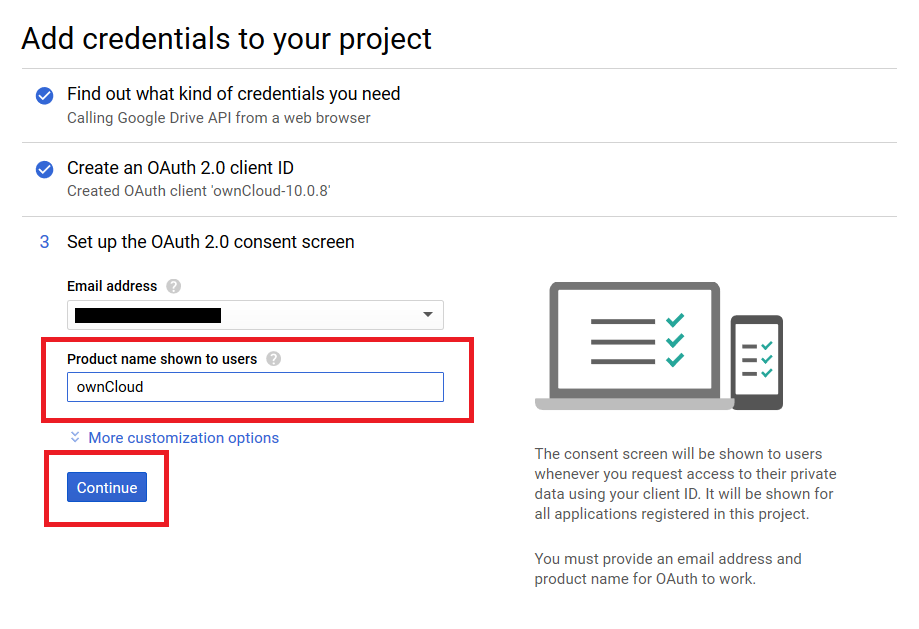
Choose a project name for the consent screen.
A consent screen has to be created. This is the information in the screen Google shows you when you connect your ownCloud Google Drive app to Google the first time.
-
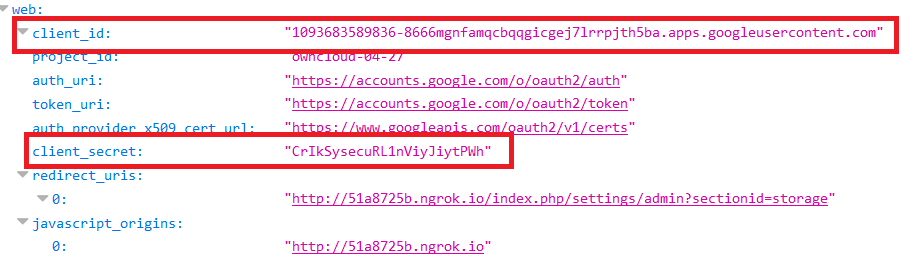
Download the credentials as JSON file.
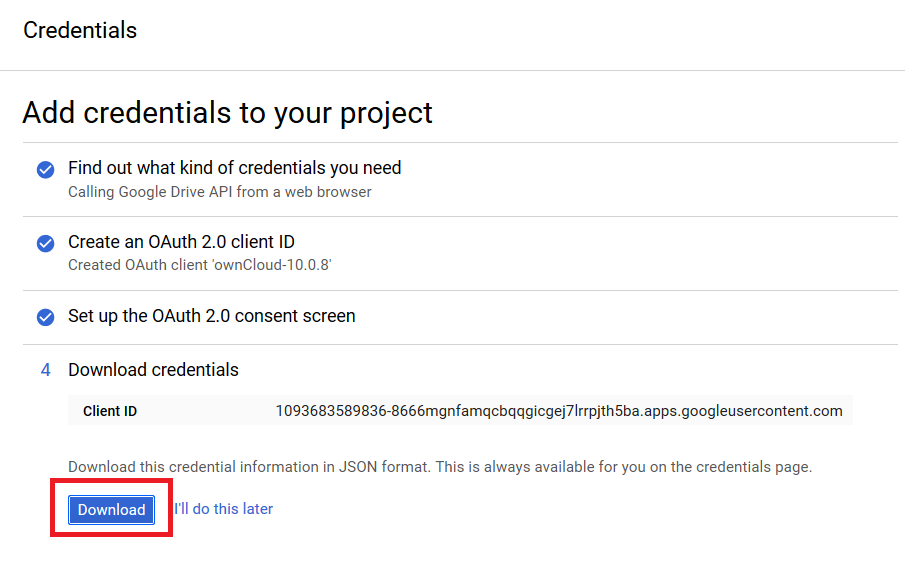
You can either open this file with the editor of your choice (SublimeText for example), or you can put in your web browser to view it. You can always download this data from your Google Drive project at a later time for other Google Drive mounts.
Here is an example output:
-
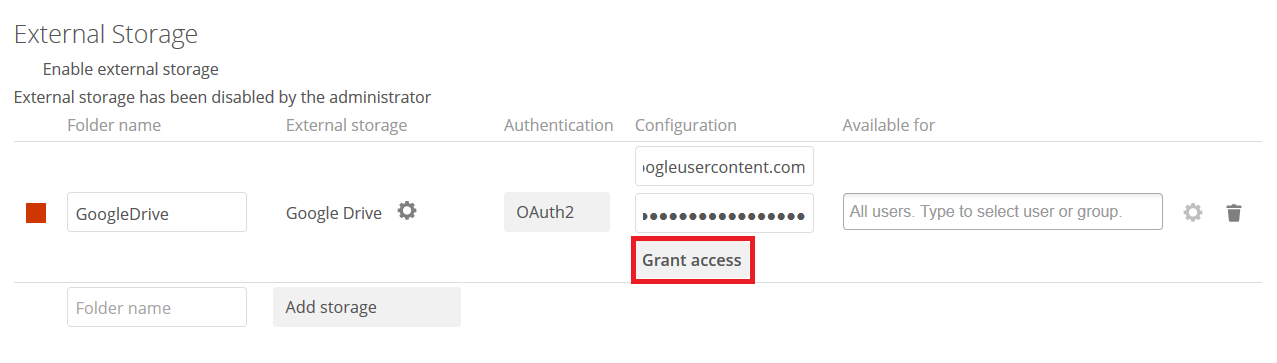
Client ID and Client Secret
Enter the Client ID and Client Secret in the ownCloud Google Drive mount screen and click Grant Access. Now you have everything you need to mount your Google Drive in ownCloud. Your consent page appears when ownCloud makes a successful connection.
Click Allow when the consent screen appears.
-
Success
You are finished when you see the green light confirming a successful connection.
See the External Storage Configuration for additional mount options and information.

-
Files View
Go to your files view. You will see the newly mounted Google Drive.
