Creating a P12 Certificate
Setup
In addition to emailing your four ad hoc provisioning profiles to support@owncloud.com, you must also include your P12 certificate. To create this, return to Keychain Access on your Mac computer and find your private key that you created at the beginning (see Create Certificate Signing Request).
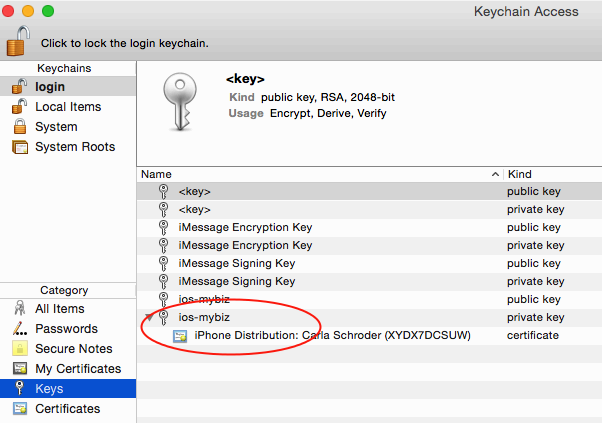
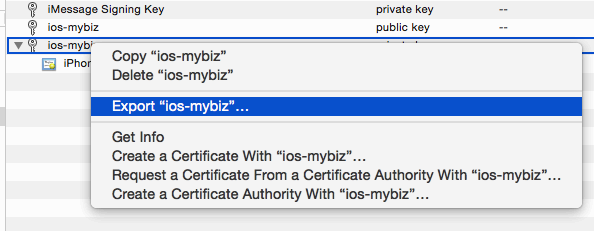
Right-click on your private key and left-click Export [your key name].
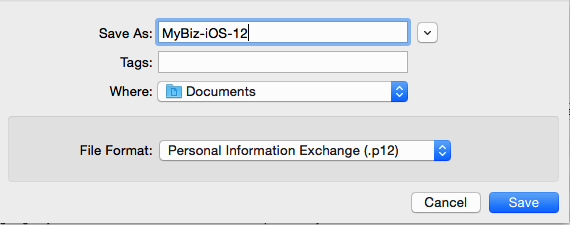
Enter any name you want, the location you want to save it to, and click Save.
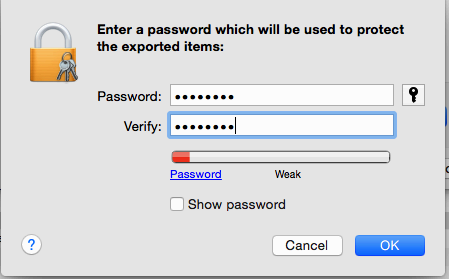
In the next screen you have the option to enter a password. If you put a password on your P12 certificate you will have to include it when you send your certificate and provisioning profiles to support@owncloud.com. Click OK.
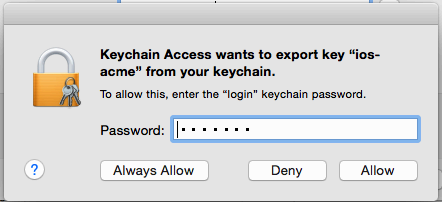
On the next screen you must enter your login keychain password, which is your Mac login password, and click Allow.
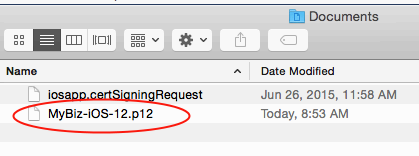
Now your new P12 certificate should be in the directory you saved it in.
You have now completed all the necessary steps for signing your branded iOS app. The next step is to build your app with the ownBrander app on customer.owncloud.com.