Updating Your Branded Android App
Introduction
Follow the procedure and notes when updating your branded Android App.
| Since August 2021, Google Play requires the Android App Bundle format (.aab) for publishing new apps. For more details see: About Android App Bundles. With this change, the APK has been replaced as the standard publishing format. |
General Information
ownBrander generates 3 artifacts with every build:
| Artifact Type | Notes |
|---|---|
|
Android App Bundle for Play Store distribution after August 2021 |
|
Needs signing. Use for distribution methods other than Play Store |
|
Install directly to your device for debugging purposes |
For the Android App Bundles, Play App Signing is required. For more details see: The future of Android App Bundles is here. Play App Signing is a safety feature provided by Google. Every new release will automatically be signed by Google. With this, apps no longer need to be signed locally.
Navigate to the Google Play Console page and click on the Play Console button.
You will then land on the Google Play Developer Account sign-on page. After successful log-on, choose the appropriate developer account.
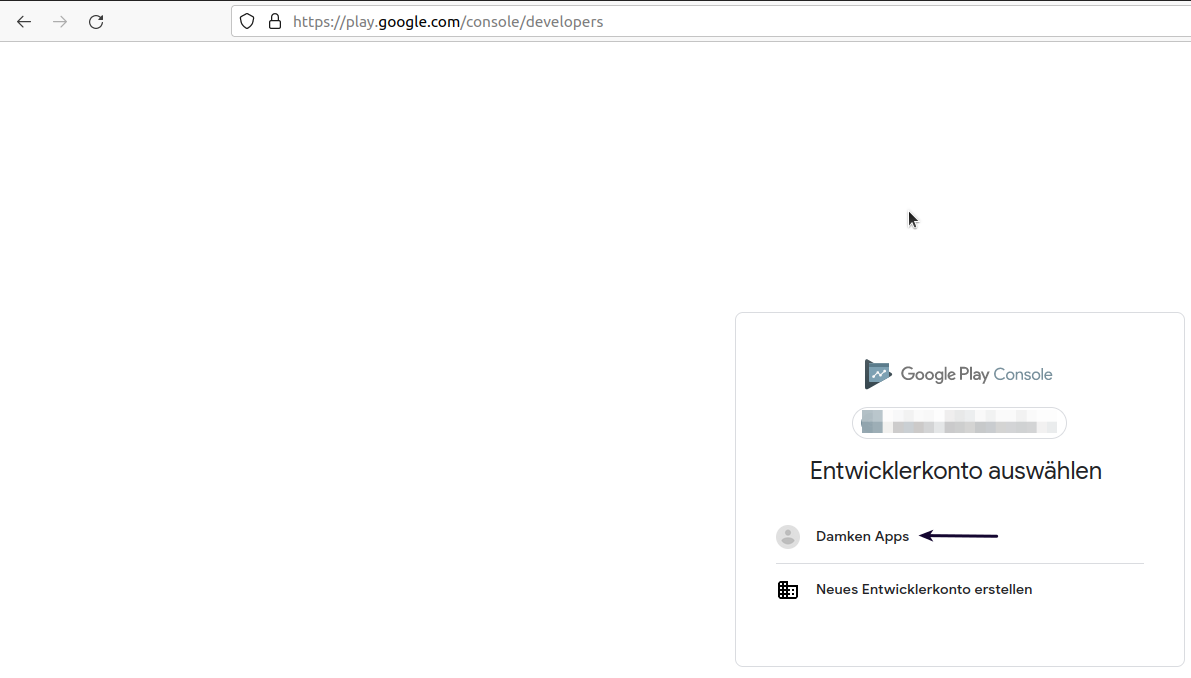
The page should appear like this. Choose the designated app, which is to be signed and/or updated.
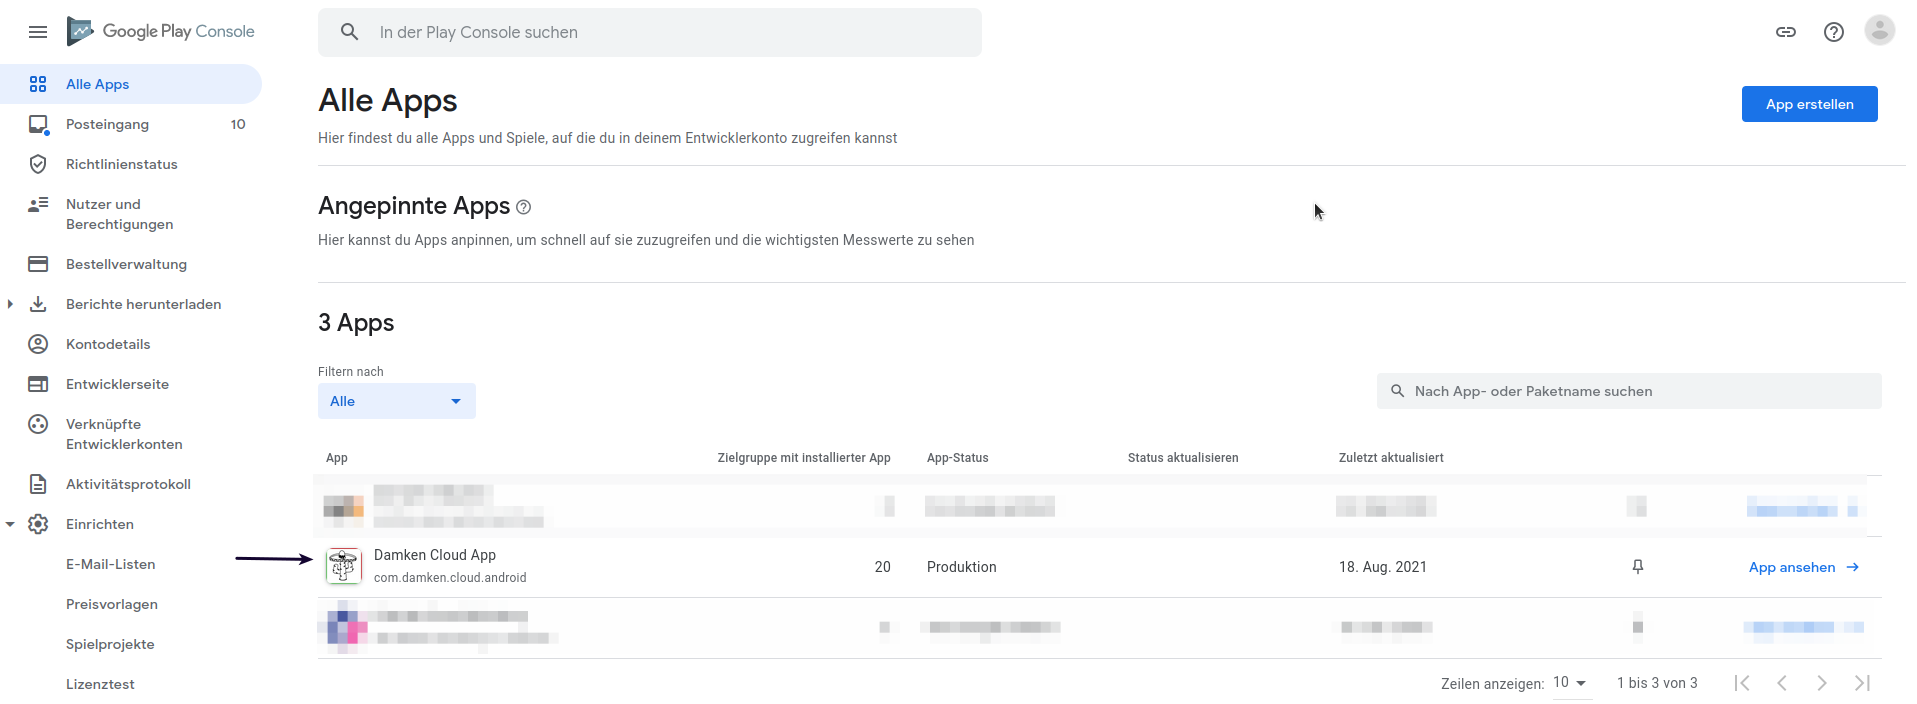
Create a New Release and Activate App Integrity
Navigate to and click Production
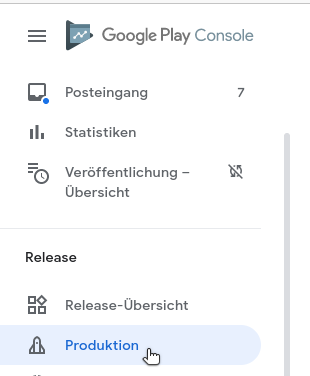
and continue by clicking the Create new release button.

Google Play Console will guide you through this. Follow the steps to validate your app integrity. Click the Activate button.

Since this is a new release version candidate and the key comes from the Java KeyStore, choose this option. Otherwise, choose according to your existing key scheme.
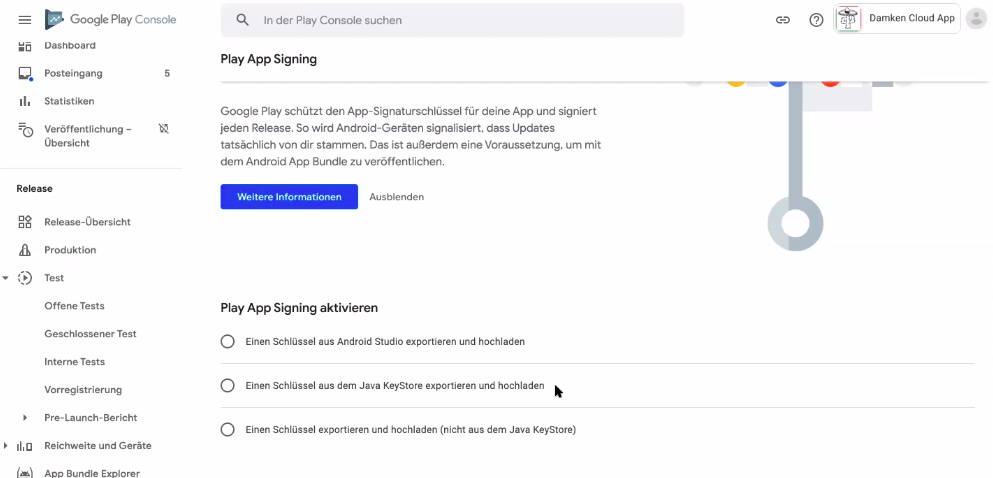
Follow the instructions pertaining to the chosen key scheme, here: JavaKeyStore. Download the PEPK-Tool as instructed.

Gather your keystore parameters:
-
KeyStore Alias
-
Key Store Password
-
Key Alias Password
These are the parameters you previously used to sign your app. Perhaps you kept them stored in the ownBrander.
Input the command below into an open terminal window. As seen in the screen after the command, you can click on the copy-to-clipboard icon (Step 2) to copy the entire command block, but you must modify the "foo" parts of the command as follows:
-
foo.keystoremust be replaced by thekeystore name, here: damken -
Aliasis theapp name, here: damkencloud, aka theKey Alias.
java -jar pepk.jar --keystore=foo.keystore --alias=foo --output=encrypted_private_key_path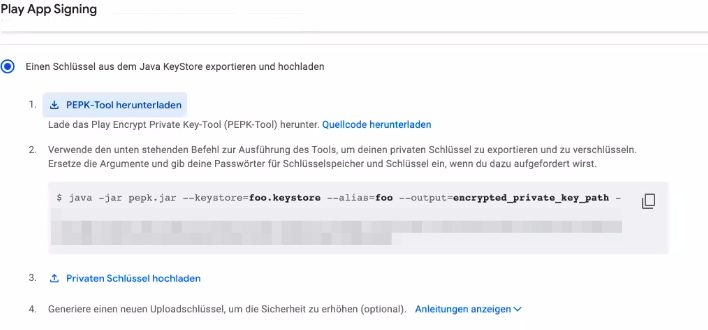
After executing the above command, you will be prompted to enter both your KeyStore Password and then your Key Alias Password. Keep in mind that these passwords remain invisible while you type them. Note that multiple entries or typos lead to errors.
You can also check your signing parameters in ownBrander if you have uploaded them for previous versions.

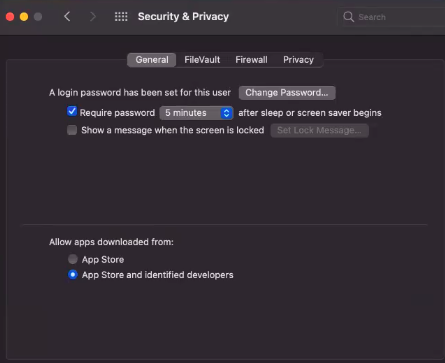
If you download the PEPK tool on macOS, you’ll need additional permissions in the macOS Security & Privacy settings:
Proceed by clicking on the button to upload your private key.

Double-click the file to upload it. After a successful upload, click on the Save button (bottom right of the page).
The following is a depiction of the upload file.

You will be redirected to the Terms of Use page. Click Accept after reading them.
Navigate back to Production. The certificate is now displayed.

In the Production bar move to the Release review button.

Notice the check-mark by the App Integrity field.

Upload the Android App Bundle
Proceed by clicking on Upload in order to upload the *-release.aab file you previously downloaded from your shared account from your personal folder on customer.owncloud.com.


You should see Google’s colors changing during the upload process, then a preview of the app release candidate.

The new version is available and should be thoroughly examined before releasing it to the production environment.

Optionally, you may choose to provide your users with information regarding the change log so they know which changes have been implemented.
If available from a previous release, just copy it.

After saving any modifications, proceed by clicking the Check release button.

You may see some warning signs. If of importance, check to see in what regards they are. Scroll down.
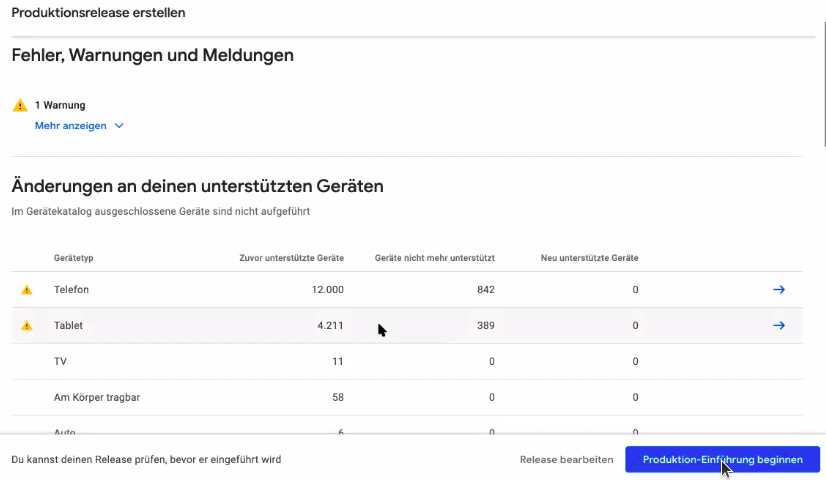
If you opt for a complete roll-out in all of the chosen distribution countries, just click the Begin Production Release button.
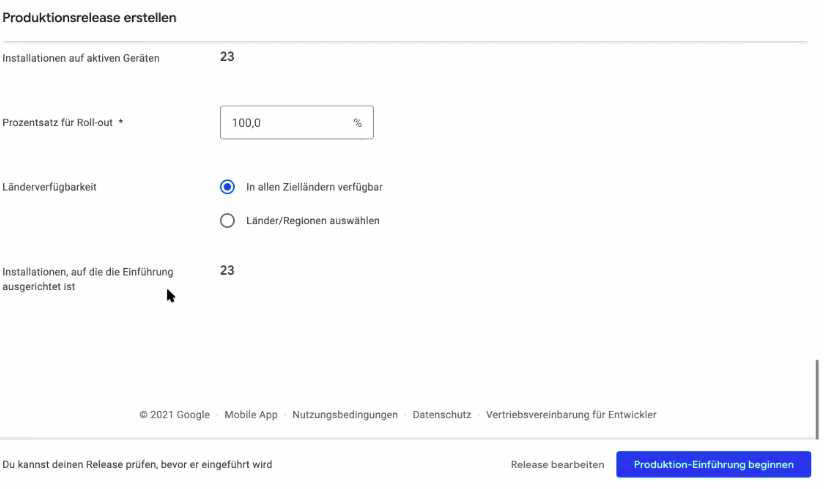
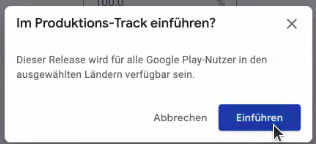
Review the chosen distibution and hit the Release button.
Thereafter, you will receive a release status notification.
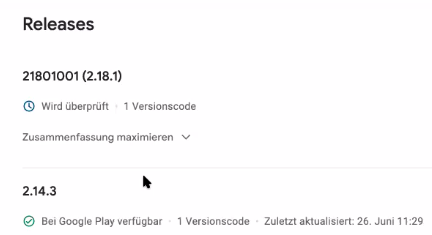
Notice, that Play App Signing has been successfully implemented.

Afterwards, you can find the status of your release/update release candidate in the tab Release-Overview or Release Dashboard.
