Application Settings
Settings View
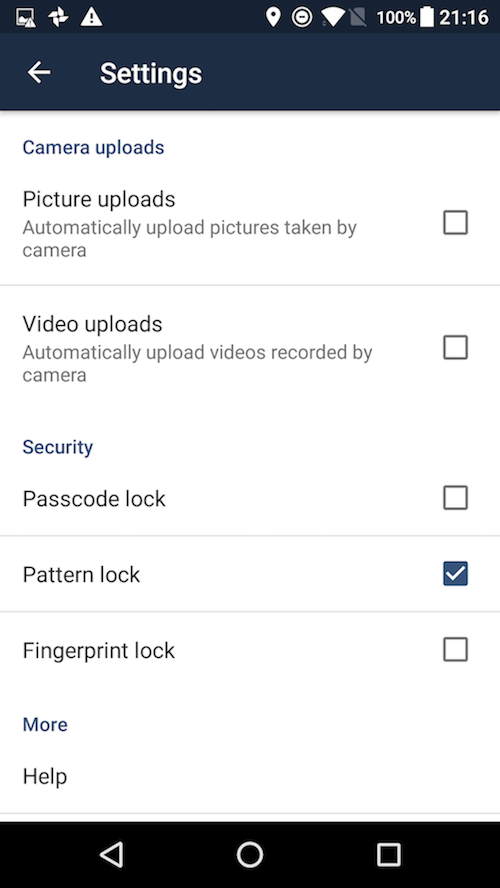
Use the "Settings" screen to control your ownCloud applications settings and functionality.
Camera Uploads
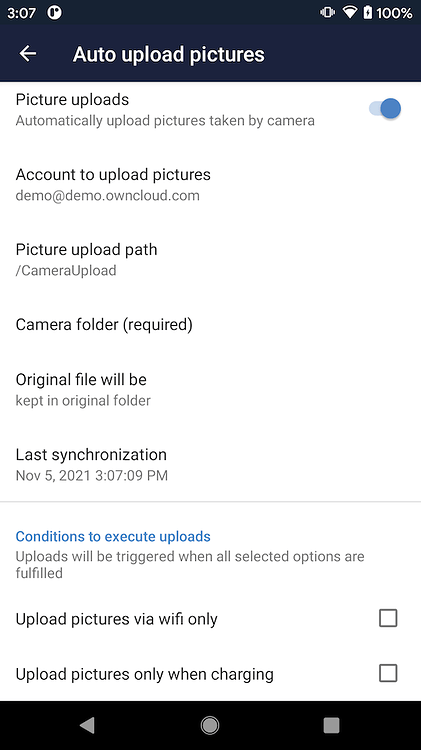
If you take photos or create videos with your Android device, they can be automatically uploaded to your ownCloud server. To enable this, under "Camera uploads" tap Picture uploads or Video uploads or both. The following image shows the settings for the picture upload. The same settings are available on a separate screen for video uploads.
By enabling these features, any new photos or videos which you create will be automatically uploaded every 15 minutes. Photos and videos are not uploaded when they’re created, to focus on reliability, instead of immediacy, and to avoid battery draining caused by excessive checking of the camera folder.
| Be aware that if you used the earlier Instant Uploads feature, you will lose the configuration and have to enable the "Camera uploads" feature if you want to use it, since it needs to be initialized and configured properly. |
If you’re concerned about mobile data usage or have an account with limited data available, you can limit uploading to only when a WiFi is in use.
-
For photos tap Upload pictures via wifi only
-
For videos tap Upload videos via wifi only
In addition, you can select to upload only when charging the device to avoid battery drain.
| All selected uploading conditions must be met for uploads to happen. |
By default, photos and videos are uploaded to a directory called /CameraUpload. However, you also have the option to use an existing directory or to create a new one. To change the upload location, tap on Picture upload path under photos or Video upload path under videos and choose one of the folders displayed.
To create a new folder, click the More options menu, in the top right-hand corner. This will display the menu option: New folder. Tap it and enter the name of the new folder in the Folder name dialog. Then, tap the newly created folder and tap Choose in the bottom right-hand corner. You’ll see that the path has been updated.
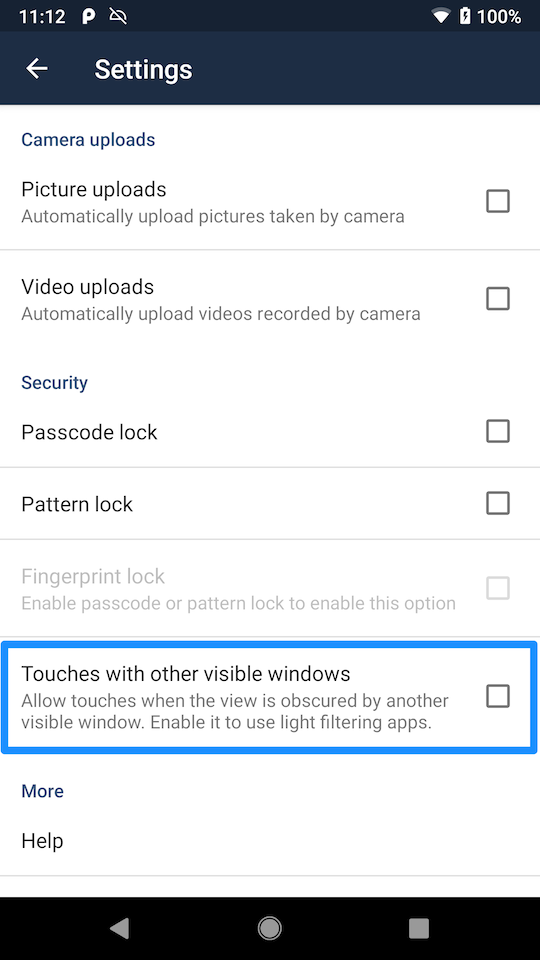
Allow Light Filtering Apps
By enabling the option (which you can see in the screenshot below), the ownCloud Android App will not be obscured by any light filtering apps, which gives the choice of using them together. When it is enabled, security warning is enabled.
Logs
If you detect a problem or a bug in the ownCloud Android App, you can send us logs about the problem. You will find the list of logs in the Settings view, after enabling it. To enable the logs, you have to tap five times on the version and build information, available under .
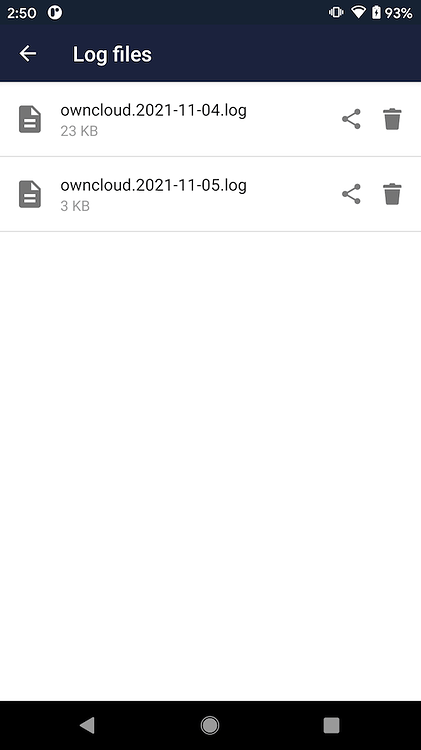
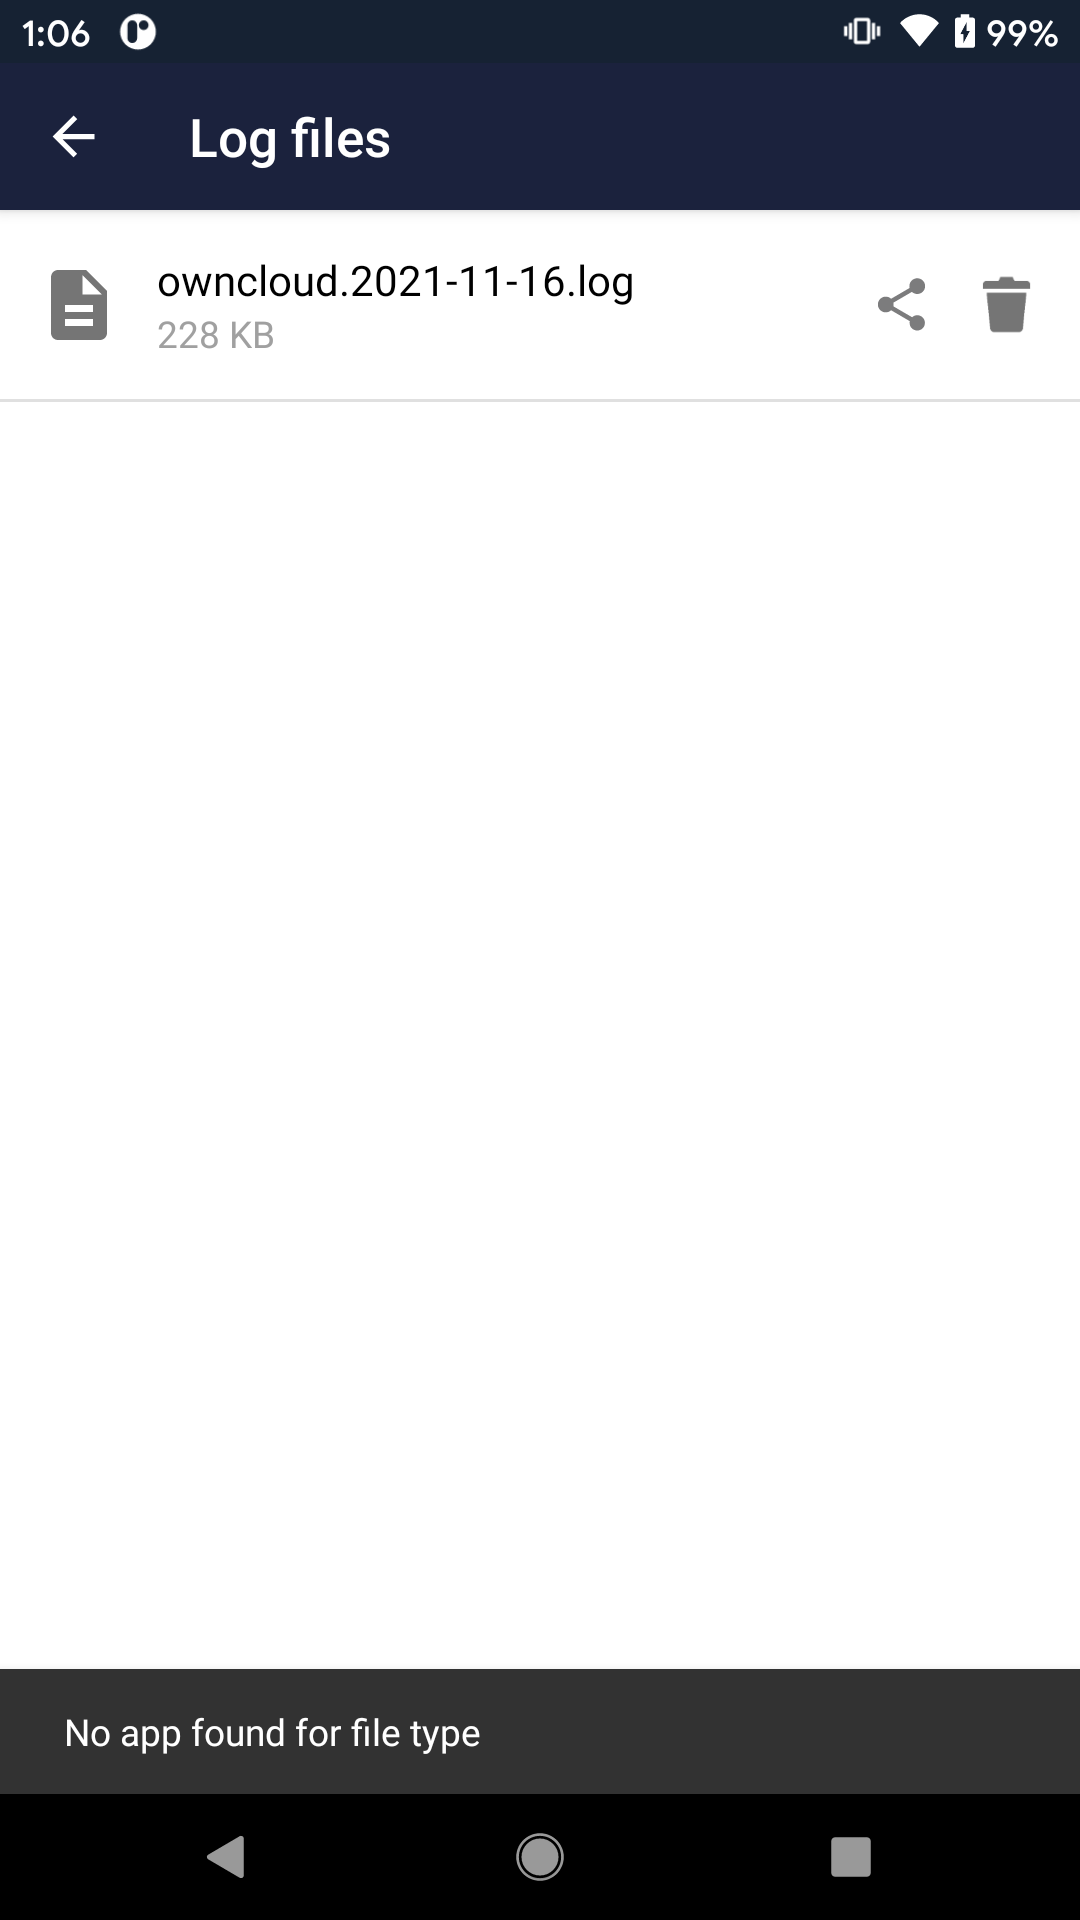
When enabled, inside the log section of the Android ownCloud app, options to share and delete logs are available.
You can open a log for viewing content by tapping on it. As a prerequisite, an app must be installed that is capable of reading and searching in log files must be installed. ownCloud does not provide a built-in log reader anymore as there are many professional apps available.
The following options are available to manage logs:
-
Opening a log file with your favorite log viewer by tapping on the log file row
-
Sharing a log file with other apps by clicking on the share icon
-
Deleting a log file by clicking the bin icon.
Note, an automatically running task will remove logs older than a week to keep space requirements small.
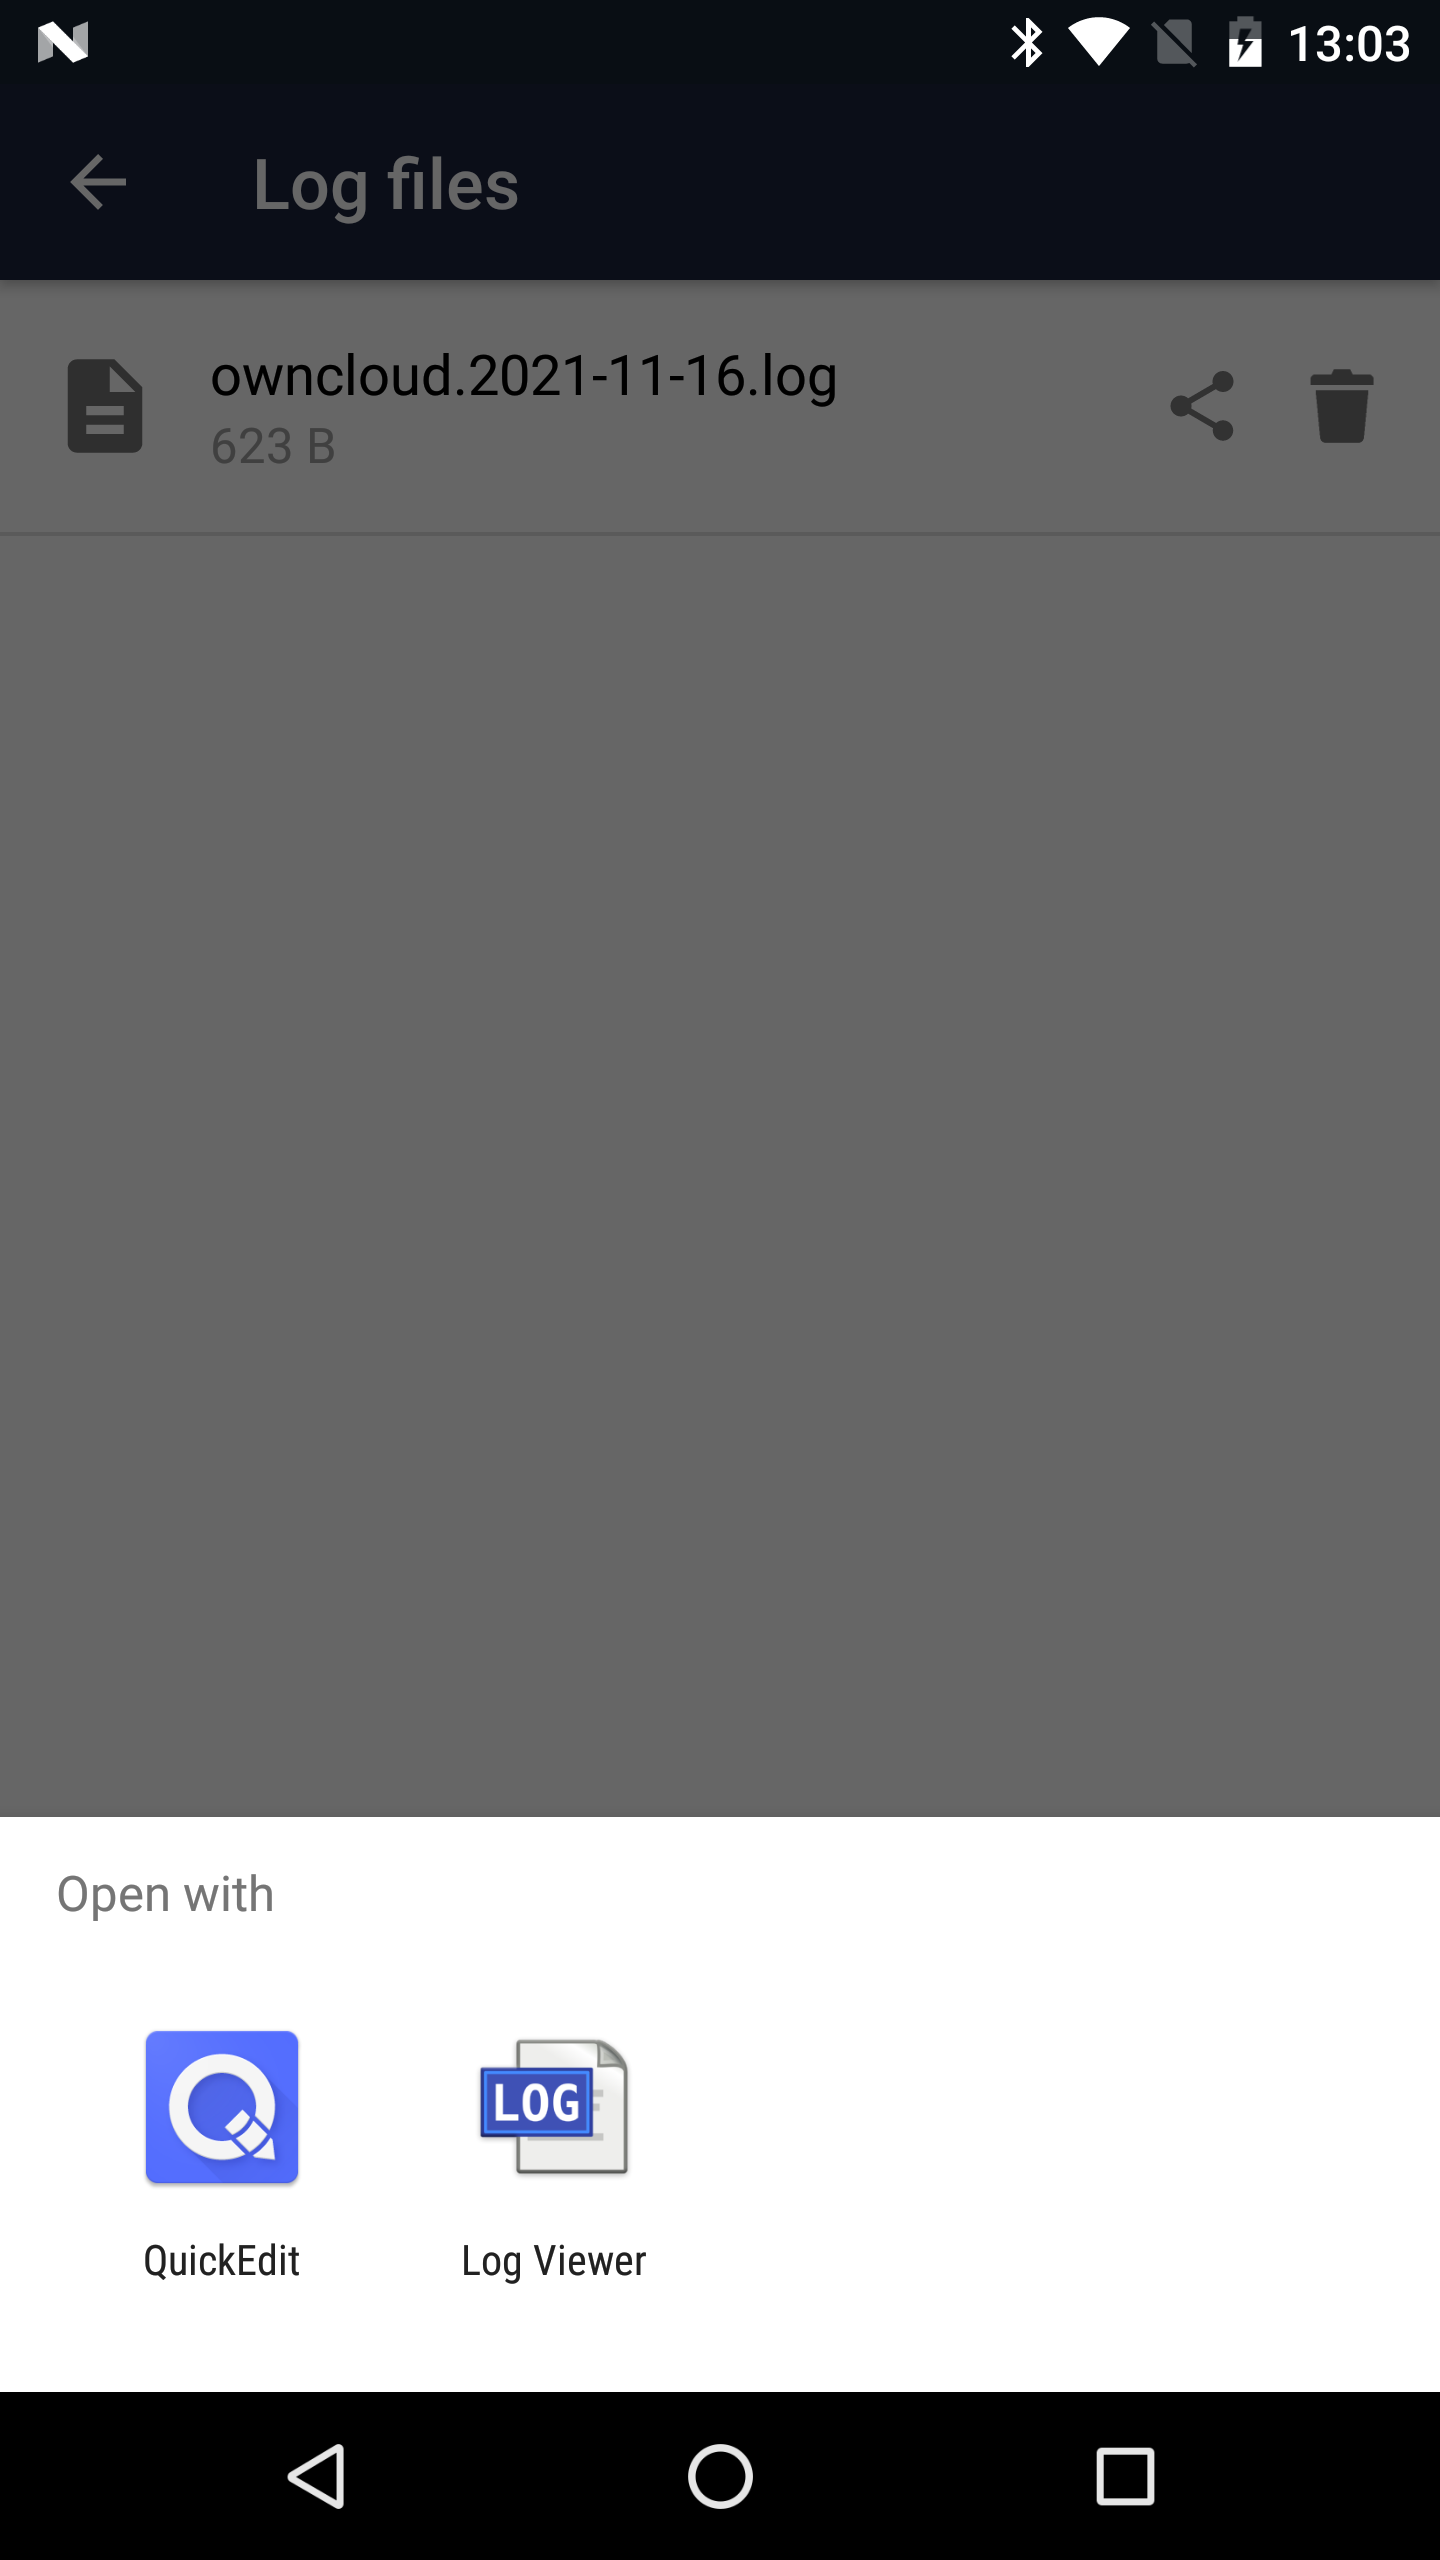
To view details or search inside a log file, tap on the respective entry in the log list. Three things can happen:
-
No log reading app found
If this occurs, install a log reading app of your choice.
-
Exactly one log reading app is installed
The log reading app opens and the log is shown. The example image shows the
Log Viewerapp.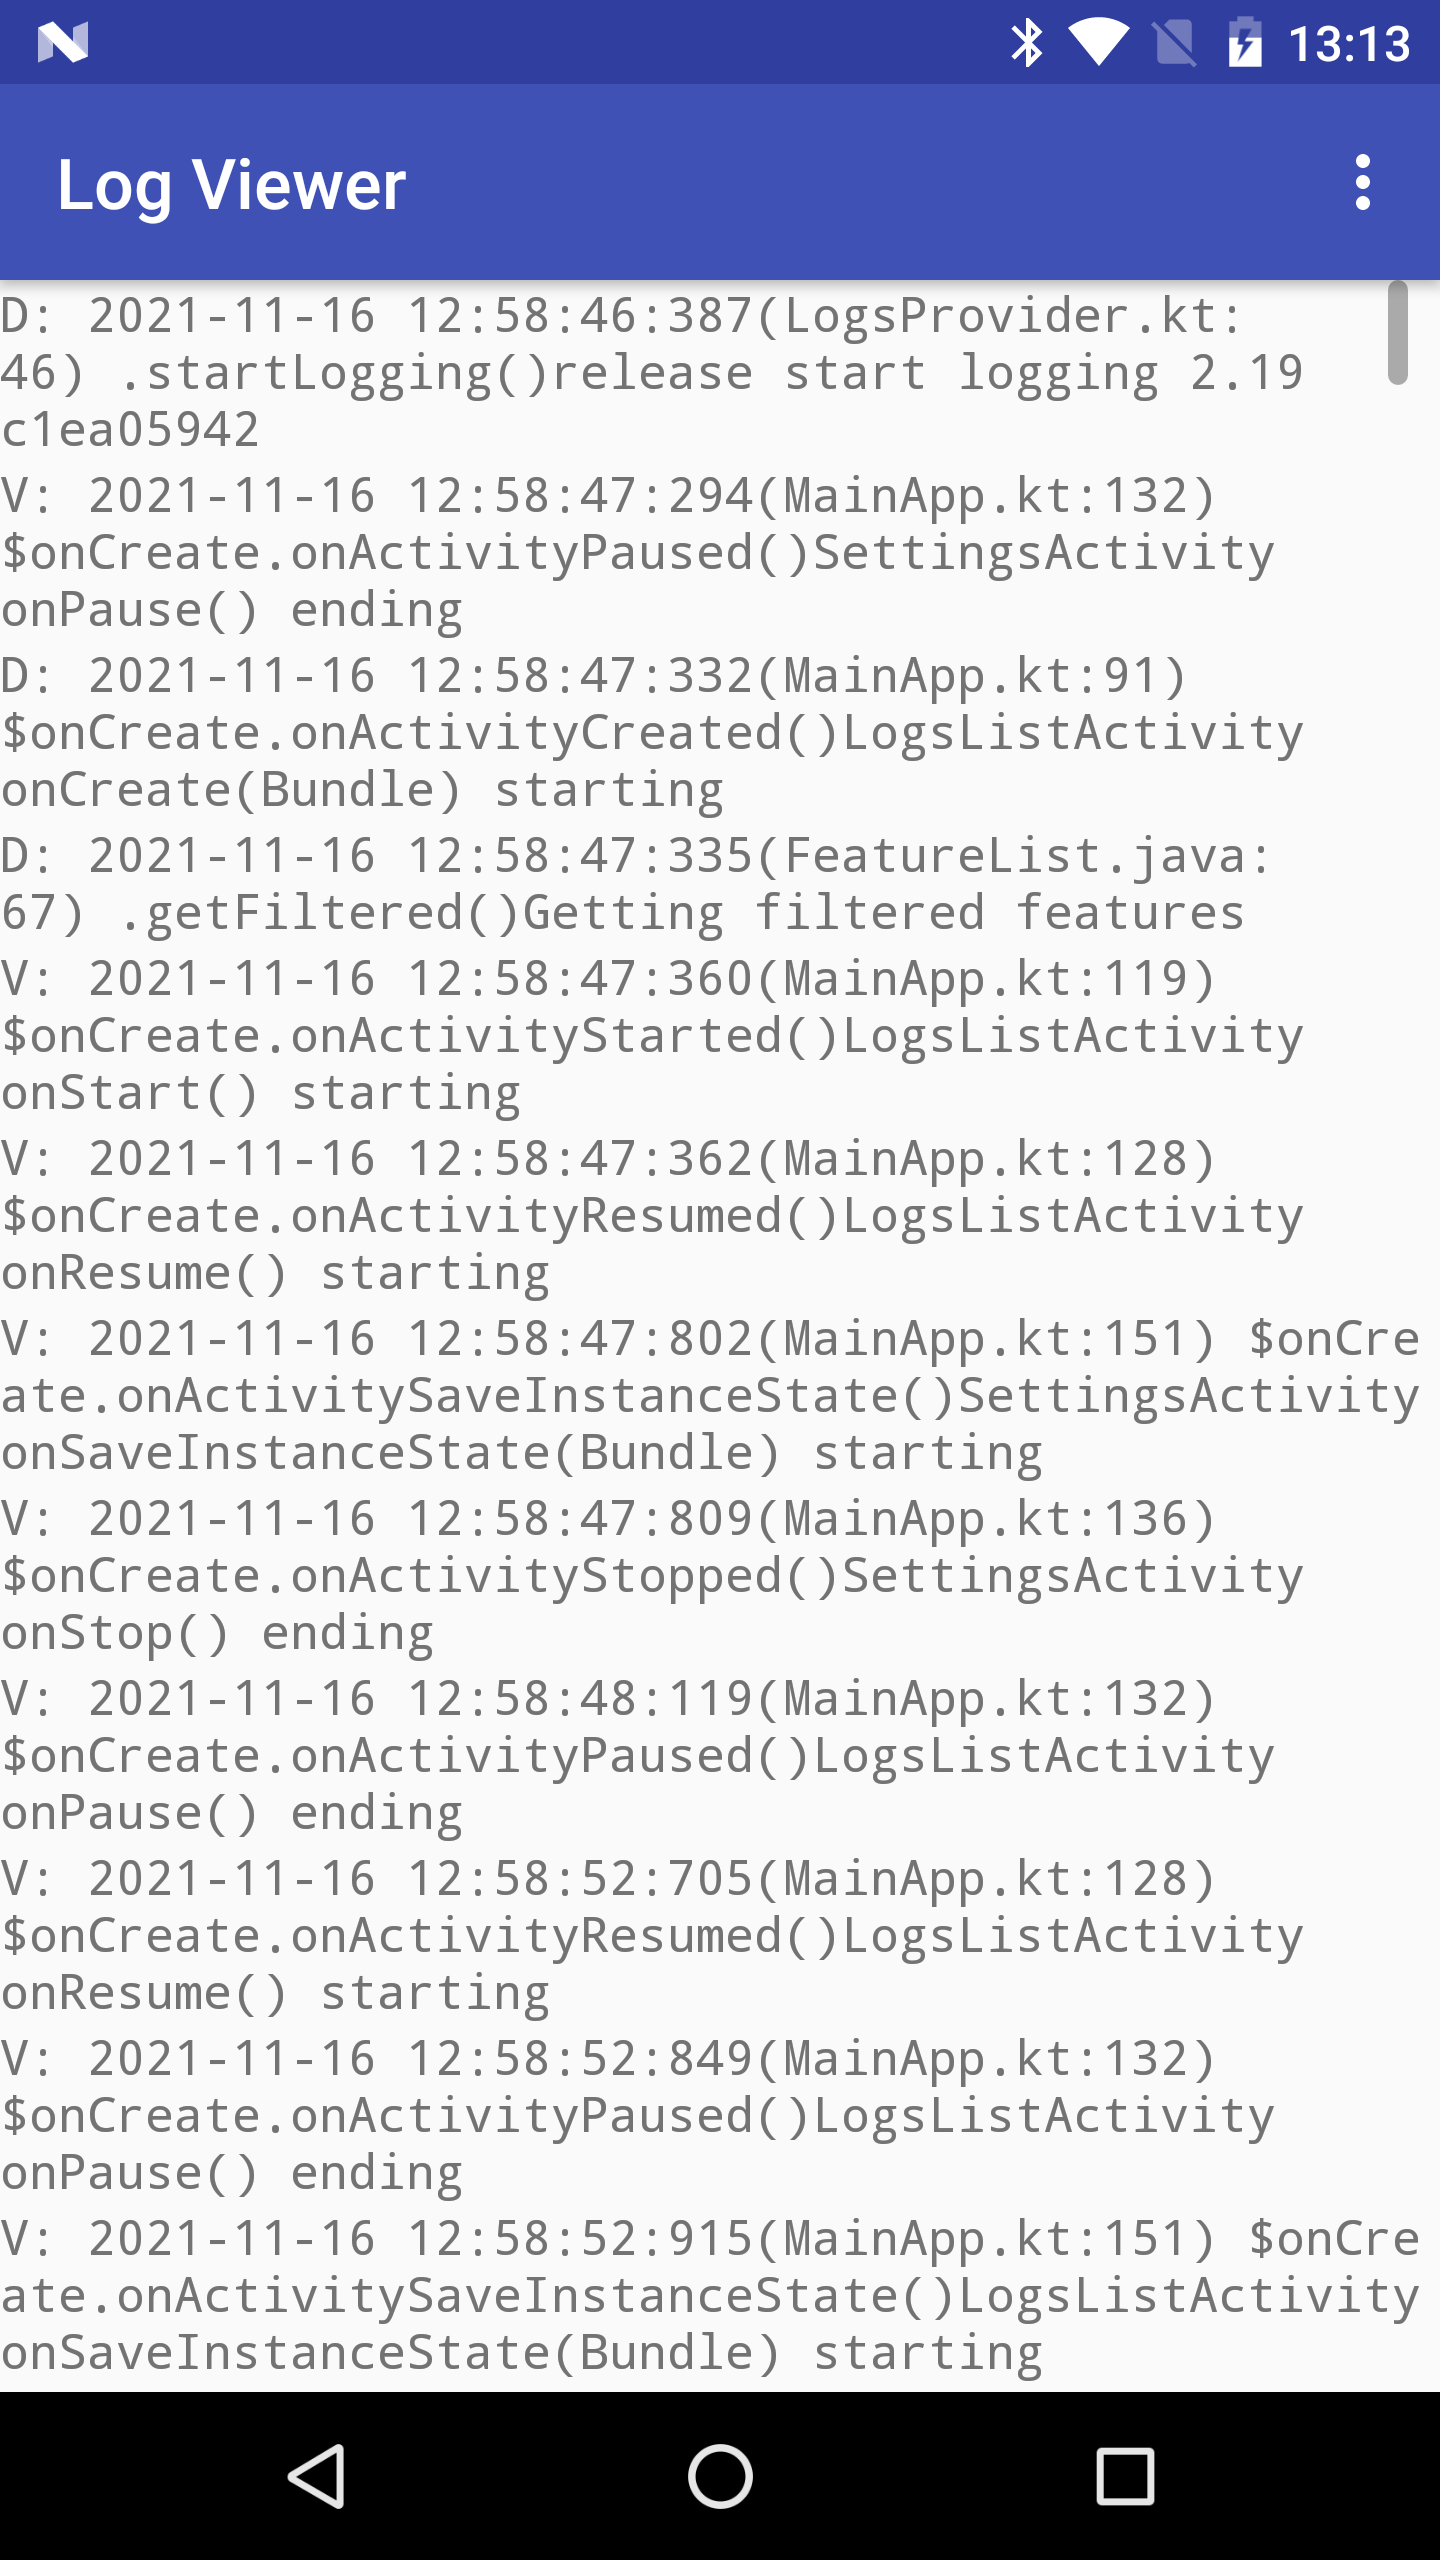
-
Select a log reading app from the list of available ones
After selecting the app, the log is opened by the app selected.
Access Protection
Passcode Locks & Pins
You can also set a passcode lock to further protect your files and folders. And, if you want extra security, you can set a login PIN on your Android device, and also on your ownCloud account. If you are using a shared Android device, other users can access your files in the file manager if you are sharing a single user account. To avoid this, you could set up multiple user accounts to protect your files.
The bottom section of the "Settings" screen has links to:
-
Help
-
Recommend to a friend
-
Feedback
-
The version number
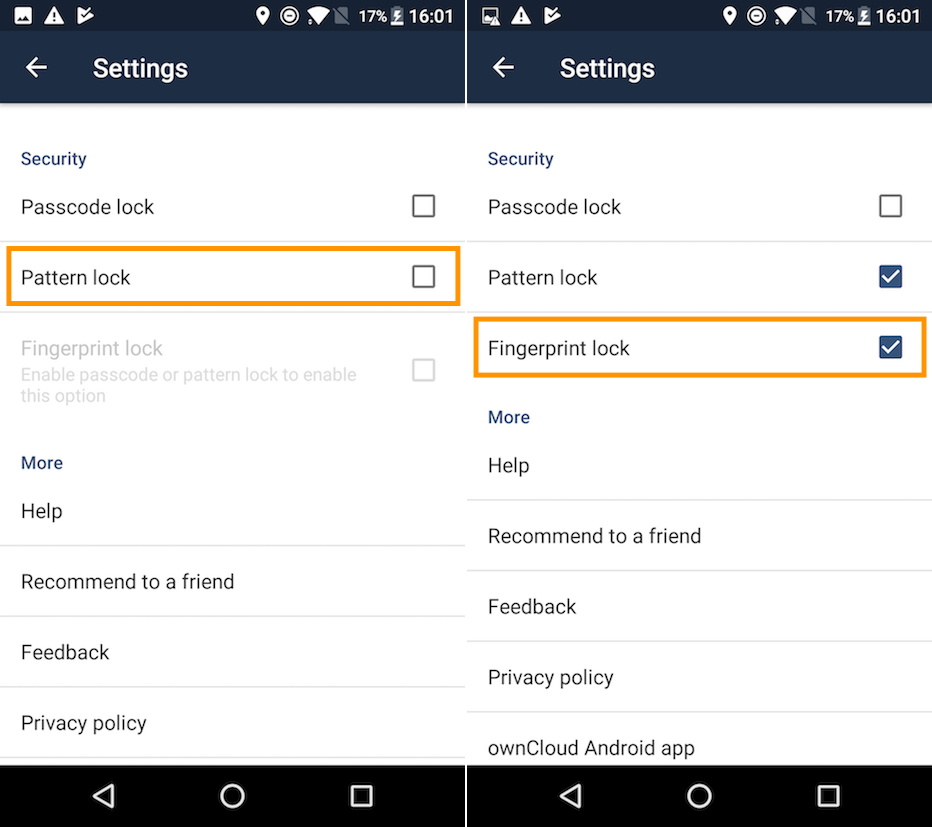
Pattern Lock and Fingerprint Lock
In addition to the Passcode Lock and Pins, you also have the ability to use both a pattern and a fingerprint lock to protect access to your ownCloud app and its data. To enable one or both, under , choose which one(s) you want to enable.
| To use the Fingerprint Lock, the Pattern Lock has to be enabled. |
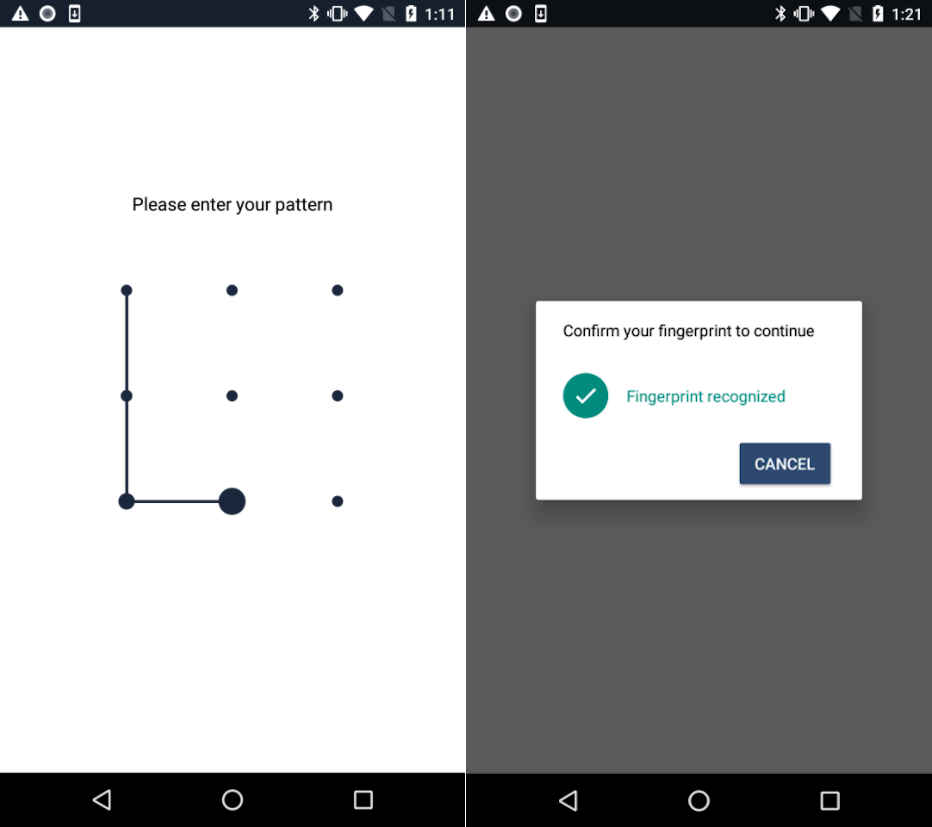
After you enable the pattern lock, you will need to create a pattern and then confirm it to access the ownCloud app, just as you would if you’ve enabled that for access to the phone itself. If you later disable pattern lock, you will need to enter your pattern again.
If you enable the fingerprint lock, you will need to provide one of your already stored fingerprint patterns to access the ownCloud app.
| If fingerprint lock is enabled, but you don’t want to use it, you can cancel the fingerprint lock prompt and fallback to using the pattern lock instead. |