Managing Files
All Files View
When you are in the "All Files" view, all files that you have permission to access on your ownCloud server are displayed in your Android app. However, they are not downloaded until you click on them. Downloaded files are marked with a green tick, on the top-right of the file’s icon.
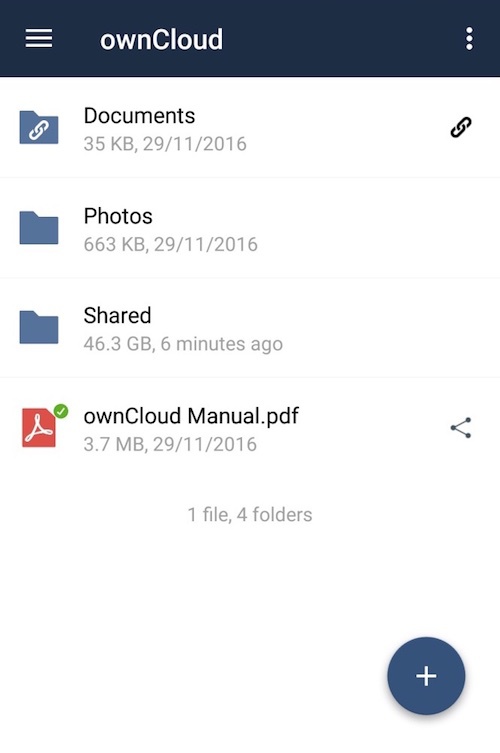
| Videos don’t need to be downloaded before they can be viewed, as they can be streamed to the device from your ownCloud server. |
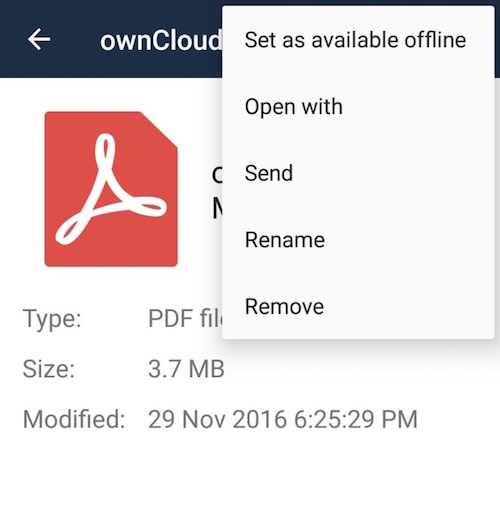
Download and view a file with a short press on the file’s name or icon. Then, a short press on the overflow button opens a menu with options for managing your file.
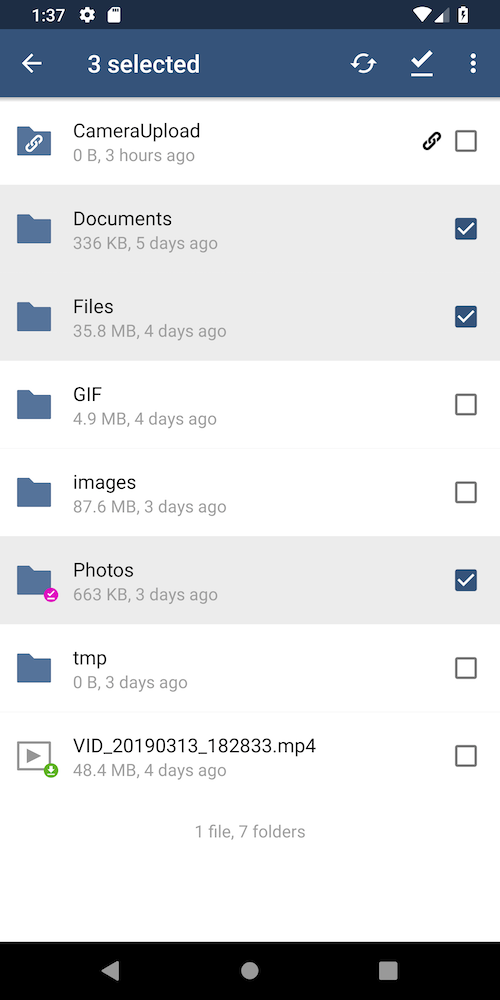
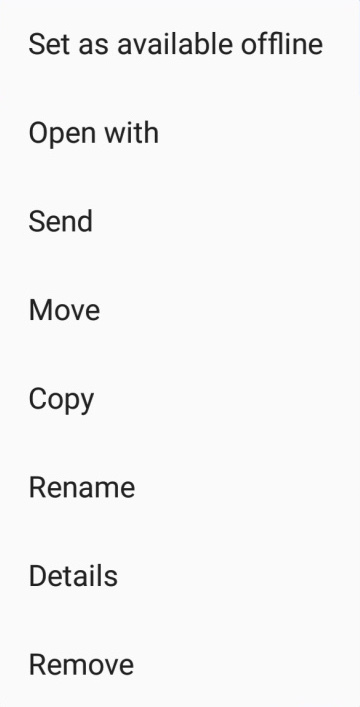
When you are on your main Files page and you long press on any file or folder a list of options appears, which you can see in the image below. Some of them appear in the top bar. The ones that don’t fit in the top bar, appear in the list of options when pressing the overflow button.
| The file size values differ depending on the client you are using. Some operating systems like iOS and macOS use the decimal system (power of 10) where 1kB or one kilobyte consists of 1000 bytes, while Linux, Android and Windows use the binary system (power of 2) where 1KB consists of 1024 bytes and is called a kibibyte. So no reason to worry if you see different file sizes in ownCloud Web and on your mobile device. |
Sharing Files
You can share with other ownCloud users and groups, and create public or private share links.
| Multiple public links per/file is only available with ownCloud X. |
To share a file, you first need to either:
-
Long-click its name, and click the share icon at the top of the screen
-
Click its name and then click the share icon at the top of the screen
The dialog which appears shows a list of users and groups with whom the file is already shared, as well as a list of one or more public links.
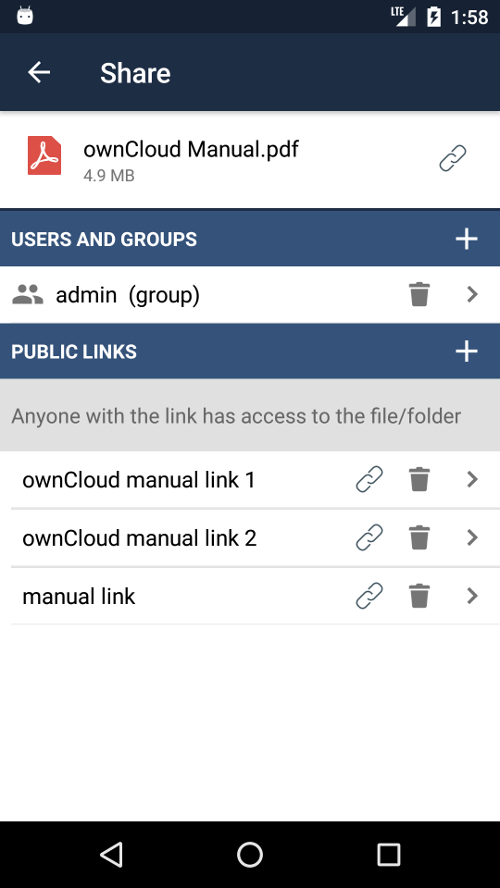
From here you can:
-
Share one link to the file with users of the same ownCloud server
-
Share the file with one or more users and groups
-
Share one or more links to the file via a range of options
-
Enable password protection
-
Set a share expiration date
To create a private link, click the link icon on the right of the file name.
| Private link is available from ownCloud X. |
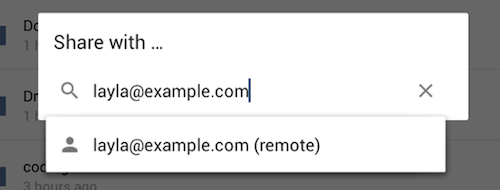
To share the file with a new user or group, click the plus sign next to "Users and Groups", where you will be able to find and add them to the share list. After a user or group has been added, you can adjust the editing and on-sharing options available for them.
| If your ownCloud server administrator has enabled username auto-completion, when you start typing user or group names they will auto-complete. |
You can create a Federated Share Link by entering the username and remote URL of the person you want to share with in this format: user@domain.com. You don’t have to guess; the Personal page in the ownCloud Web GUI tells the exact Federated Cloud ID. Just ask them to copy and paste and send it to you.
To create a public link, click the plus symbol next to "Public Links". This will display the options available for that link, including "Allow editing", "Password", and "Expiration". After the options have been suitably configured, click Save to create the link. If you do not want to create the public link, click Cancel.
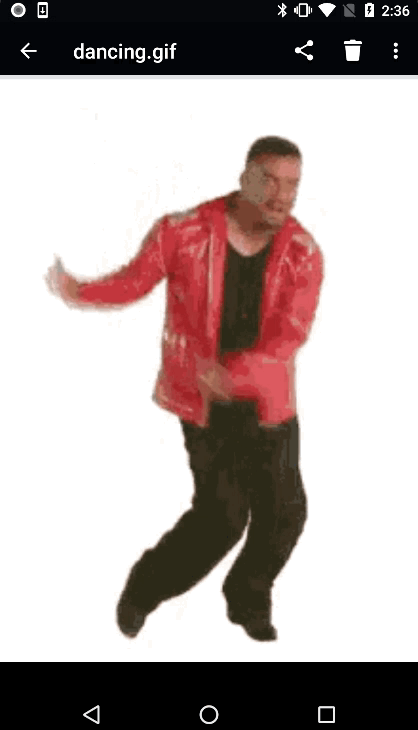
GIF Support
If you upload animated GIFs, when viewing them, they will be animated and not render as a still image, as in the example GIF below.
Creating New Content
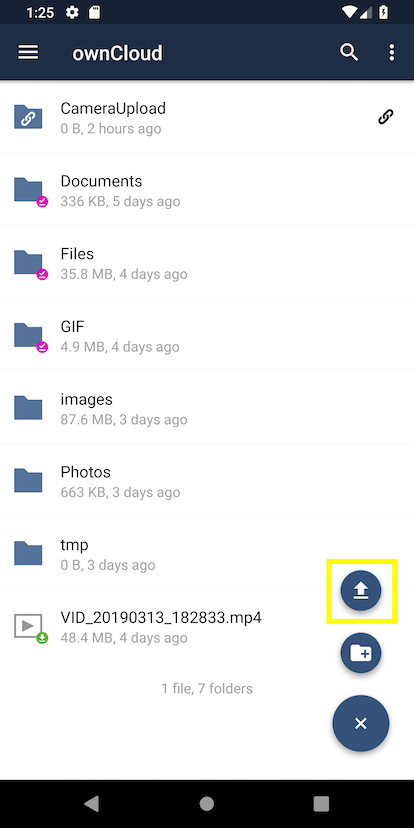
To add new content to your ownCloud server, whether files, folders, or content from other apps, click the blue button at the bottom right to expose the Upload and New folder buttons.
Then, use the Upload button to add files to your ownCloud account from your Android filesystem, from other apps, or from every storage attached to your device
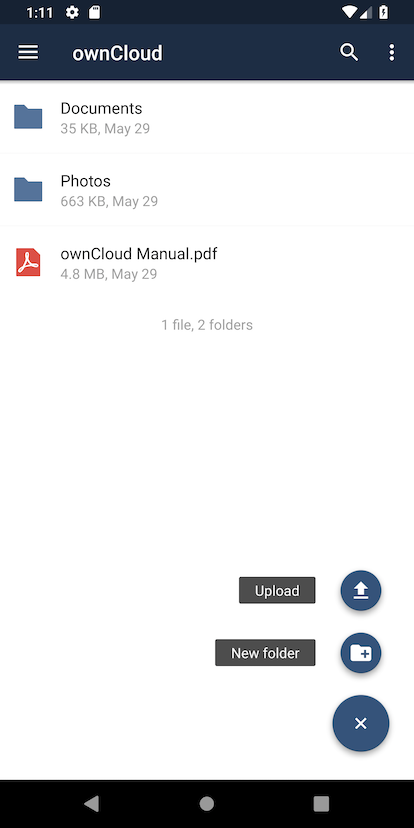
Click the overflow button at the top right (that’s the one with three vertical dots) to open a user menu. Grid view toggles between grid and list view. Refresh account syncs with the server, and Sort gives you the option to sort your files by date, or alphabetically.

Upload Pictures Directly From The Camera
| Step 1 | Step 2 | Step 3 |
|---|---|---|
|
|
|
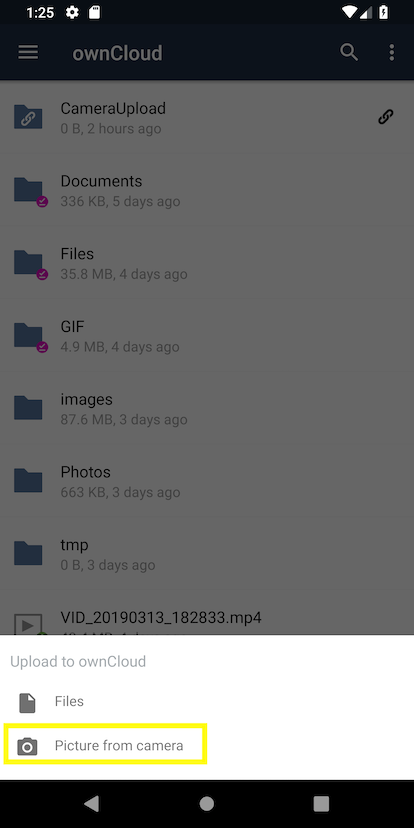
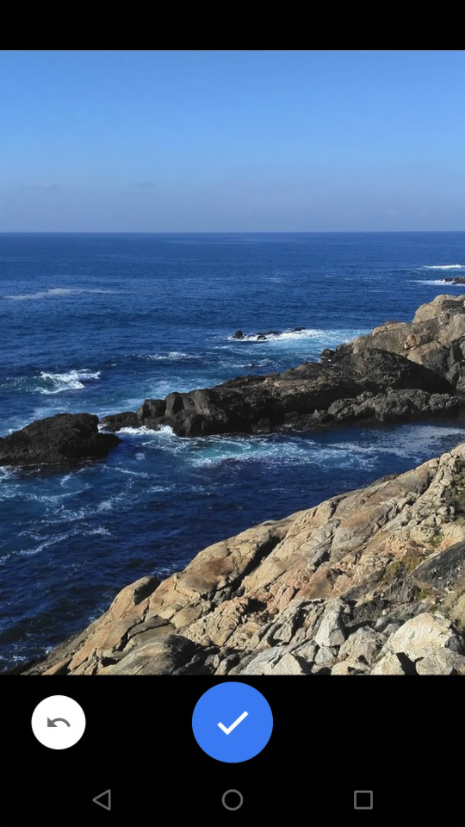
Images can be uploaded directly from the camera. To do so, similar to uploading a file or creating a new folder, when viewing all files, click the Plus icon, then the Upload button in the popup list (which is the first icon). From there, under Upload to ownCloud, click Picture from camera. The camera app will then start, and the picture that you take can be directly uploaded to your ownCloud server.
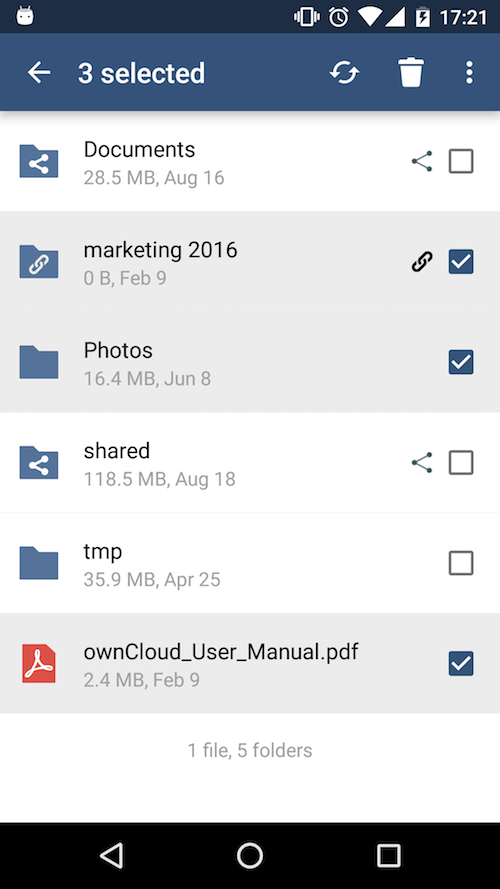
Working With Multiple Files
The Android application can perform some operations on multiple files simultaneously, such as refreshing and deleting. To select multiple files, long select the first file that you want to work with; you will see a checkbox appear on the far right-hand side. After that, check the checkbox next to all the other files that you want to perform the same operation on, and then perform the operation.
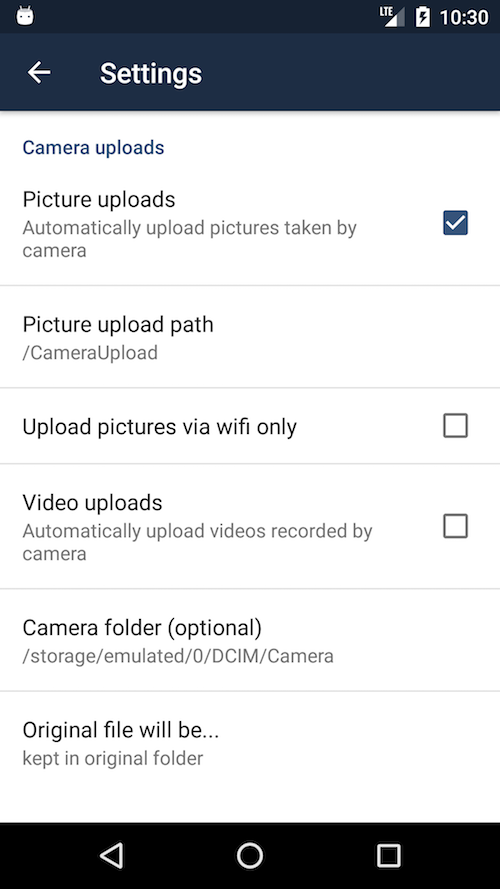
Uploading Files Taken From the Camera
Pictures and videos can be uploaded from your smartphone after choosing the folder where they are stored. To specify where they are located, in the "Settings" options, under Camera uploads, enable one of "Picture uploads" or "Video uploads". After that, a further option called "Camera folder" will become visible, as in the screenshot below.
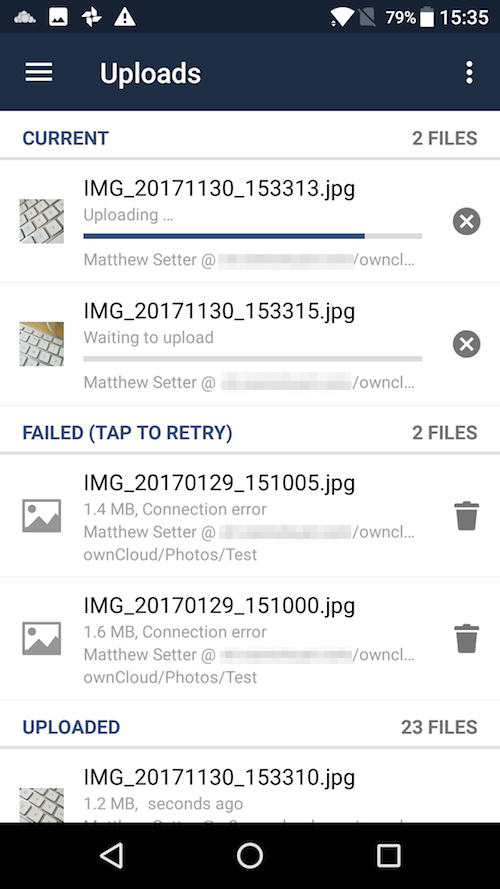
Current Uploads
The Uploads page displays the status of files currently uploading, a list of your recently uploaded files, and a Retry option for any failed uploads. If credentials to access the file have changed, you’ll see a credentials error. Tap the file to retry, and you’ll get a login screen to enter the new credentials.
If the upload fails because you’re trying to upload to a folder that you do not have permission to access, you will see a "Permissions error". Change the permissions on the folder and retry the upload, or cancel and then upload the file to a different folder.
Make Folders Available Offline
Folders can be made available for when no internet or mobile connectivity is available. Doing so caches a copy of the folder and its contents locally to the device (assuming that sufficient disc space is available). Depending on the number of folders selected for offline availability, how folders are made available offline works slightly differently.
-
A single folder: When a single folder is selected, click the More options menu, which opens a popup menu, and then select the first option, labeled: "Set as available offline".
-
Multiple folders: When multiple folders are selected, click the down arrow icon near the top of the screen.
When the folders have been cached locally, the icon will change to be a purple circle with a white tick icon in the bottom right-hand corner, as in the screenshot below.