Managing User Accounts
Introduction
This guide steps you through how to manage user accounts in ownCloud’s iOS app. It includes the authentication types, and how to add, update, remove, and delete user accounts. With the iOS app, users can access their data from several ownCloud instances. They can use one or more accounts for the same server, or accounts for other ownCloud servers they have access to.
Authentication Methods
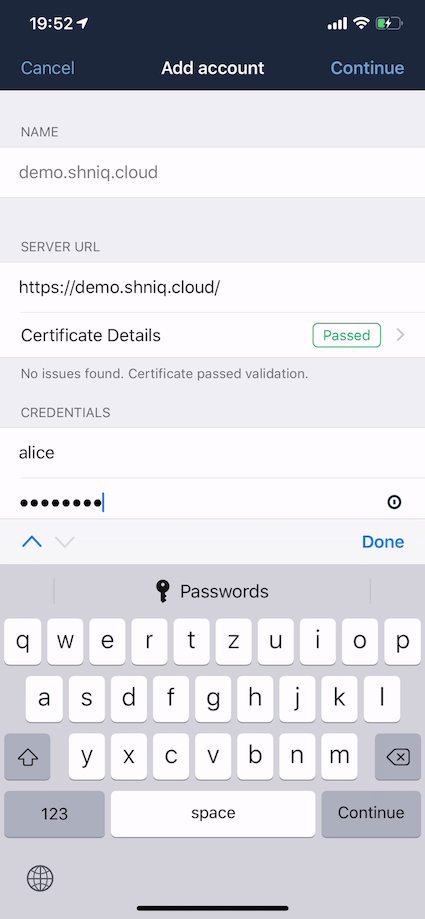
The iOS app supports two ways of authentication options for user accounts. These are:
Authentication Options
Basic Authentication
-
Login Credentials are stored on the device (secured in the iOS system keychain).
-
Password manager support.
OAuth 2.0
The OAuth2 implementation uses SFAuthenticationSession, which is described as a best practice by RFC 8252 - when running under iOS 11. Under iOS 12, the OAuth2 implementation uses ASWebAuthenticationSession, which is the successor of SFAuthenticationSession. Benefits of using these APIs include:
-
Privilege separation: Web content is run in a separate process.
-
Trustworthiness: Apps can’t inject code into or access the contents of the web view.
-
Convenience for the user: Cookies from Safari are available to the web content inside the session.
Additionally, OAuth2 is the industry standard authorisation method, and the username and password are not stored on the device.
Manage Accounts
Add an Account
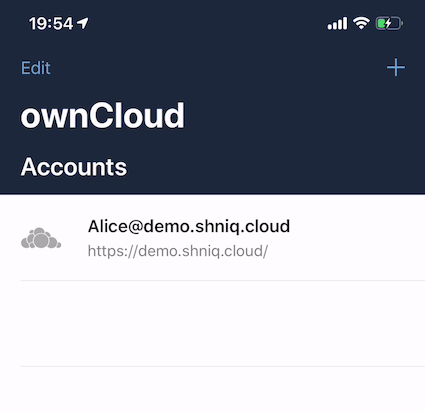
To add one or more user accounts to the iOS app, when in the "Accounts" view, click the plus (+) icon in the top right-hand corner. This opens the "Add Account" dialog, where you can enter the URL of the ownCloud server. After you enter it and click "Continue", the iOS app checks the authentication method and the validity of the SSL/TLS certificate (if the server URL uses the HTTPS protocol).
If the certificate is deemed to be valid, you will see a green "Passed" symbol near the bottom of the page, next to "Certificate Details", and the text "No issues found. Certificate passed validation."
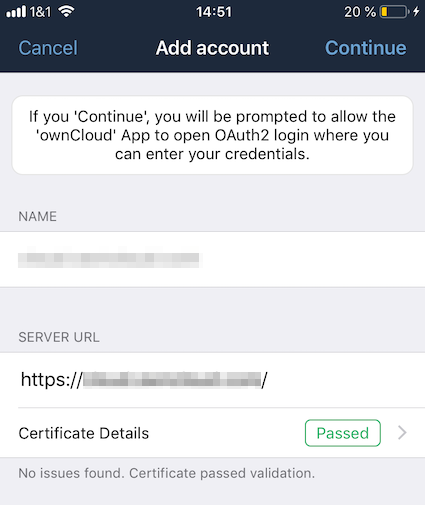
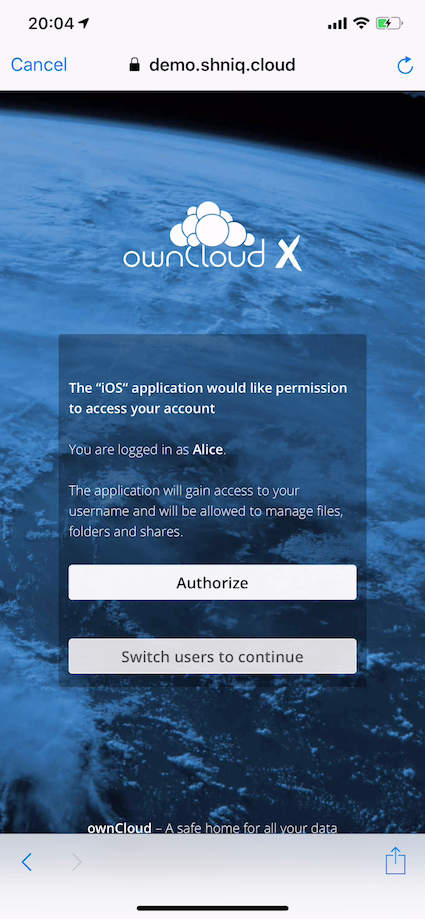
Click Continue and the app will prompt you if you want to use the supplied server URL to sign in to the app. You will then be redirected to the ownCloud server, where you can supply your username and password. After doing so, and submitting the form, you will then be asked if you want to give permission for the app to access your account.
-
If so, click Authorize.
-
If not, click Cancel.
-
If you clicked Authorize, you will then be returned to the Accounts screen, where you will see your new account in the list.
|
ownCloud server must have the OAuth2 app installed, configured, and enabled to use Two-Factor Authentication. Please contact your ownCloud administrator for more details. |
Delete an Account
If you want to delete an account, when viewing the Accounts list, swipe left on the account that you want to delete and click Delete.
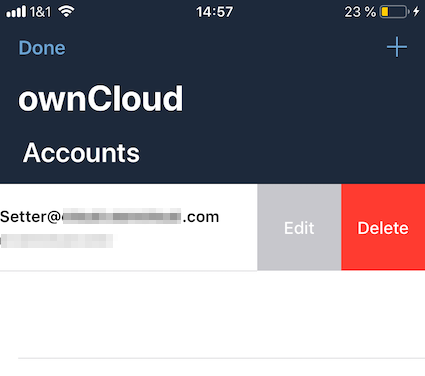
You will then be asked if you really want to delete that account.
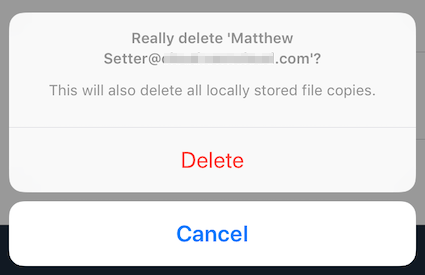
If you do, click Delete. Doing so deletes the account from the device, as well as all locally stored file copies. If you don’t want to delete the account, click Cancel.
Edit Authentication
If you want to edit an account, when viewing the Accounts list, swipe left on the account that you want to edit and click Edit.

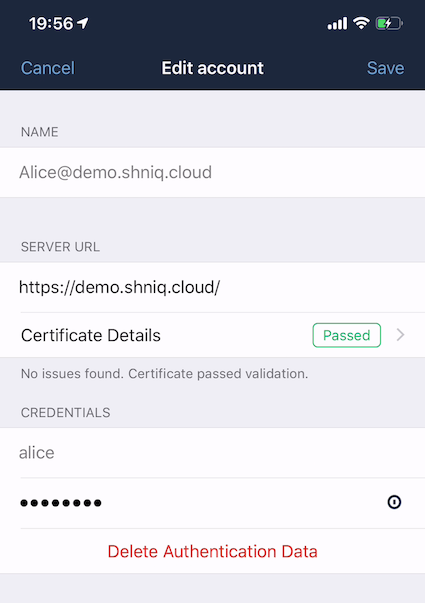
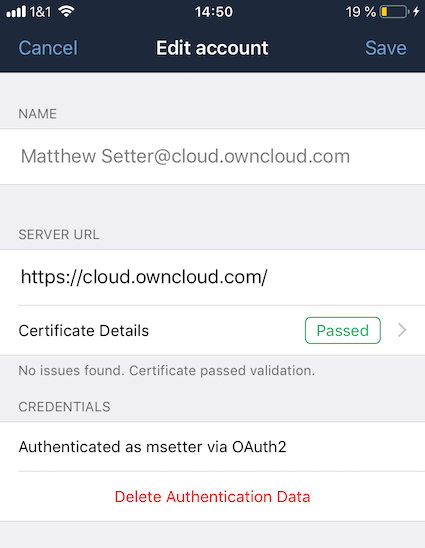
You will then be able to change the ownCloud server URL, and manage the authentication credentials. How the authentication credentials can be managed depends on the authentication type.
| Basic Authentication | OAuth2 Authentication |
|---|---|
The user is authenticated using Basic Authentication. In this setup, they will be able to enter a different password, as well as delete their authentication data. |
The user is authenticated using OAuth2 authentication. In this setup, they will only be able to delete their OAuth2 authentication. |
|
|