Manual File Locking
Introduction
Manual file locking allows users, if enabled, to lock files in shared areas while working on them in order to prevent concurrent changes from other users (check-in/check-out).
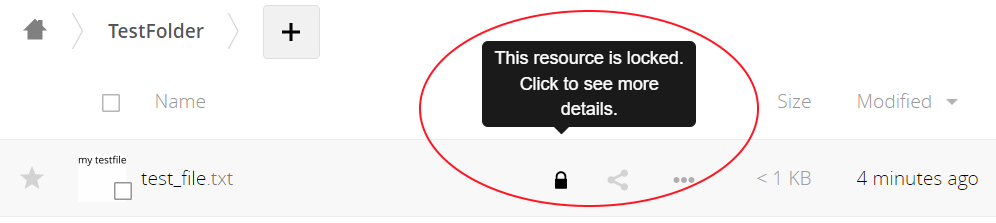
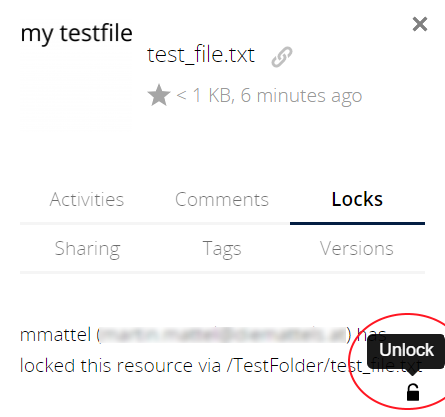
The feature builds on the WebDAV Locks backend which has been introduced with Server 10.1 and is now available in the ownCloud Web Interface. All storages are supported as locking takes place on the WebDAV level. The locks will only be available via ownCloud, not when a user works directly on the storage. Using the context menu of files, every user who has access can lock them. Users can recognize locked files by the means of a new lock indicator. While a file is locked, other users can still access it but they can not make any changes. Locked files can manually be unlocked by the lock owner (the user who locked the file; exclusive locking) using the "Locks" tab in the file details view (right sidebar).
Example Use Case
In a shared folder, one user wants to signal to others that nobody should change a certain file. To do so, the user locks the file. While locked, a copy can be download and locally edited (check-out). When done editing, the user first removes the lock and then uploads the changes (check-in).
Enable or Disable the UI Component
| The user-facing components in the web interface are disabled by default because this feature allows users to lock other users' files exclusively. Even the owner of the file can’t unlock them. Lock releasing can only be done by the locking user, a user who is a member of a lock breaking group (if defined), or until the lock expires. |
By default, locks set by the user in the web interface will expire after 30 minutes. The maximum lock time by default is 24 hours.
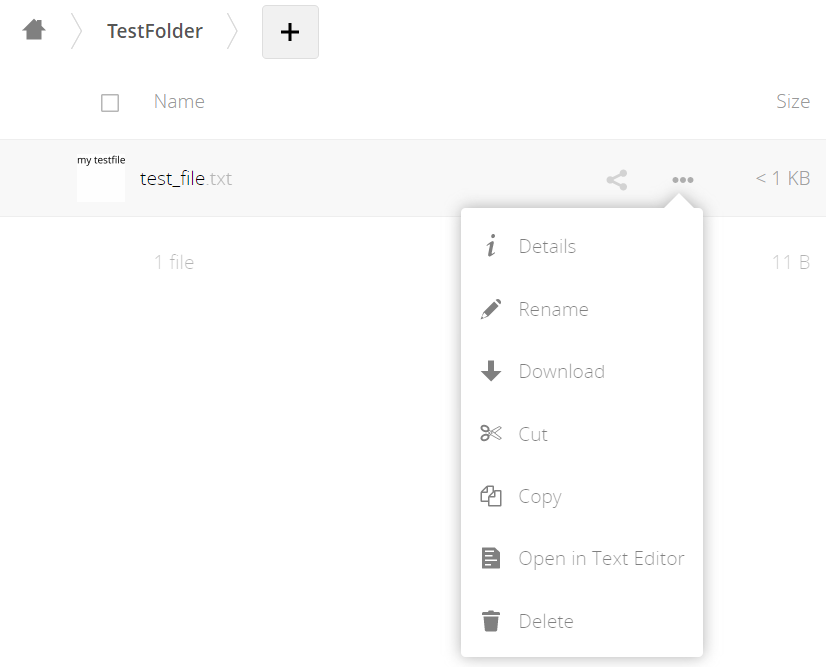
The main user-facing component in the web interface looks like in the following screenshots. If Manual File Locking is disabled, the additional user-facing components are not present:
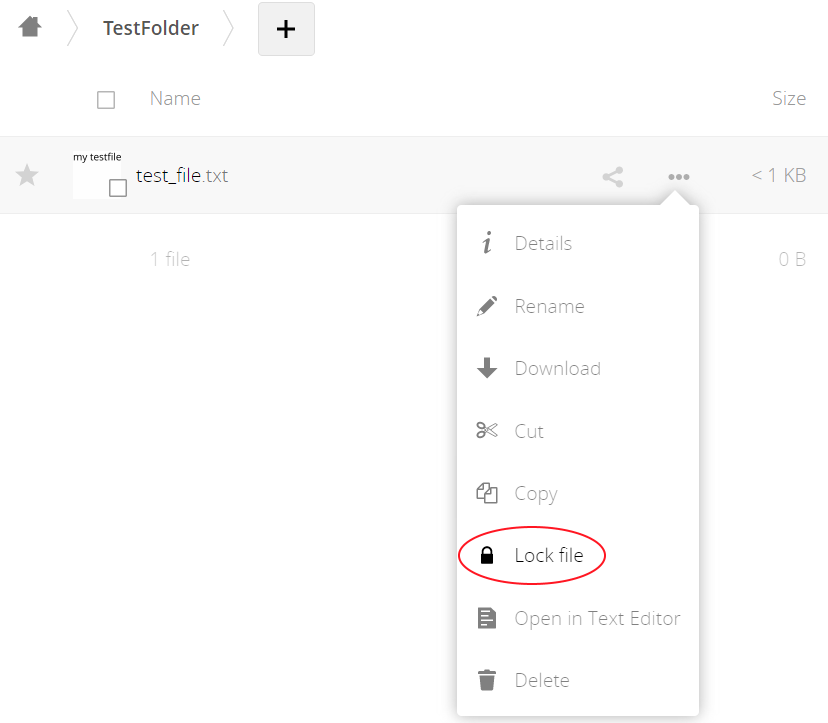
| Manual Locking Disabled | Manual Locking Enabled |
|---|---|
|
|
If manual locking is enabled, the following additional user-facing components are present:

|
|

|
|
Administrators can enable Manual File Locking for users either via the web interface or by executing an occ command:
- Web interface
-
Go to
- Using the occ command
sudo -u www-data ./occ config:app:set files enable_lock_file_action --value yesConfiguration
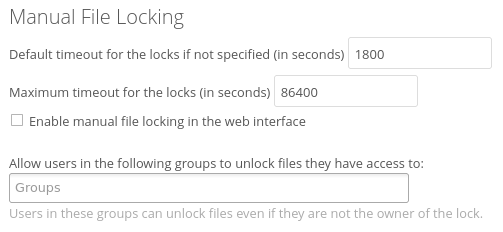
To prevent files being locked infinitely, there is a mechanism that automatically expires locks after a certain time. The expiration time of locks can either be configured via the web interface or using occ commands. In addition, administrators can define groups whose members can break locks.
Maximum lifetime of a lock set via the web interface (or by not specifying a timeout value when calling the WebDAV Locks API).
Maximum lifetime of locks which is allowed to be set by calling the WebDAV Locks API.
Users who are a member of these groups can break locks set by another user.
- Web interface
-
Go to
The image is the same as shown above when enabling or disabling Manual File Locking. - Using the occ command
-
-
Default locks timeout
sudo -u www-data ./occ config:app:set files lock_timeout_default --value 1800 -
Maximum locks timeout
sudo -u www-data ./occ config:app:set files lock_timeout_max --value 86400 -
Define lock breaker groups
The example below defines two lock breaker groups named
unlockersandadmin.sudo -u www-data ./occ config:app:set core lock-breaker-groups --value '["unlockers","admin"]'
-