Create Provisioning Profiles
Introduction
A provisioning profile is a collection of information that links an App ID with signing certificates and authorized devices. It is used to control and authorize the devices on which the app can run and the Apple services it can access.
Overview
The next step is to create five provisioning profiles: either 5 App Store profiles if you want to distribute the App via the App Store, or 5 Ad Hoc profiles if you want to distribute it differently. All of these profiles must be stored on your Mac PC.
Create Provisioning Profiles
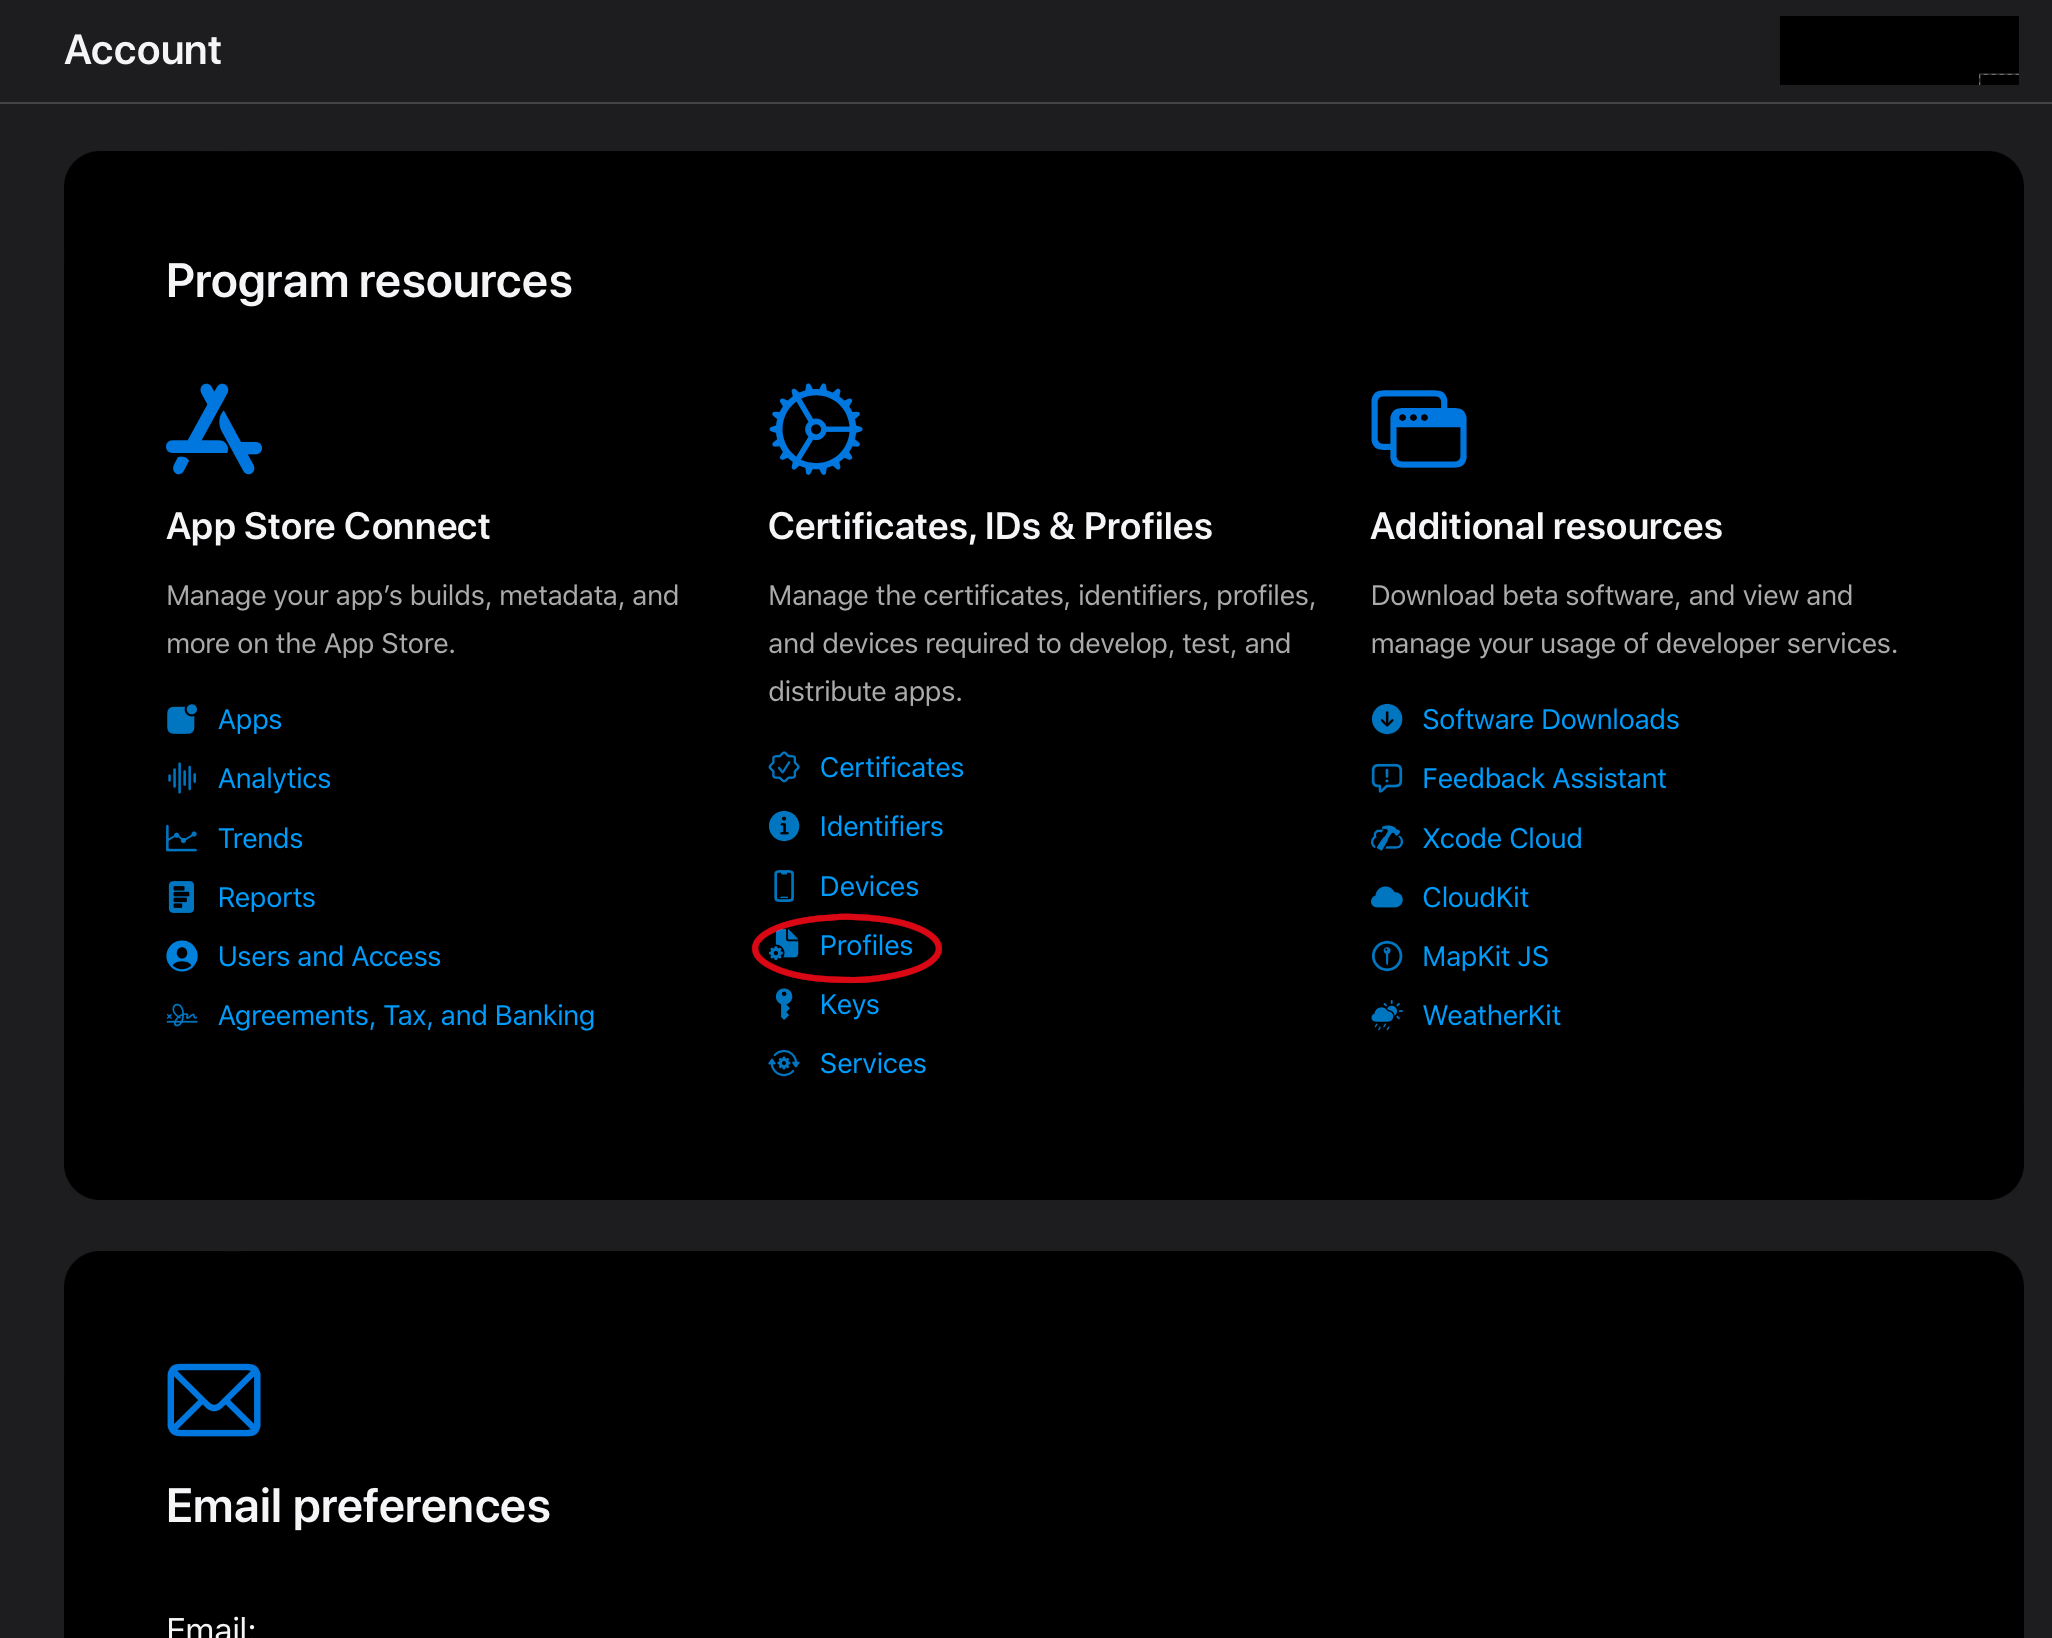
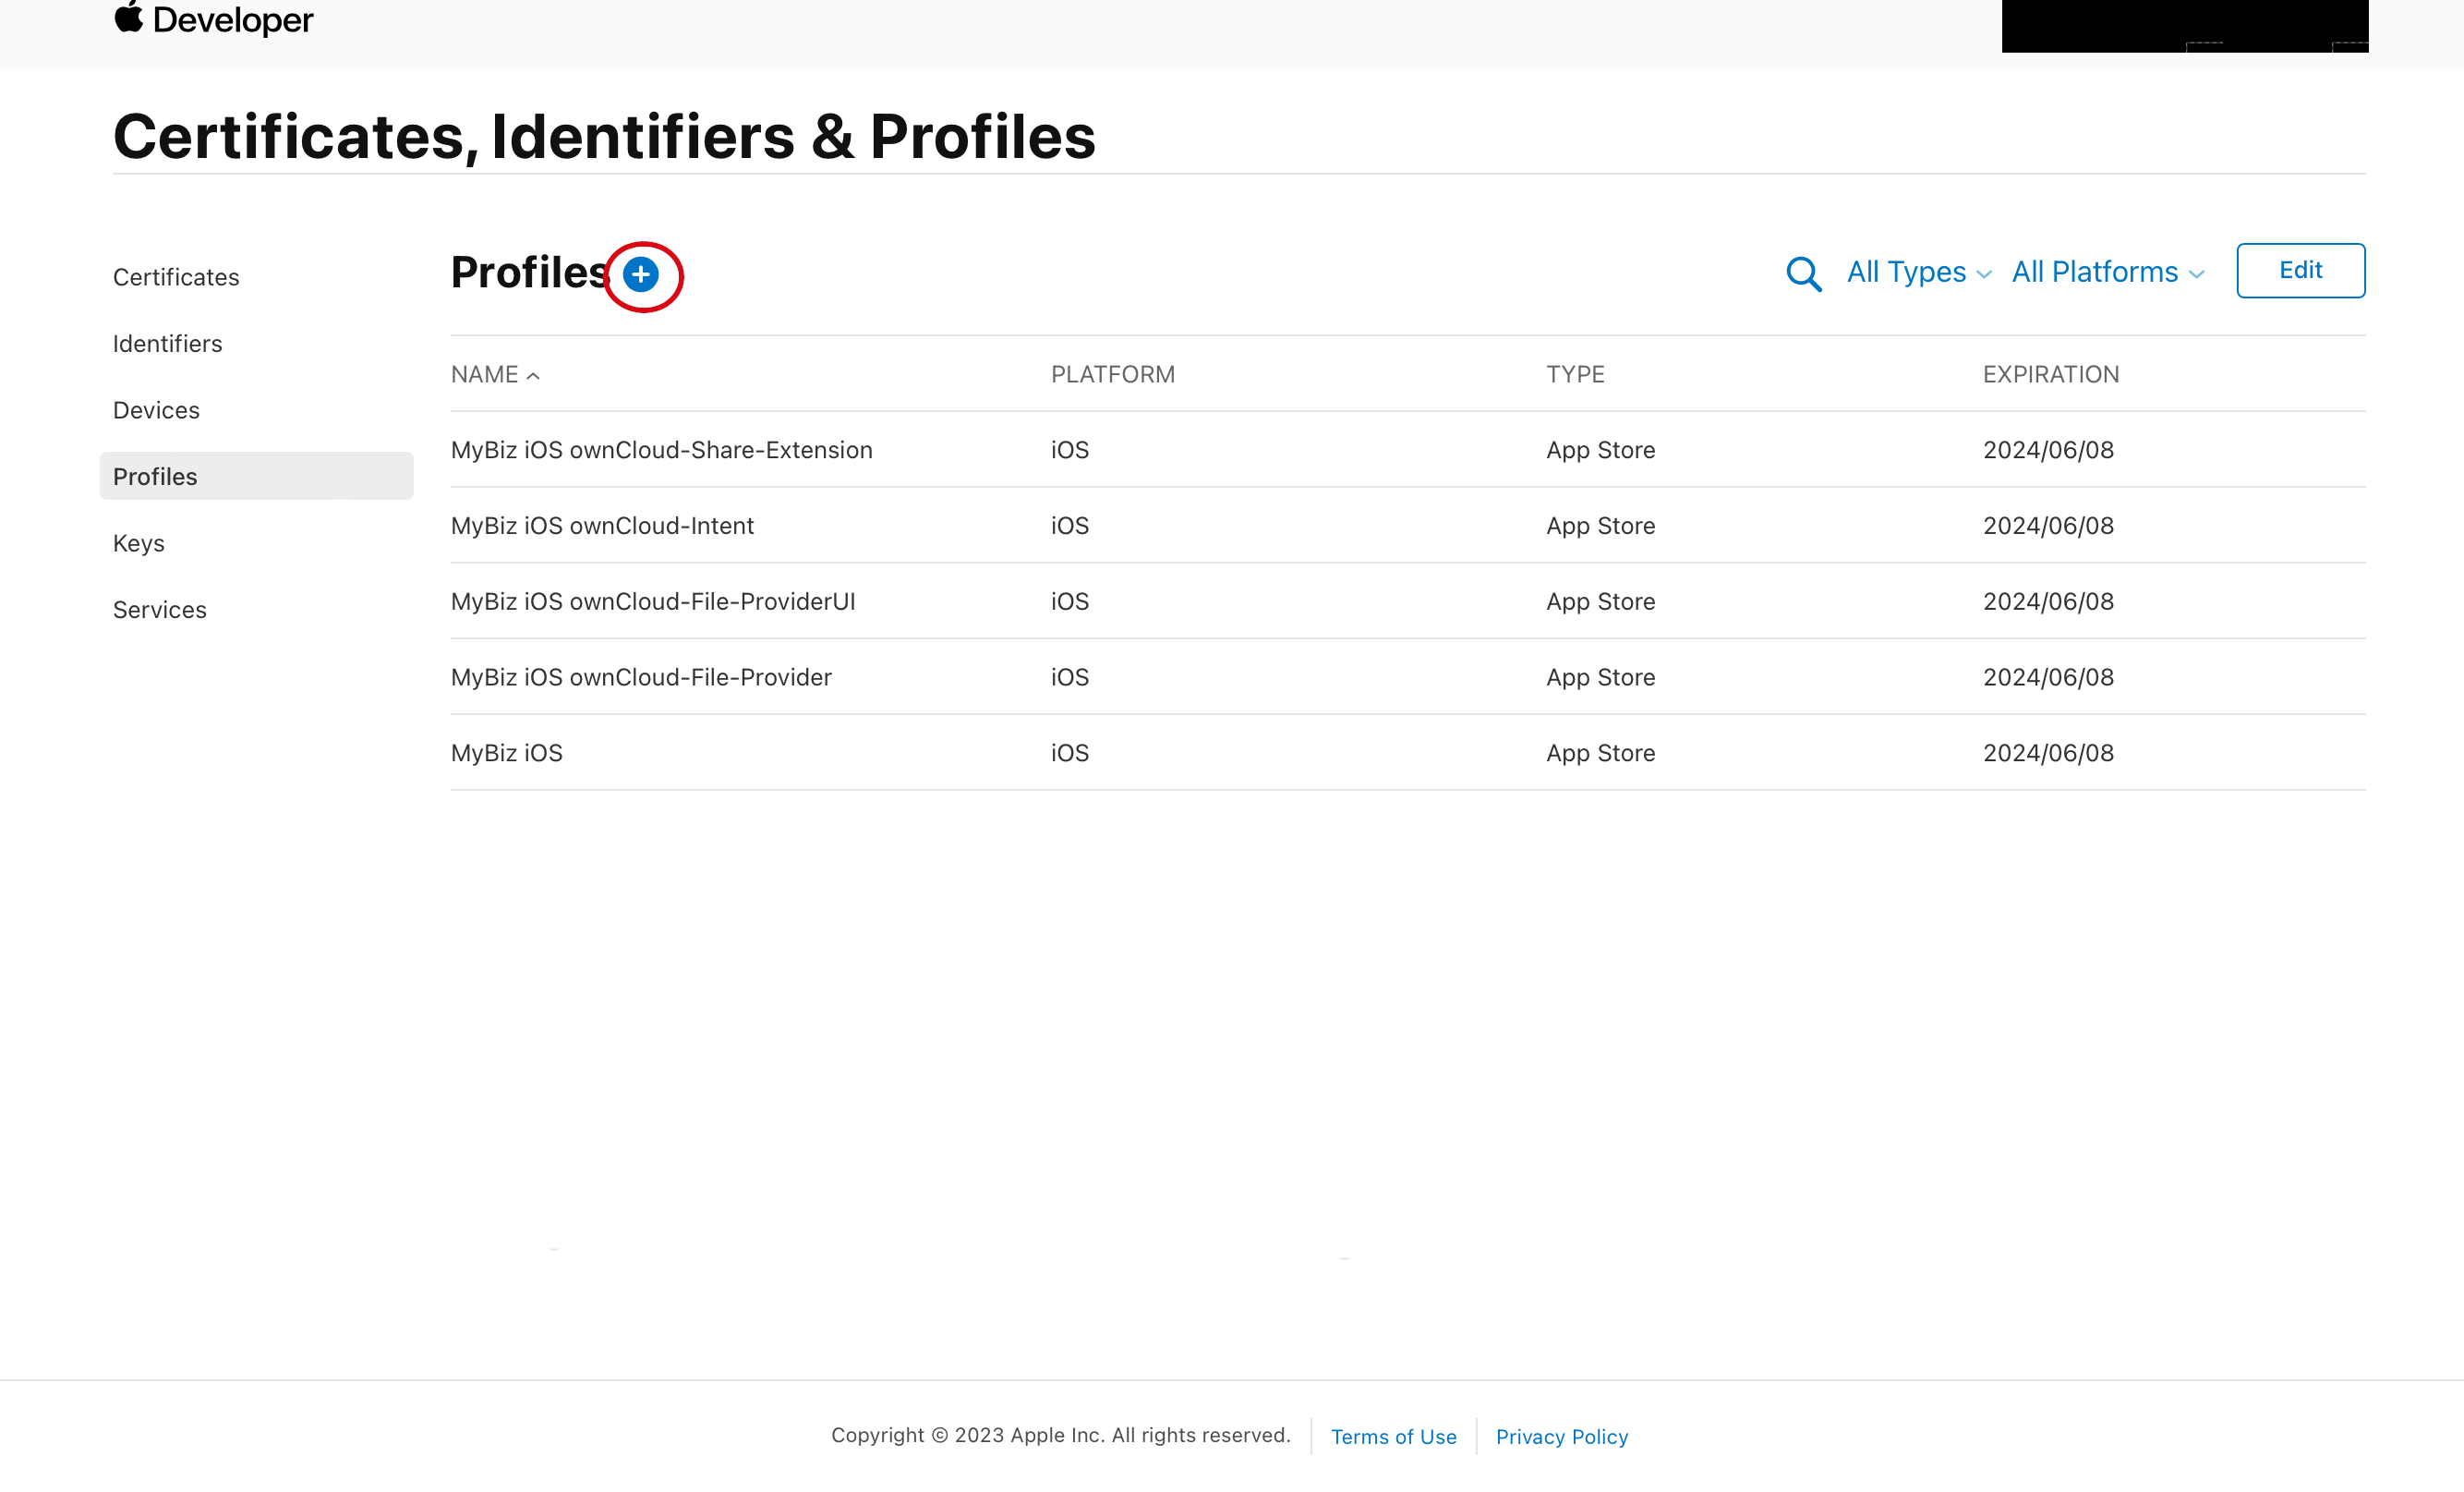
Now you must create your Provisioning Profiles. Go to and click the plus button to open the Register a New Provisioning Profile screen.
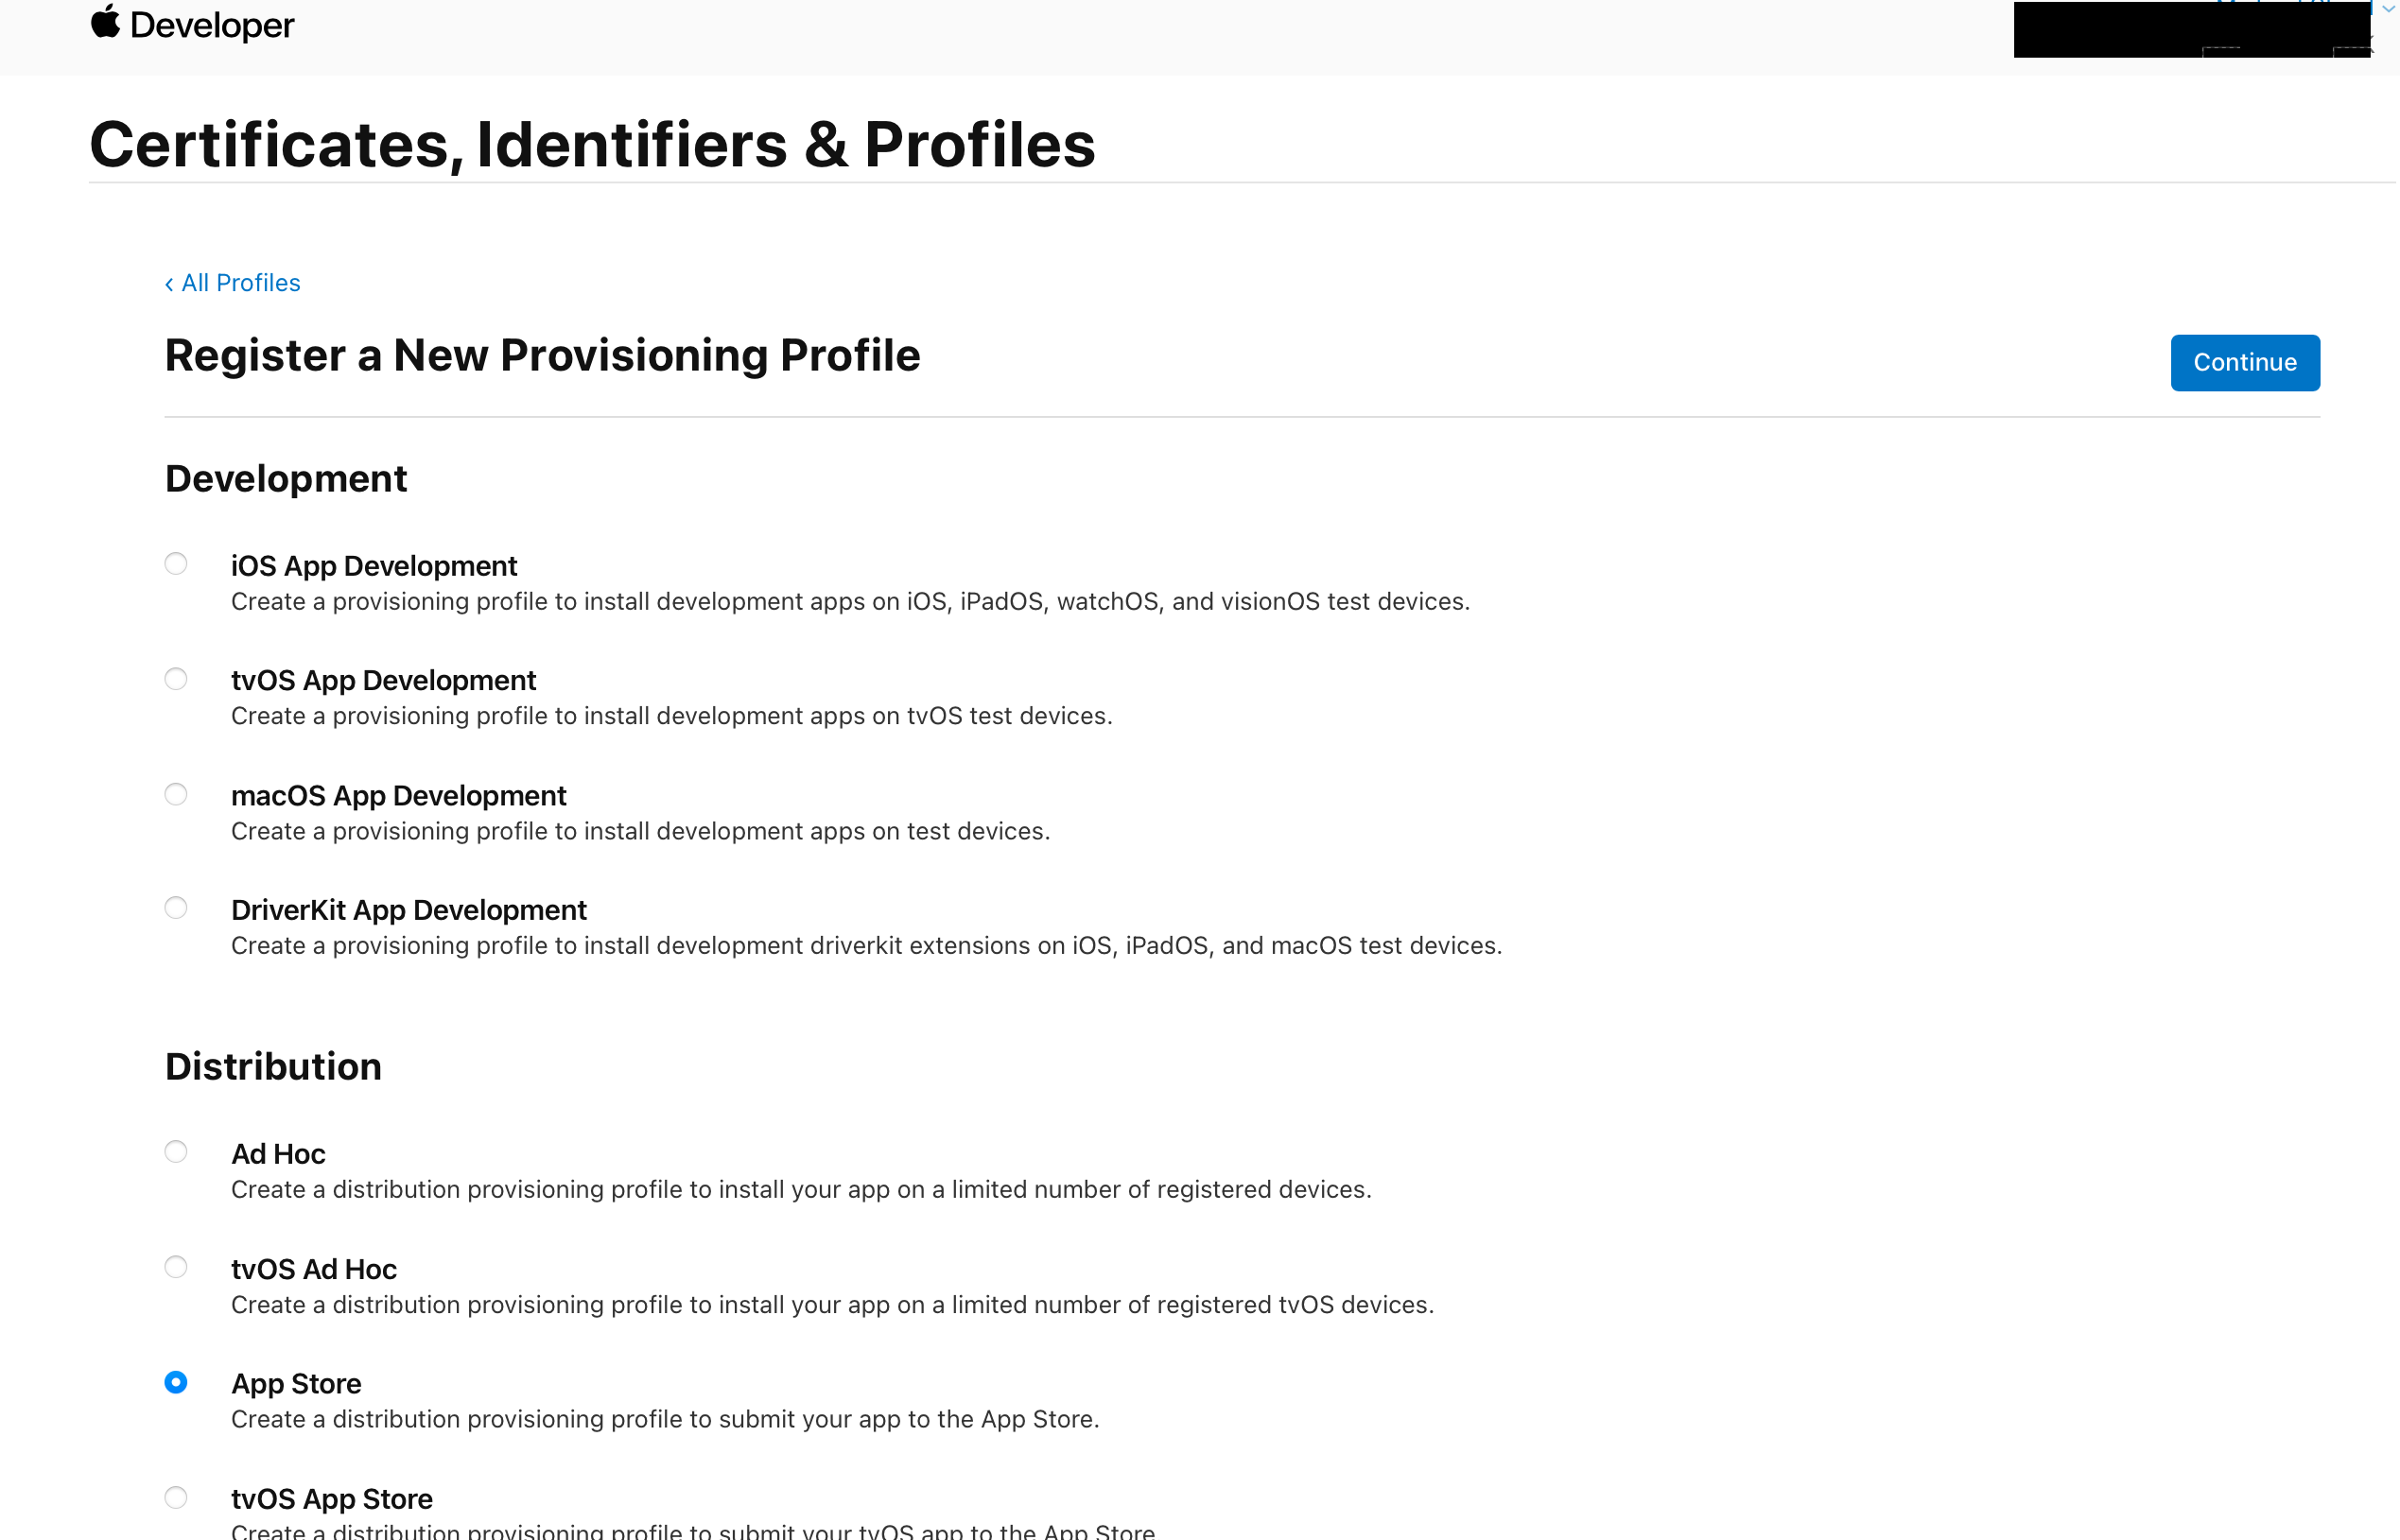
If you want to distribute the App by yourself, select Ad Hoc. Otherwise, select App Store. The process is similar for both distributions.
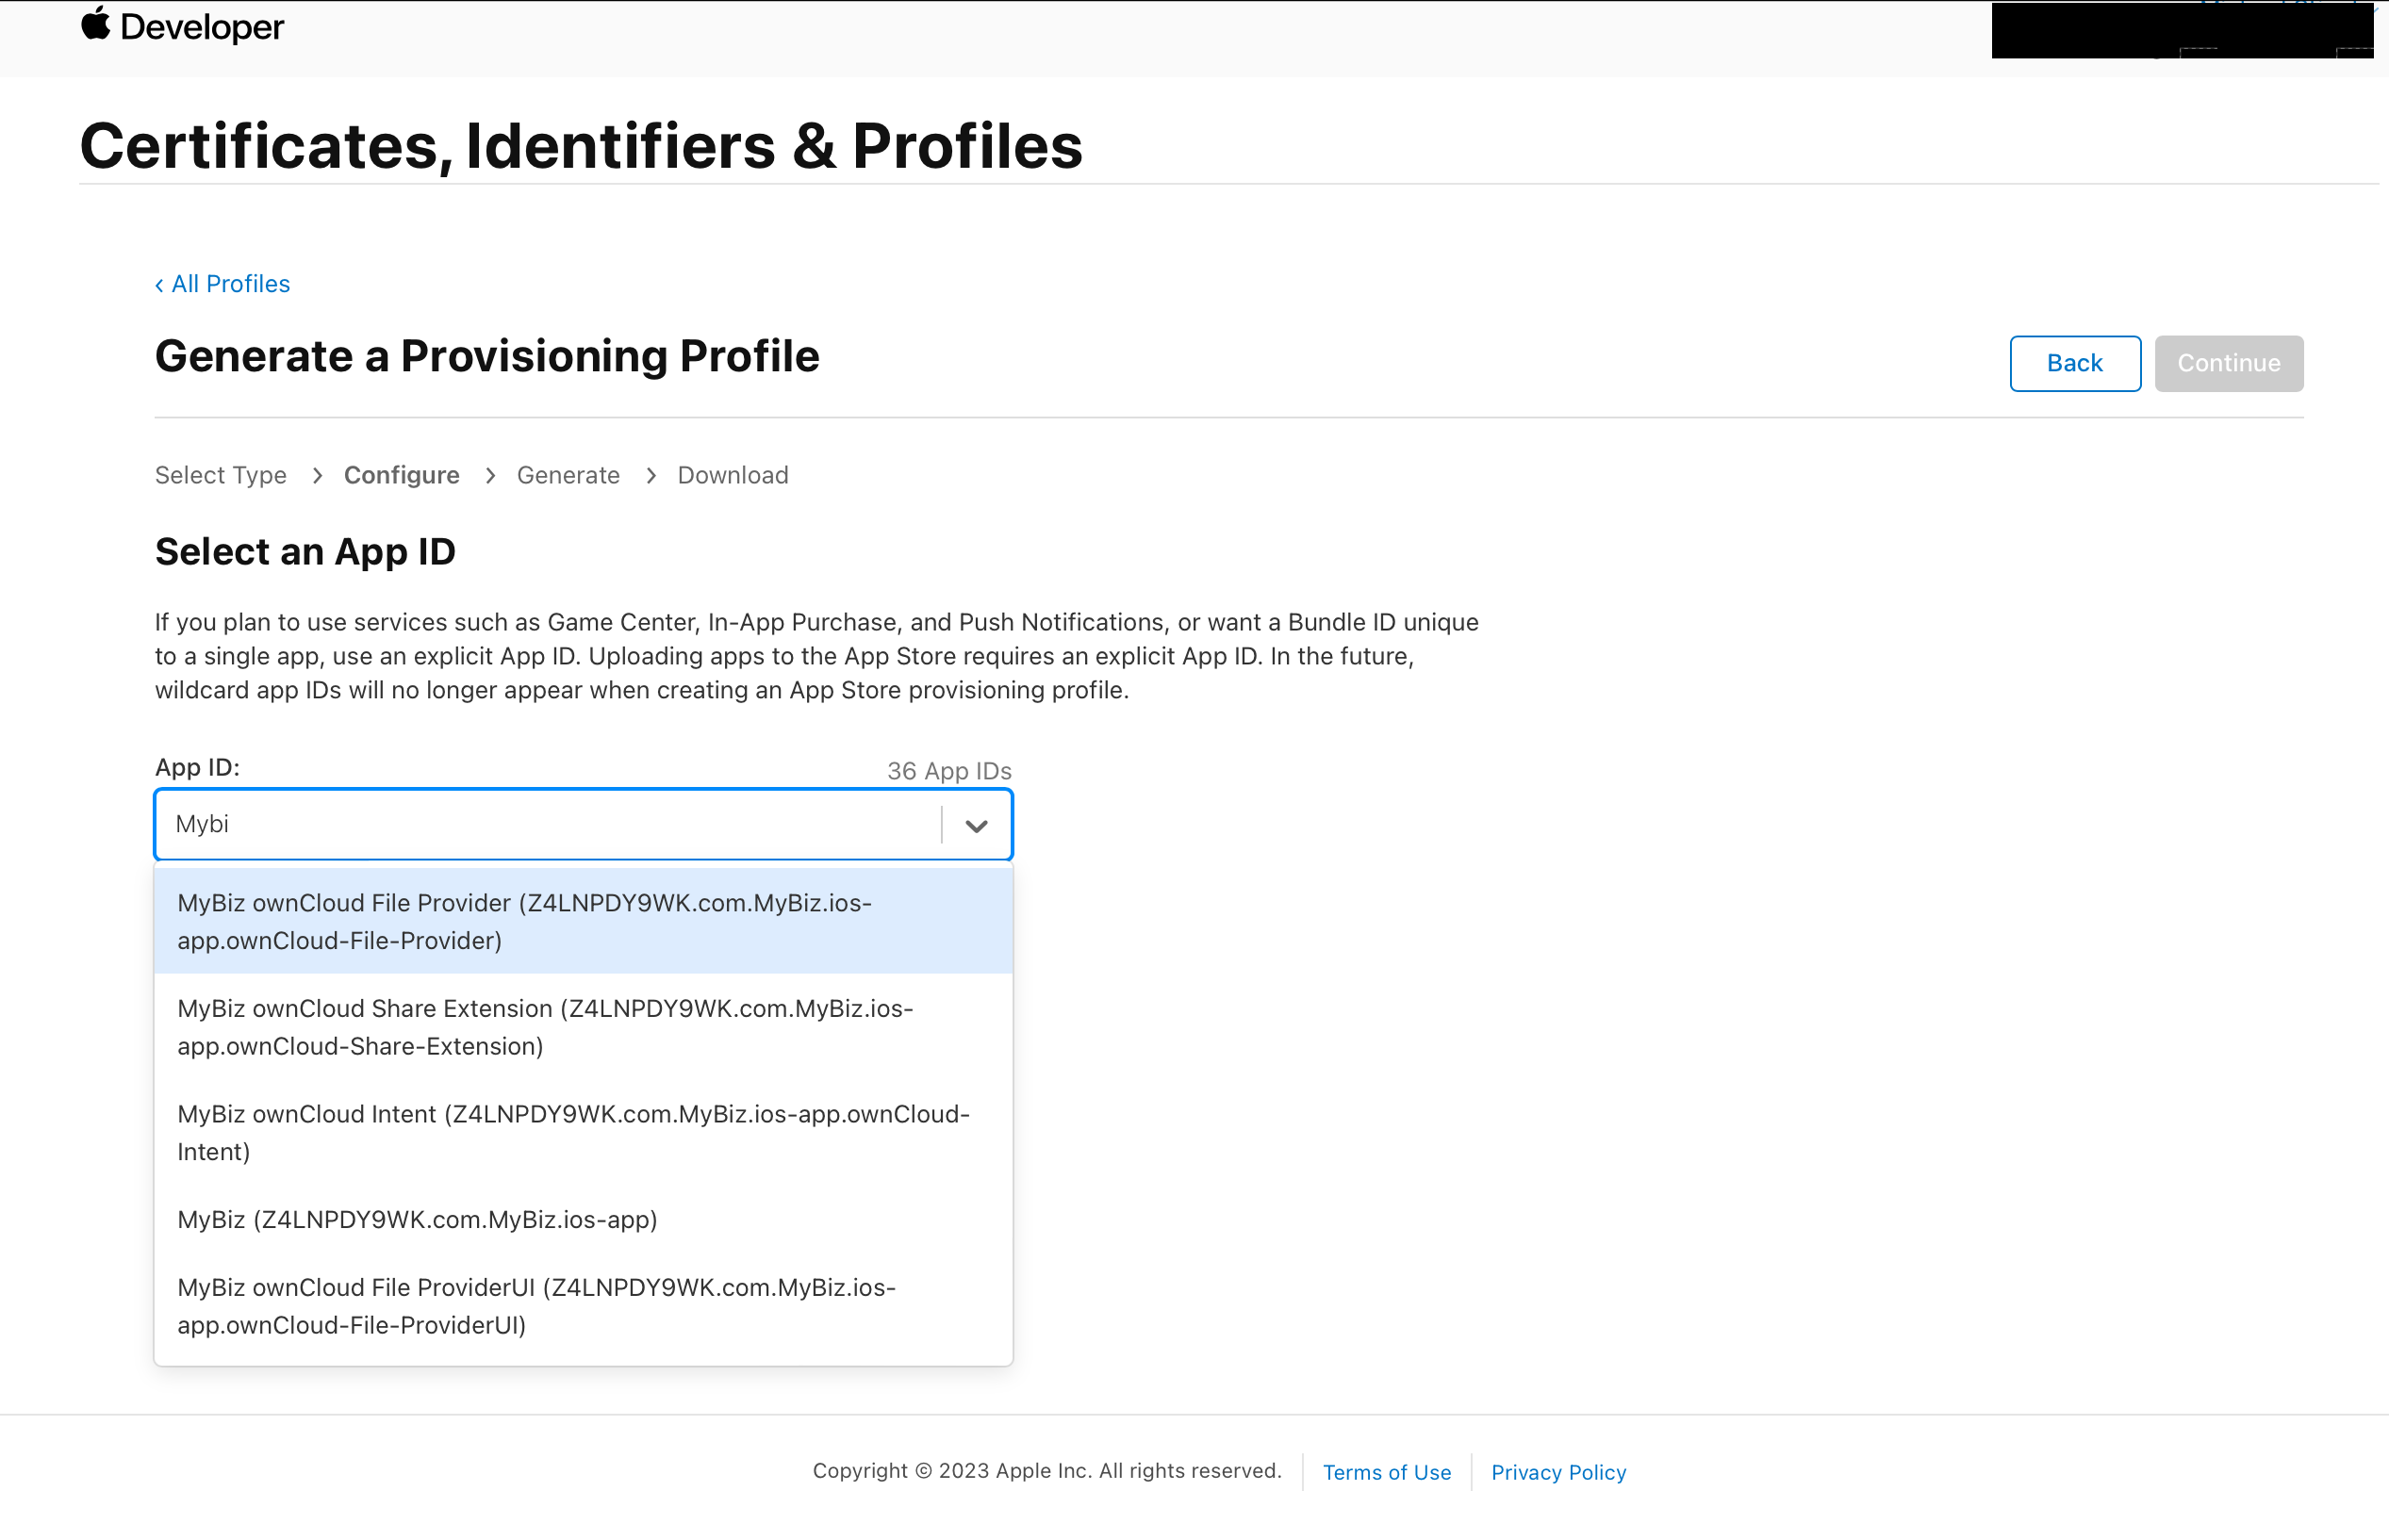
Use one of your App IDs created in the previous step, and select your Distribution certificate. If you are creating an Ad Hoc Profile, you also need to select a test device.
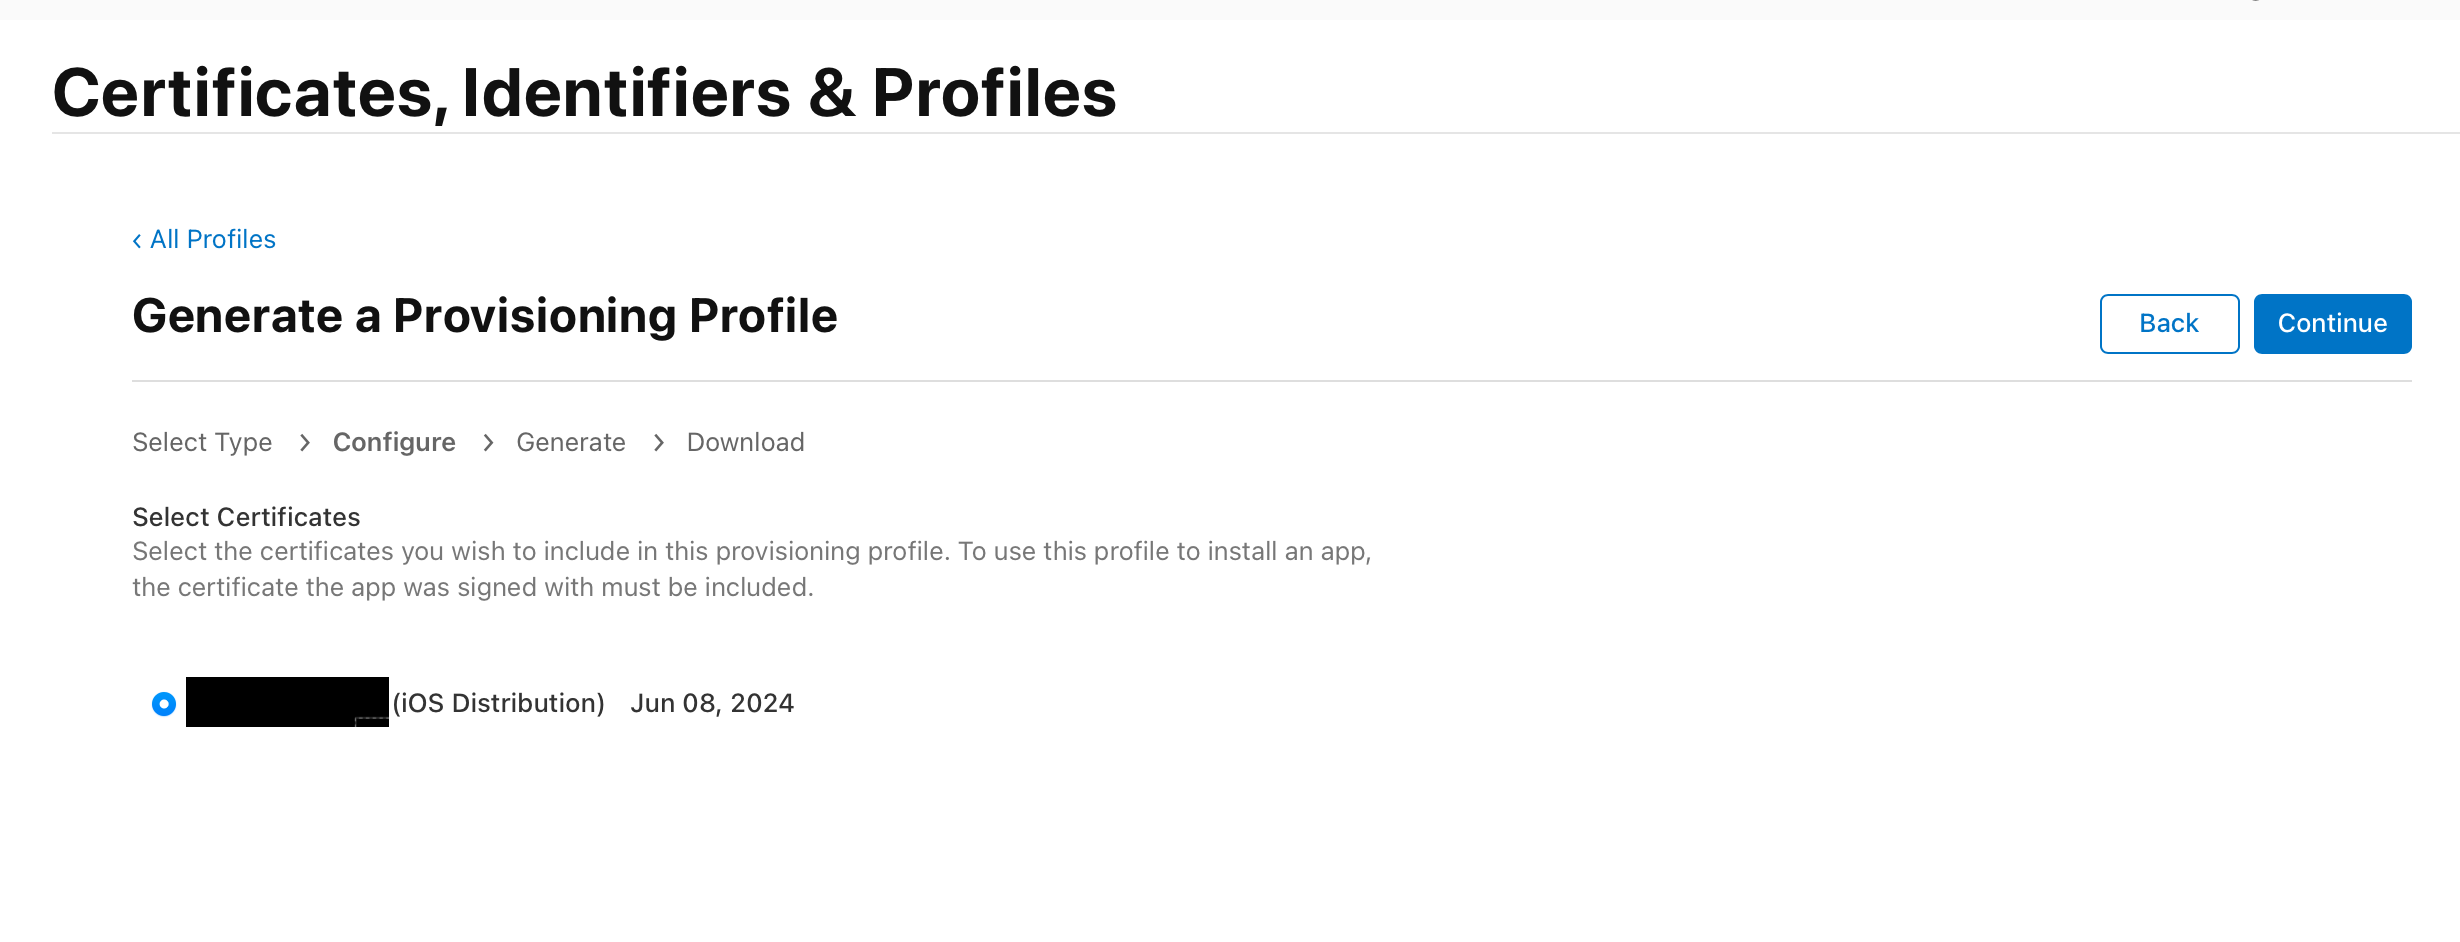
Name your Certificate with a descriptive name so you know which Profile corresponds to which App ID, afterwards generate and download it.
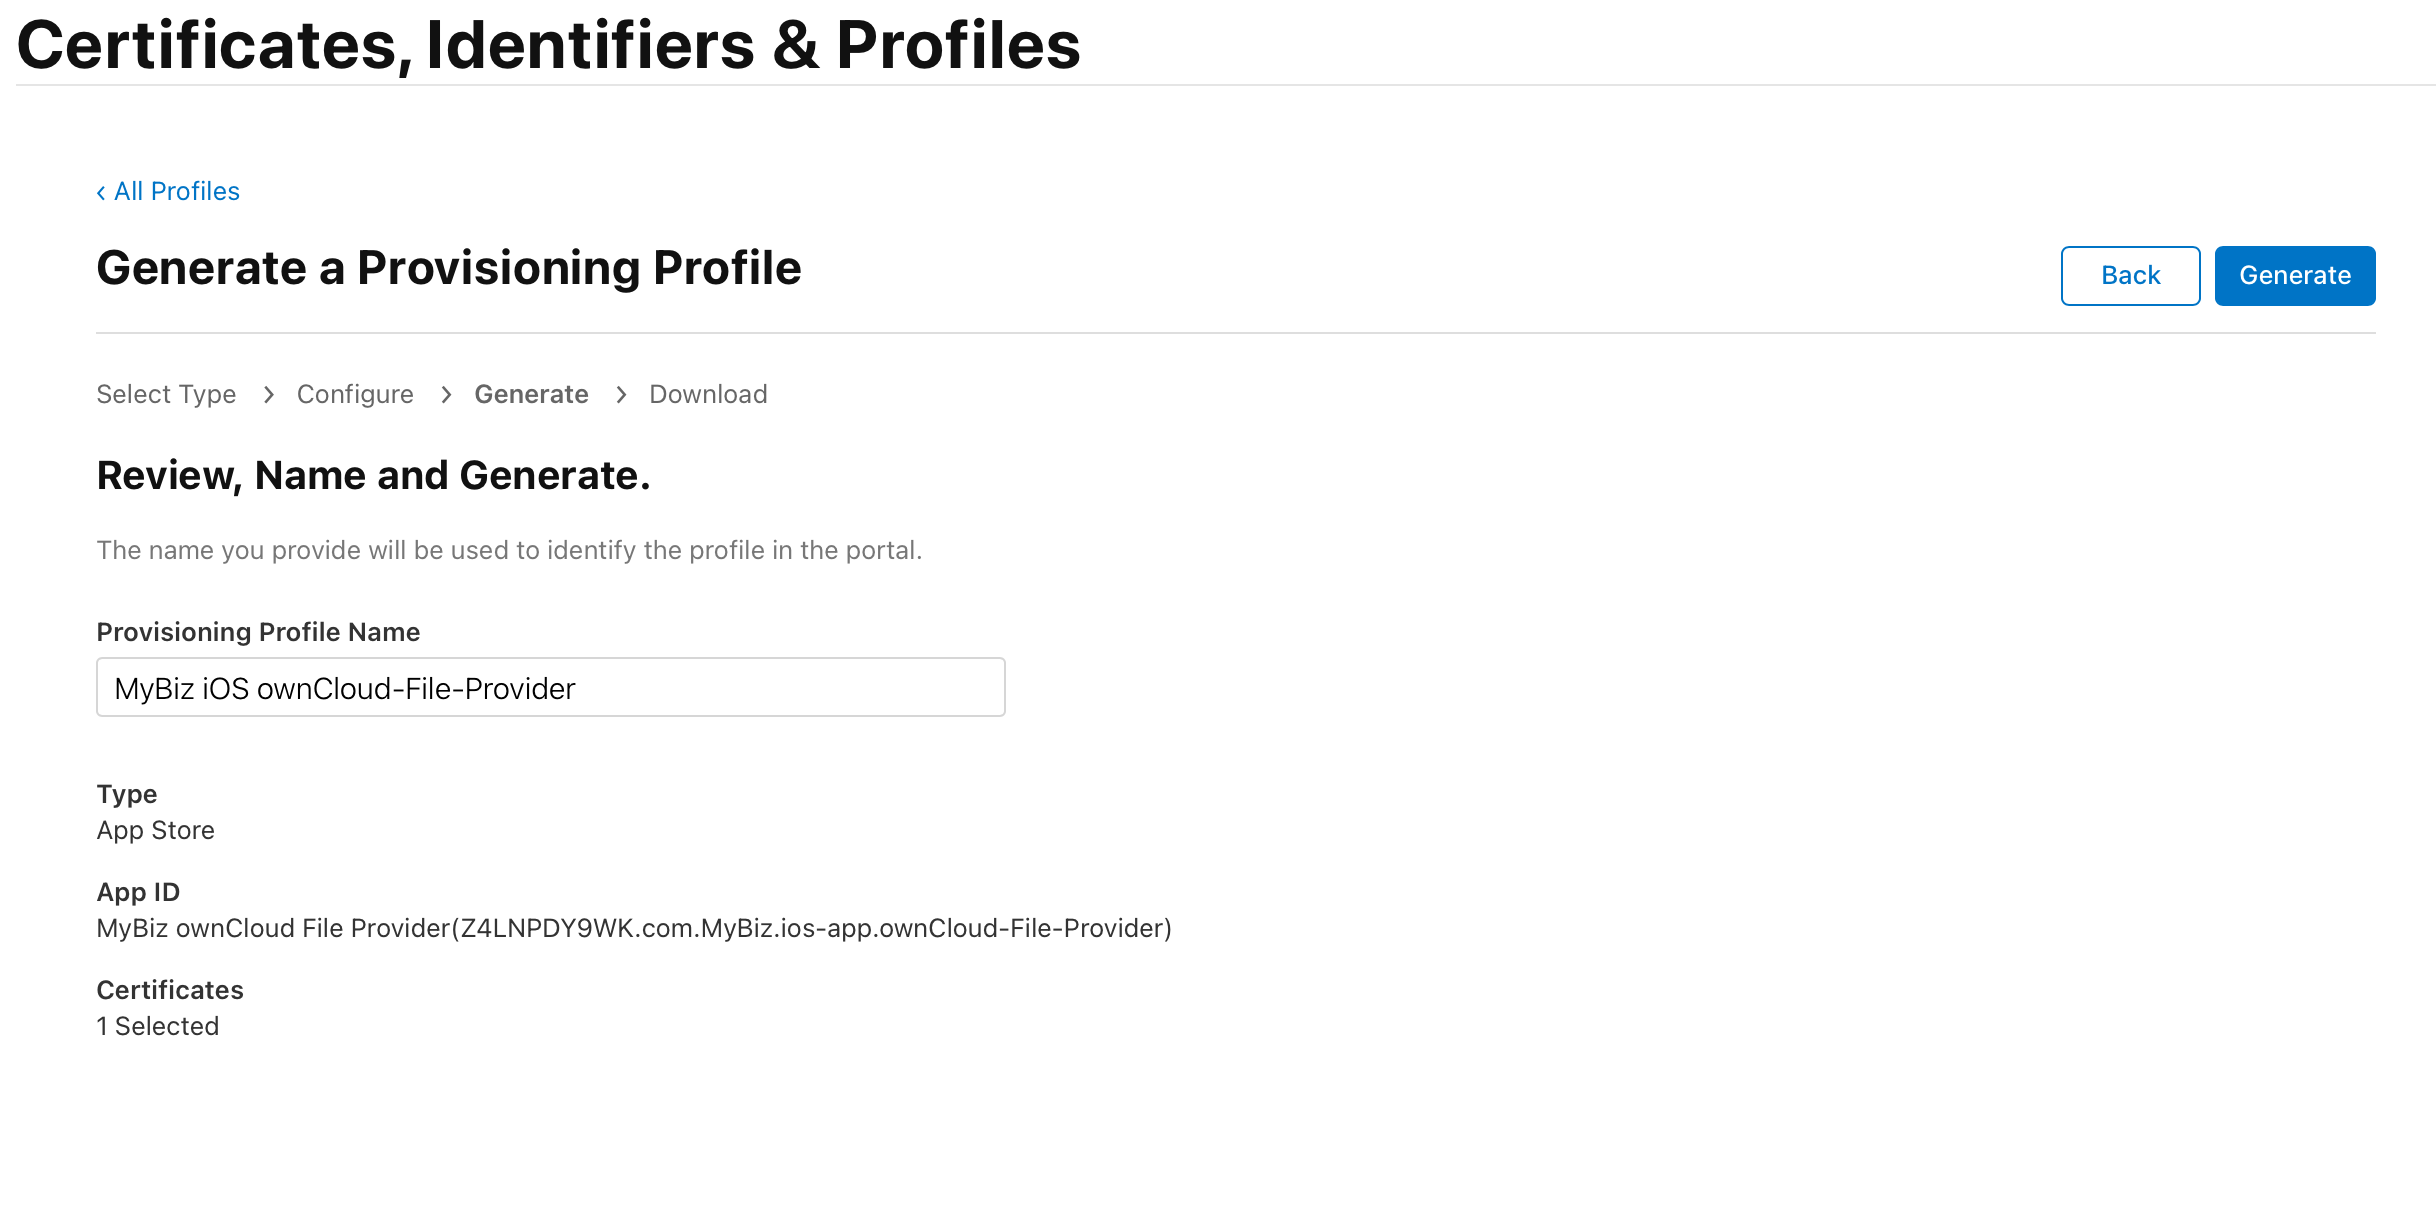

Repeat this process four more times to create a Provisioning Profile for each App ID you created previously. In the end, you should have five Profiles, all either being Ad Hoc or App Store (But all of the same type) and each using one of the following App IDs:
-
com.yourcompany.ios-app
-
com.yourcompany.ios-app.ownCloud-File-Provider
-
com.yourcompany.ios-app.ownCloud-File-ProviderUI
-
com.yourcompany.ios-app.ownCloud-Intent
-
com.yourcompany.ios-app.ownCloud-Share-Extension
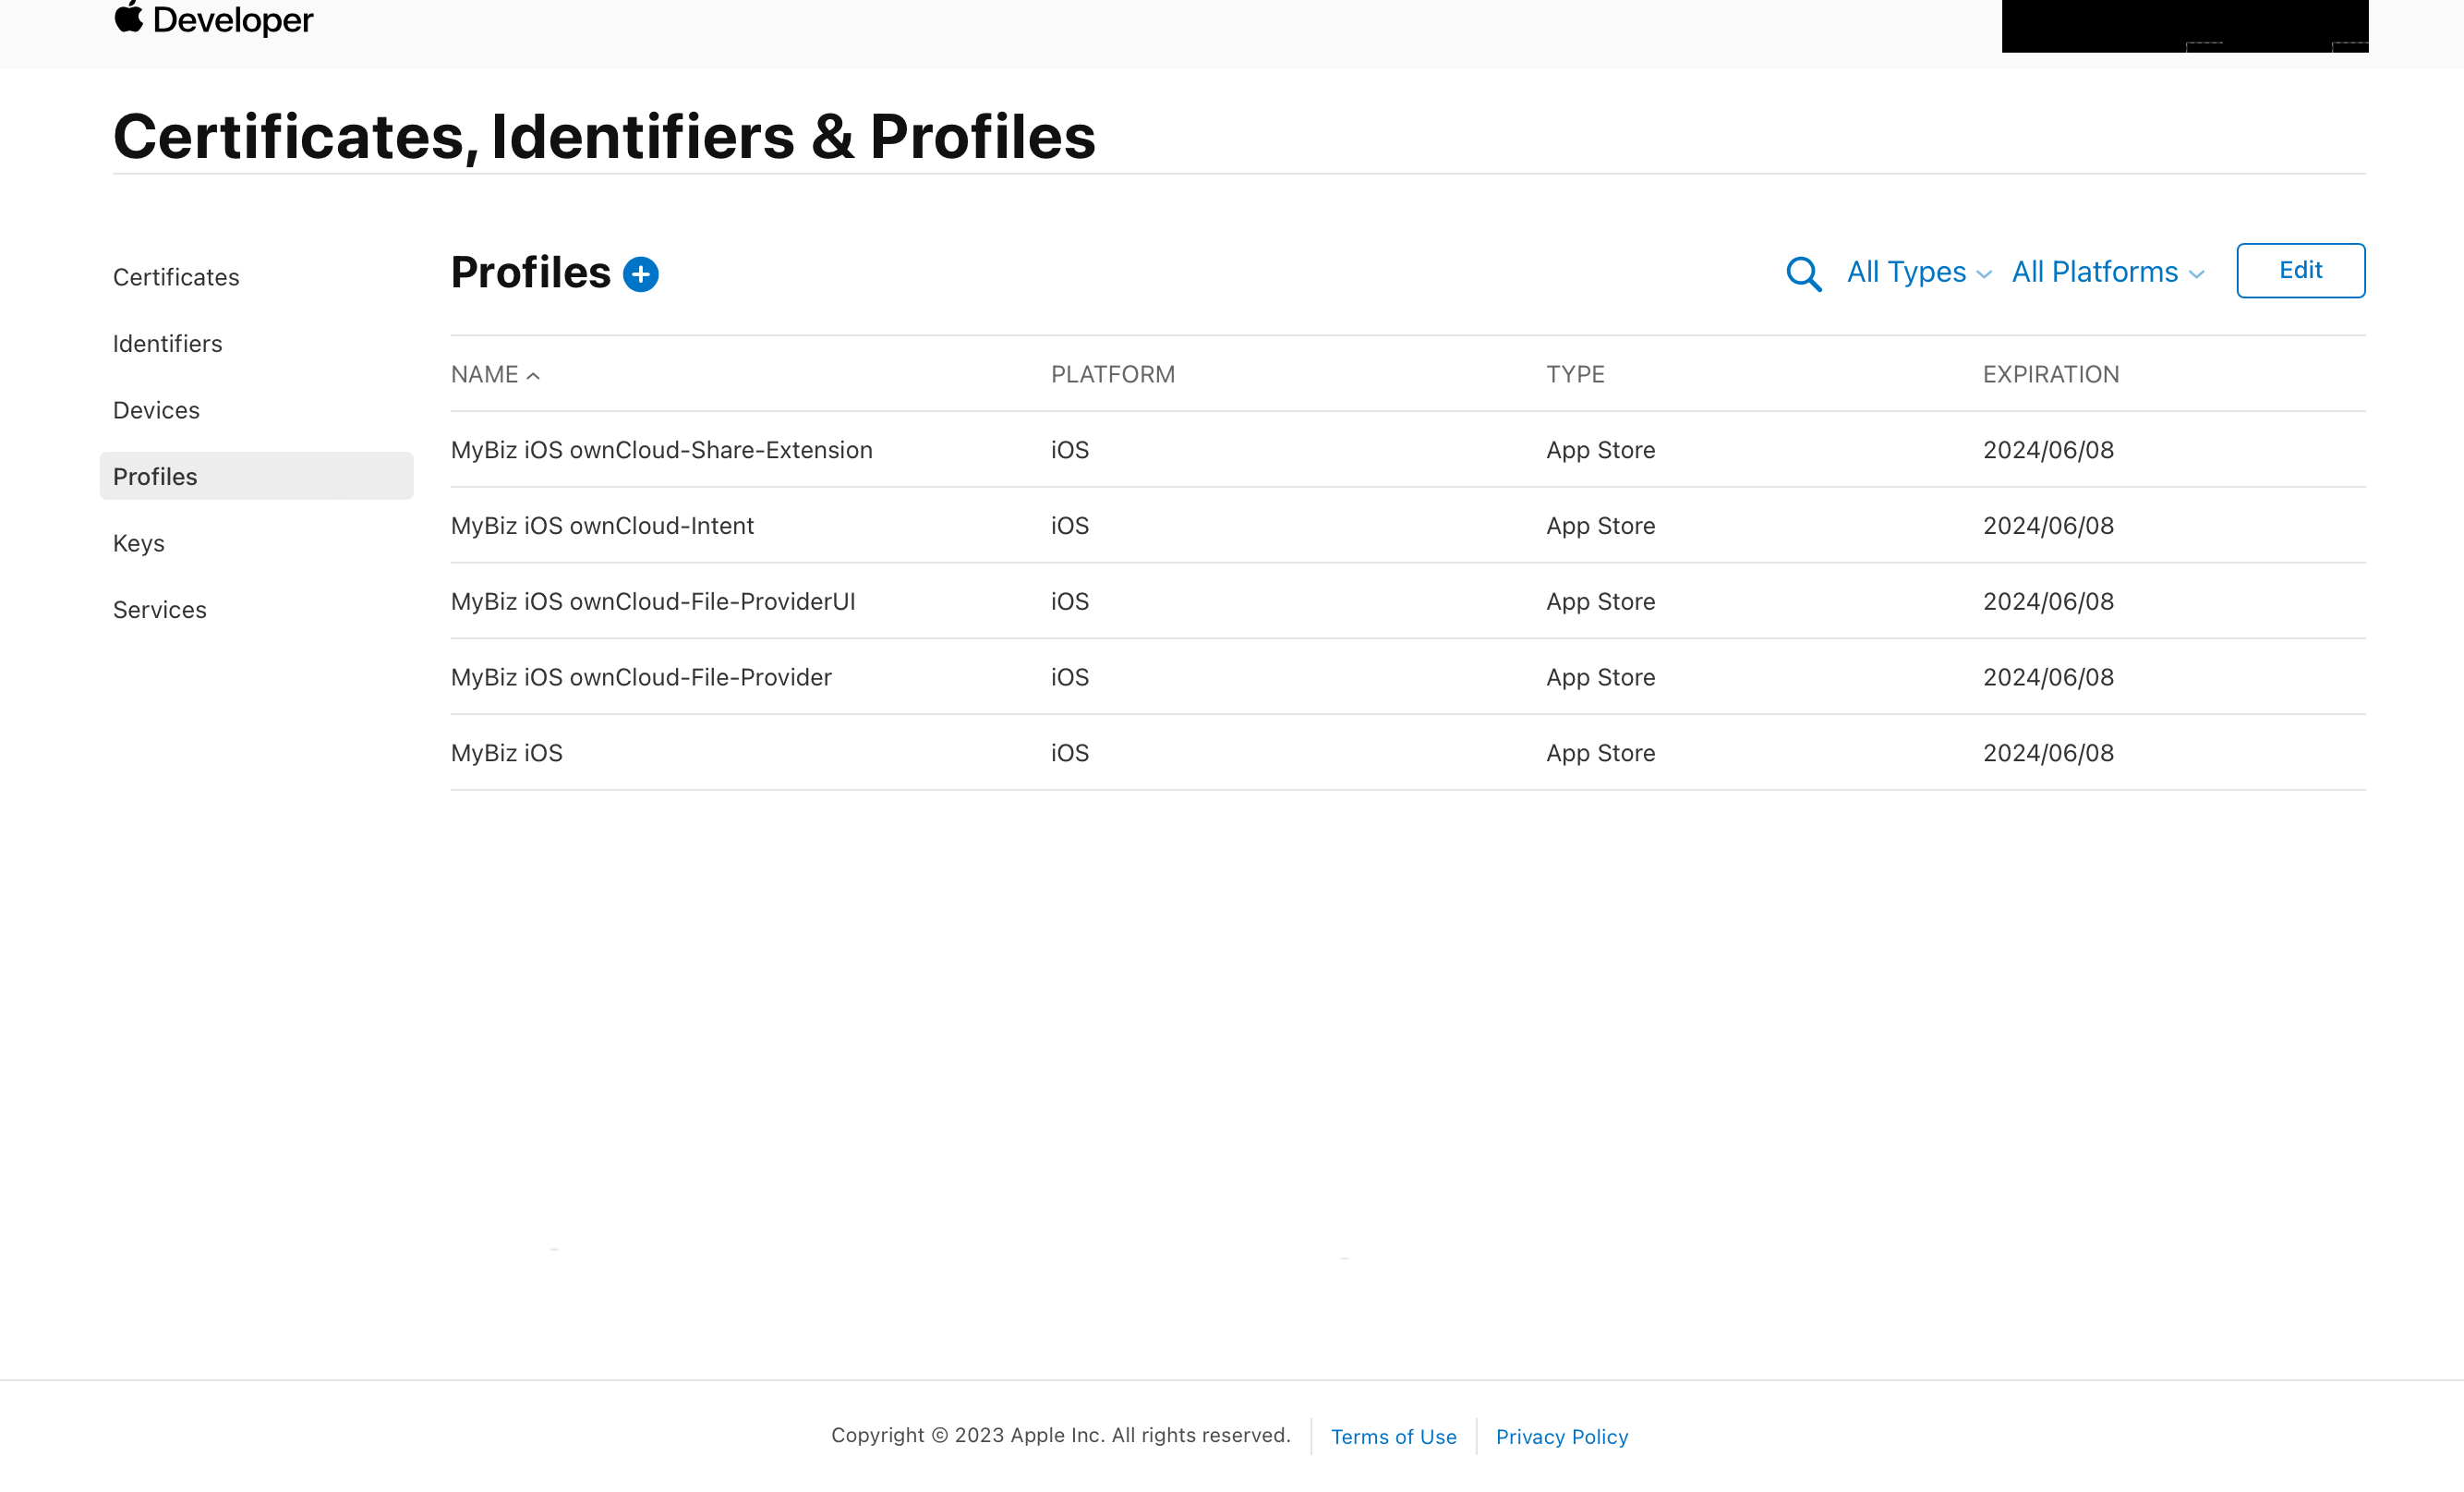
All of these Provisioning Profiles should be in your Apple developer account and downloaded on your Mac.