Security
Introduction
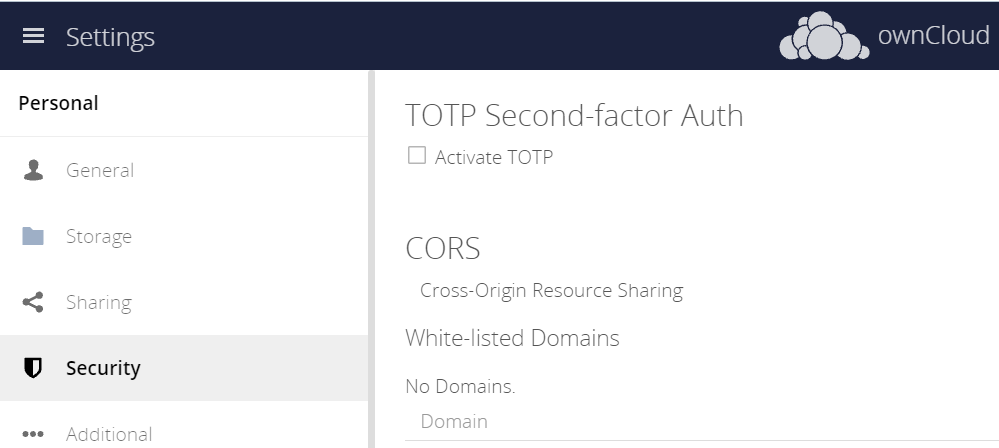
The security settings page allows for:
-
Managing Two-Factor Authentication (if enabled by the administrator)
-
Managing CORS white-listed domains
-
Viewing and deleting user sessions
-
Creating new app passcodes
Settings
Two-Factor Authentication
Two-Factor Authentication appears only if enabled by the administrator. It is never enabled by default and as a user you can opt-in and also stop this kind of additional security measure. When enabled and set up, you have to enter, in addition to your password, a second factor which is a time-based one-time password (TOTP) provided via another device during the web login. This device can be a mobile phone or another device providing the second factor, e.g. via an app or SMS.
In the setup example below, an app on the mobile phone will be used to provide the second factor. For your convenience, some example apps are listed:
- iOS App Store
- Google Play Store
-
Microsoft Authenticator
Google Authenticator
2FA Authenticator (2FAS)
After enabling Two-Factor Authentication via the Activate TOTP check mark, the image changes and you can proceed with finalizing the setup.
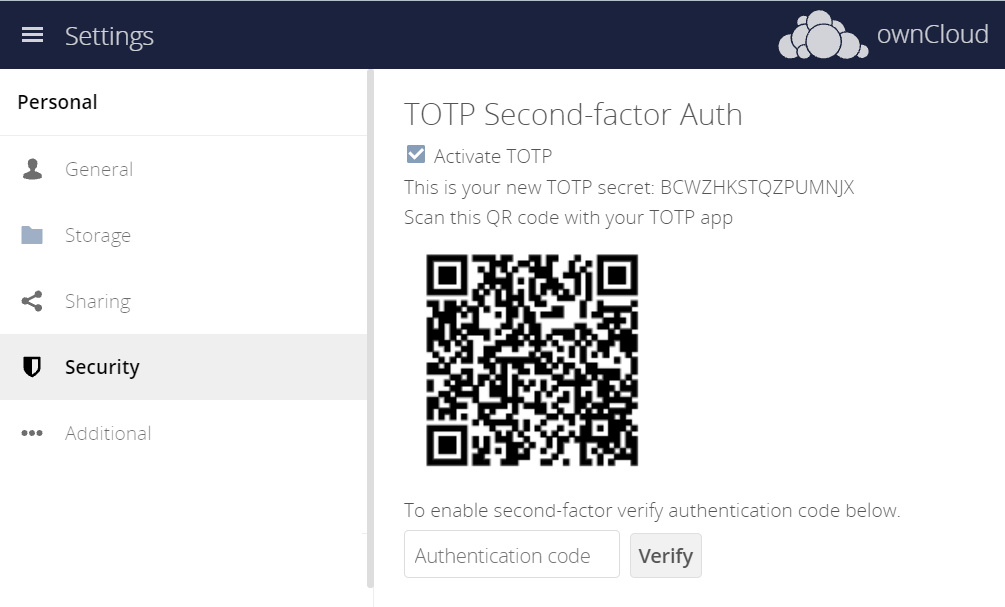
To finalize the setup, follow the app’s directions to scan the QR code. The number displayed (2nd factor) needs to be entered in the browser dialog in the Authentication code field.
Log out and after your next regular login with username and password, you will be asked to enter the number that the app provides. The number changes after some time and usually a counter is shown how much time is remaining after the next number appears.
Disable Two-Factor Authentication
You can disable the two-factor authentication at any time by unchecking Activate TOTP
Lost or Defect Device
If the device providing the second factor gets lost or is defect, the administrator can temporarily disable the two-factor authentication for the account in question. A login can then be made without providing the second factor. If the issue is solved, the administrator can re-enable two-factor authentication.
CORS White-listed Domains
The CORS (Cross-origin resource sharing) white-listed domains section lists zero or more domains which the ownCloud instance is allowed to request resources from, in addition to the current domain, for your user account.
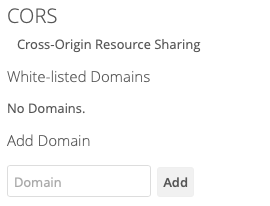
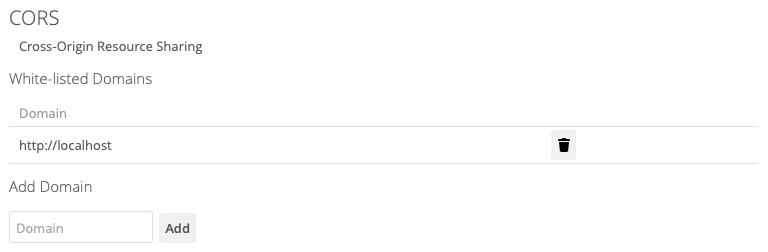
By default, as in the screenshot above, no domains will be listed. If you want to add one, or more, add them, one at a time, in the Domain text field, and click Add. You will then see them listed, as in the screenshot below.
|
Valid records:
CORS entries follow strict rules, only http and https protocols are allowed. |
To remove one, or more, click the trashbin icon next to the relevant domain name.
You will then be prompted to confirm if you want to remove the domain. If you do, click Yes. If you do not, click No.
Sessions
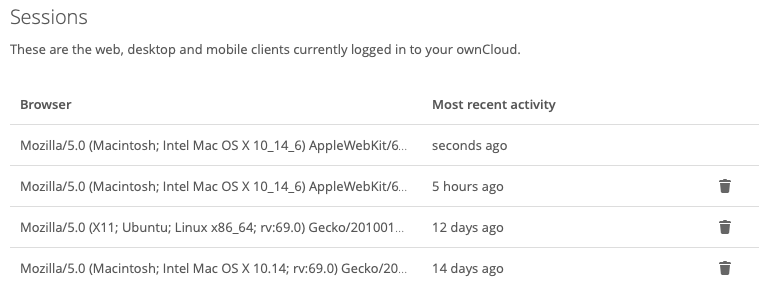
The sessions section, which you can see an example of below, lists all your current user sessions, across web, desktop, and mobile clients. Specifically, it lists the browser user agent string and the time of the most recent activity. If you want to log a session out, then click the Disconnect button at the far right of the relevant session.
App Passwords / Tokens

This section lets you give an app or device permissions to access your ownCloud account. App passwords are a security measure which let you hide your actual password. To create one, insert the app name in the text field and click Create new app passcode.
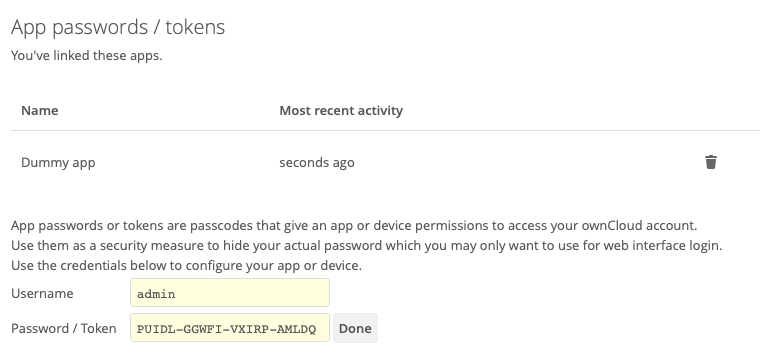
As you can see in the screenshot above, a username and password/token will be generated, and the app will be listed in the apps list in this section.
| Make sure you either securely store the username and password / token or ensure that the receiver does, because once you click Done the username and password / token will longer be discoverable. |
If you want to revoke access for a device or app, click the trash bin icon next to its name in the apps list.
| No confirmation of revocation is requested. Once you click the trash bin icon, the apps access is revoked. |