Working on Documents in the ownCloud Appliance
Introduction
Creating and editing documents in ownCloud can be achieved with either Collabora or OnlyOffice. It’s your choice which one you prefer to use.
This guide covers the setup and update of the two office apps.
It is required to open the site with https and the fully qualified domain name. Add the IP address and the domain name of your
appliance to your /etc/hosts file, or have it added to your existing DNS server, if you don’t want to
use the Appliance as your DNS server.
|
Appcenter
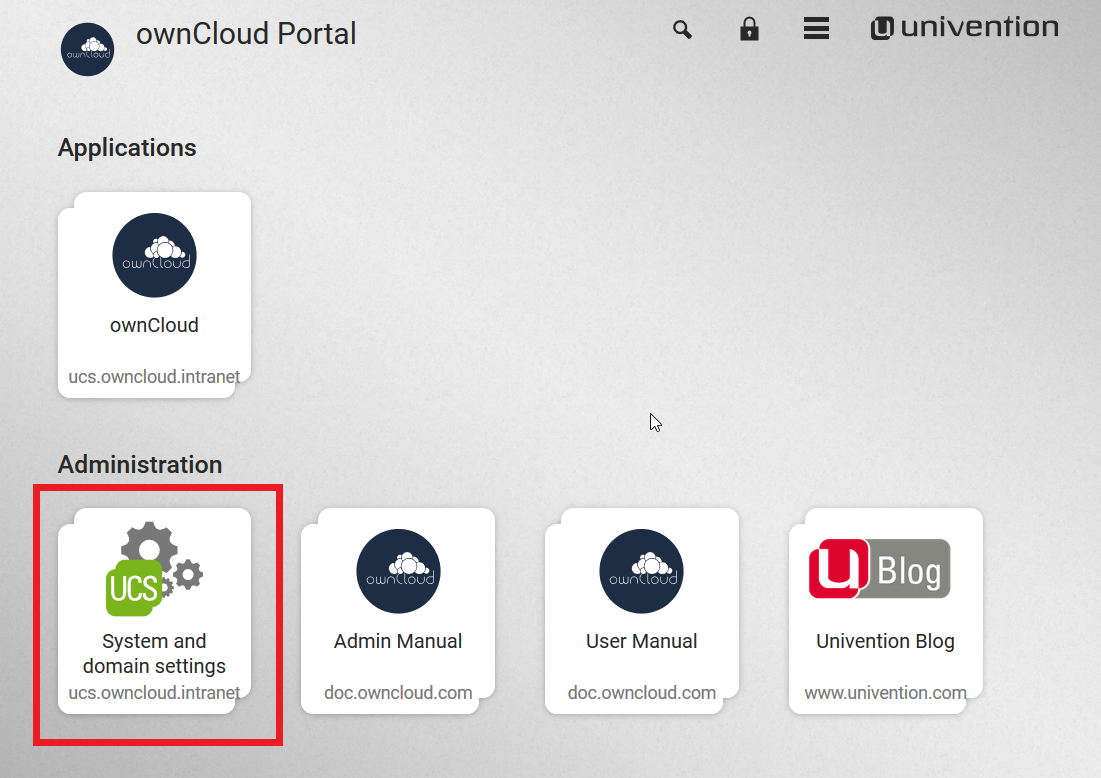
First you have to get to the Appcenter. Here are the steps to do that:
-
Connect to your appliance using the IP address or domain name.
https://172.16.40.100
# or
https://ucs-2341.CompanyName.com-
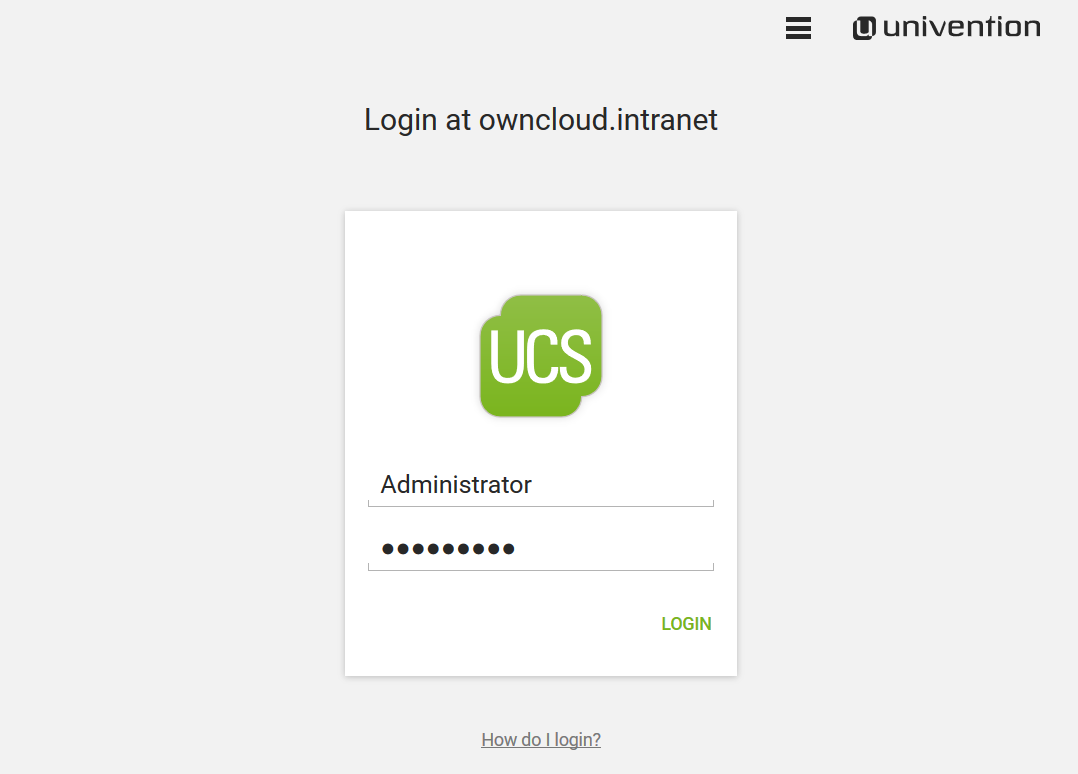
Login into the management console
-
Click on the Domain and System settings
-
-
Type in the Administrator as username and the password you set.
-
Now you can access the Appcenter".

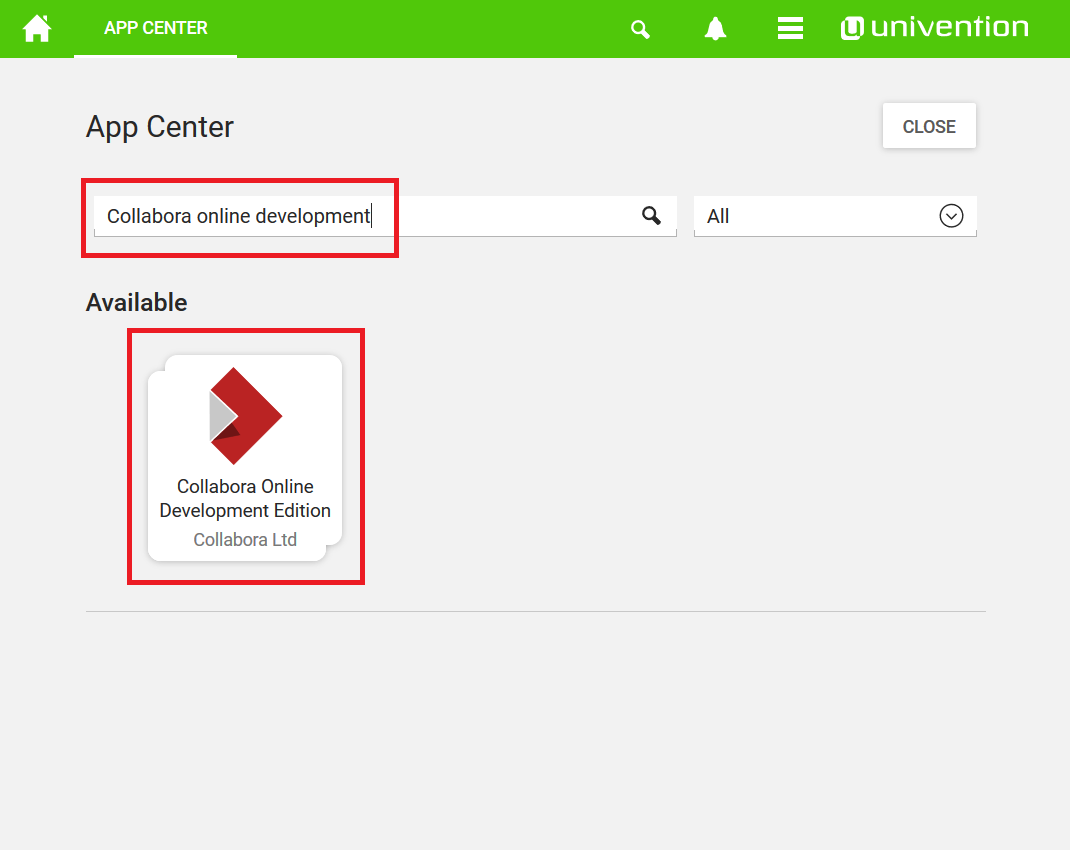
From here on it’s your choice to install Collabora or OnlyOffice.
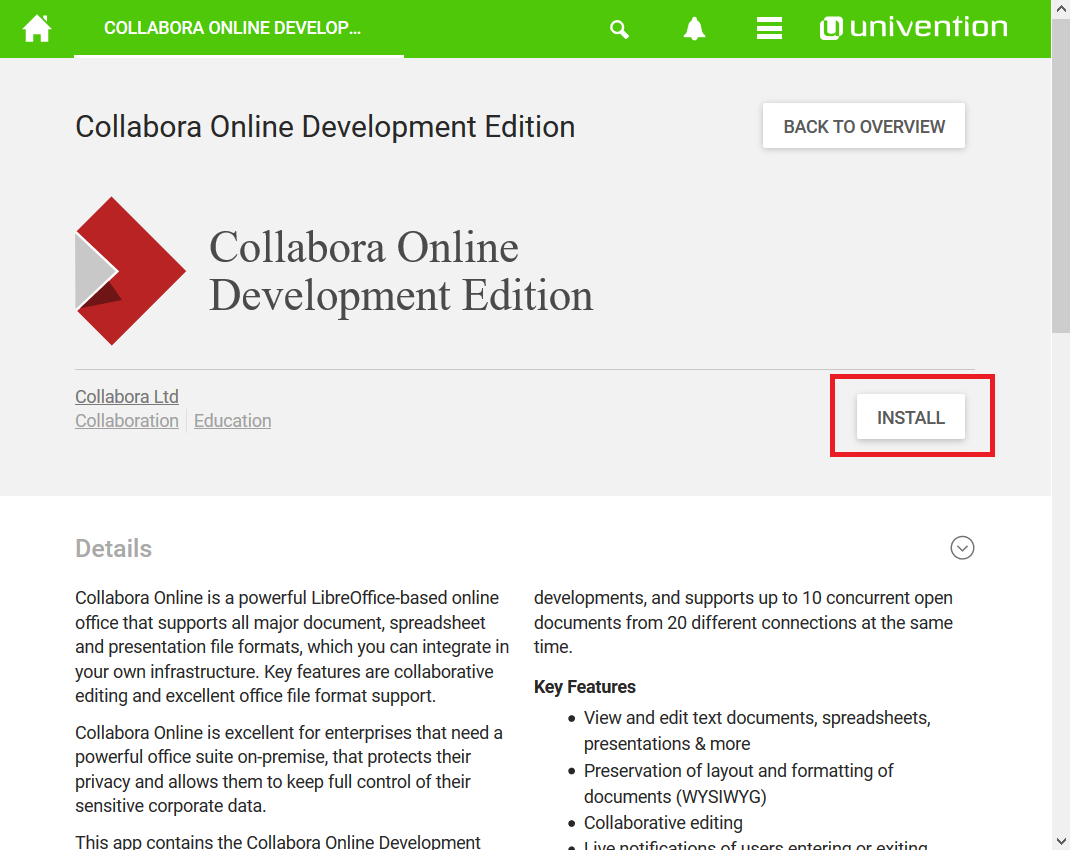
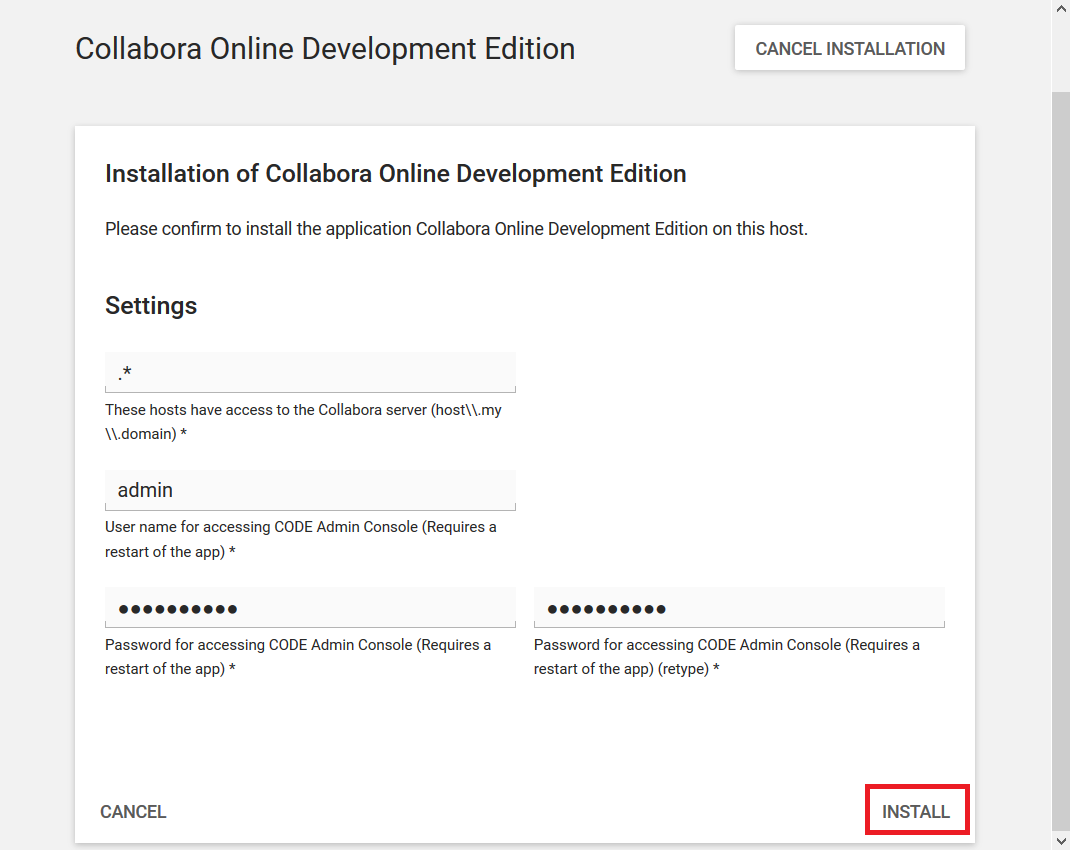
How to Install Collabora
-
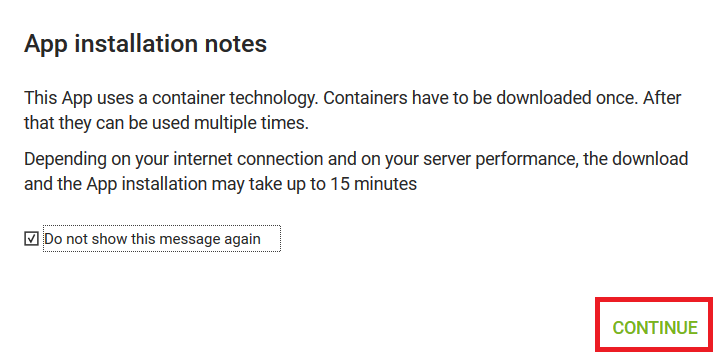
Install Collabora in UCS.
-
Enable Collabora in ownCloud.
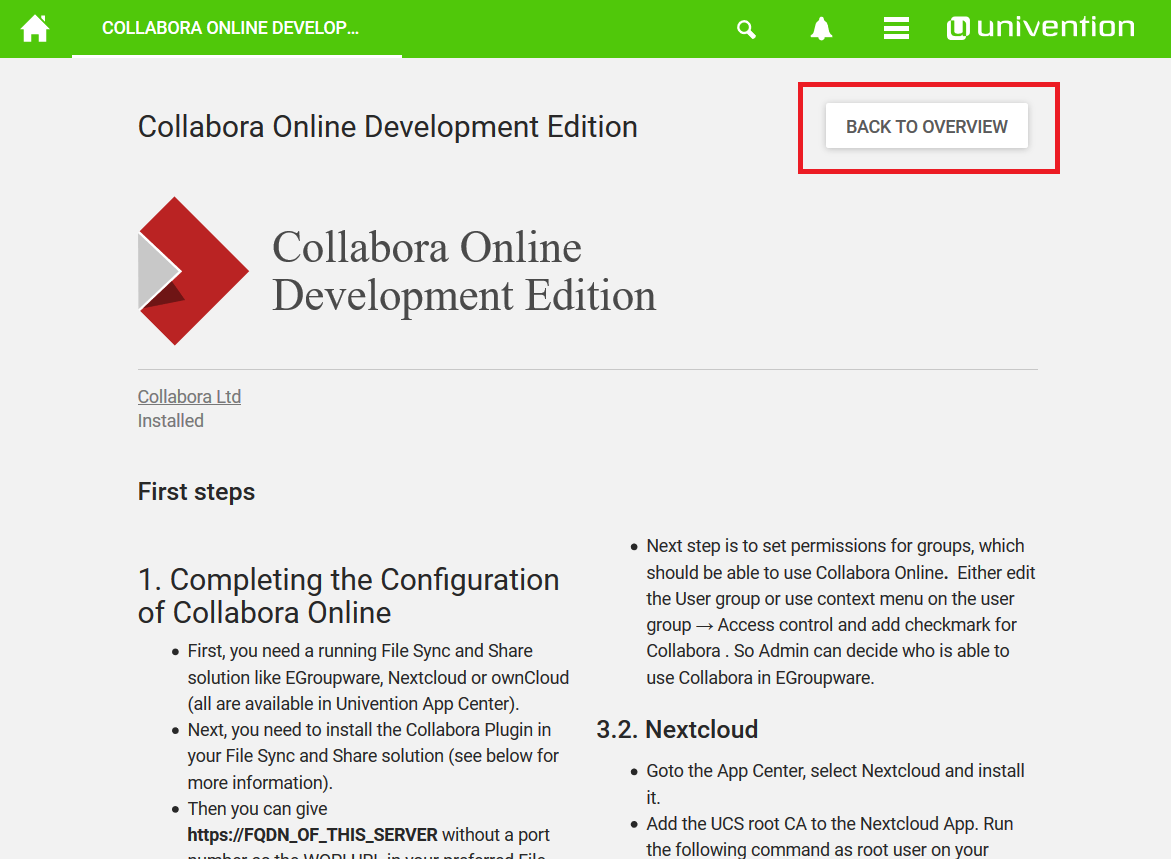
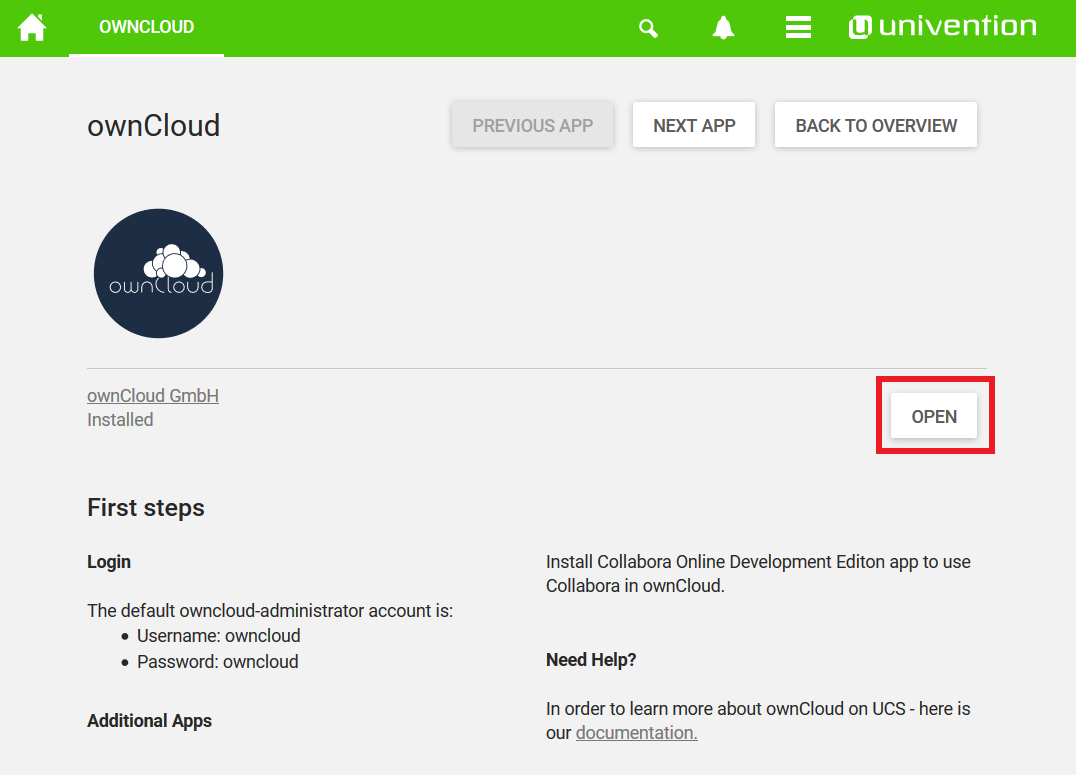
Username and Password are owncloud

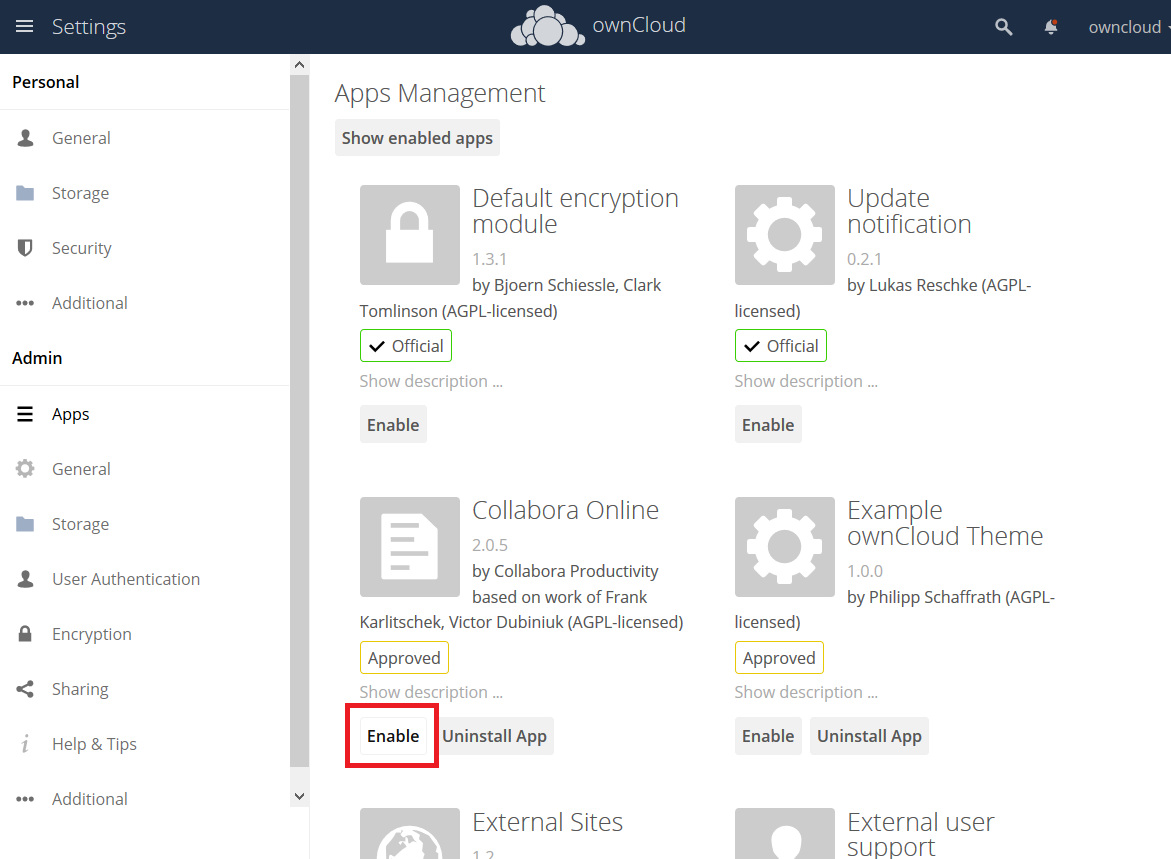
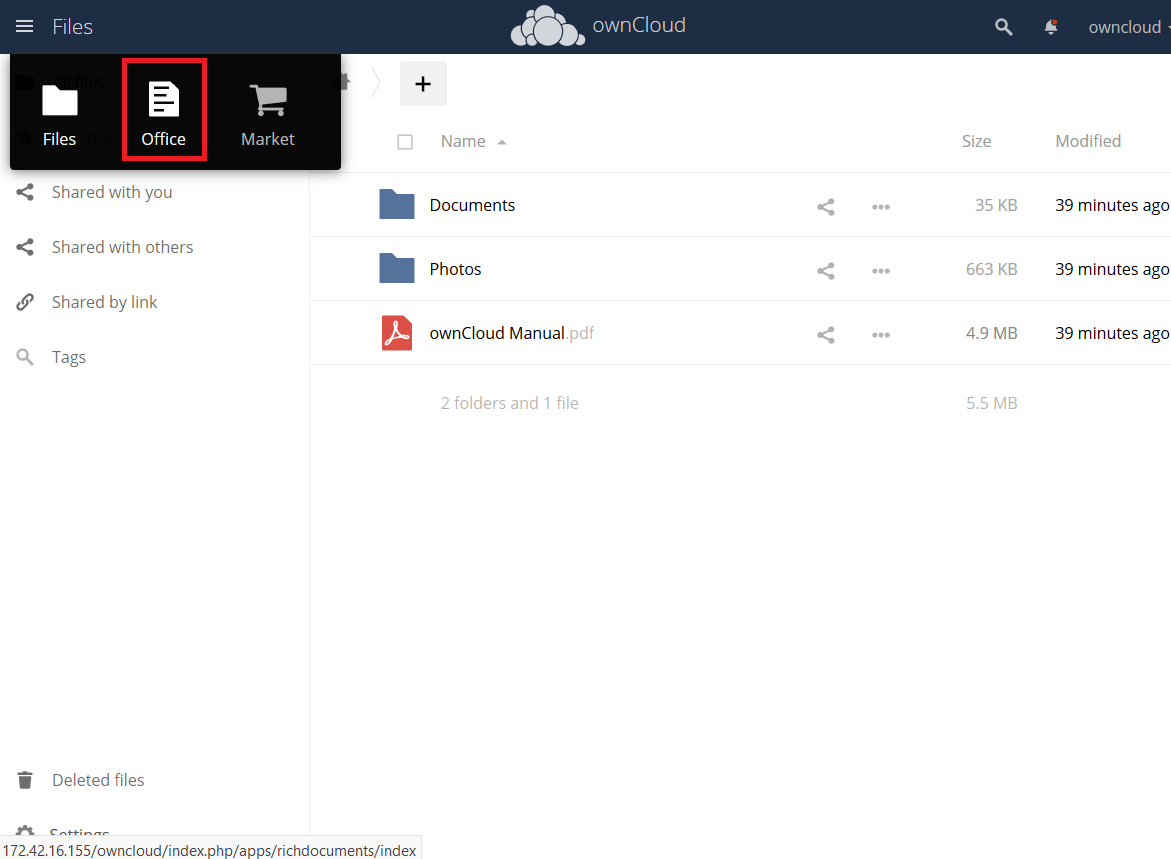
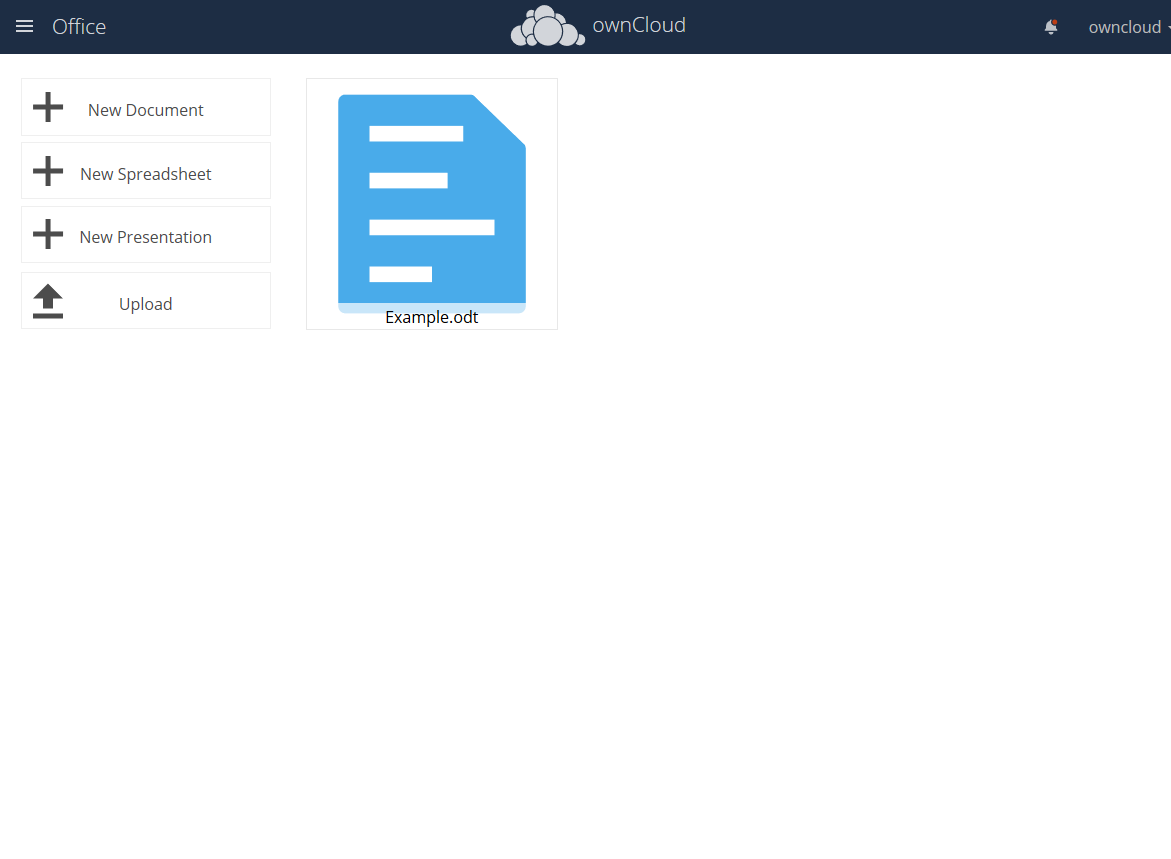
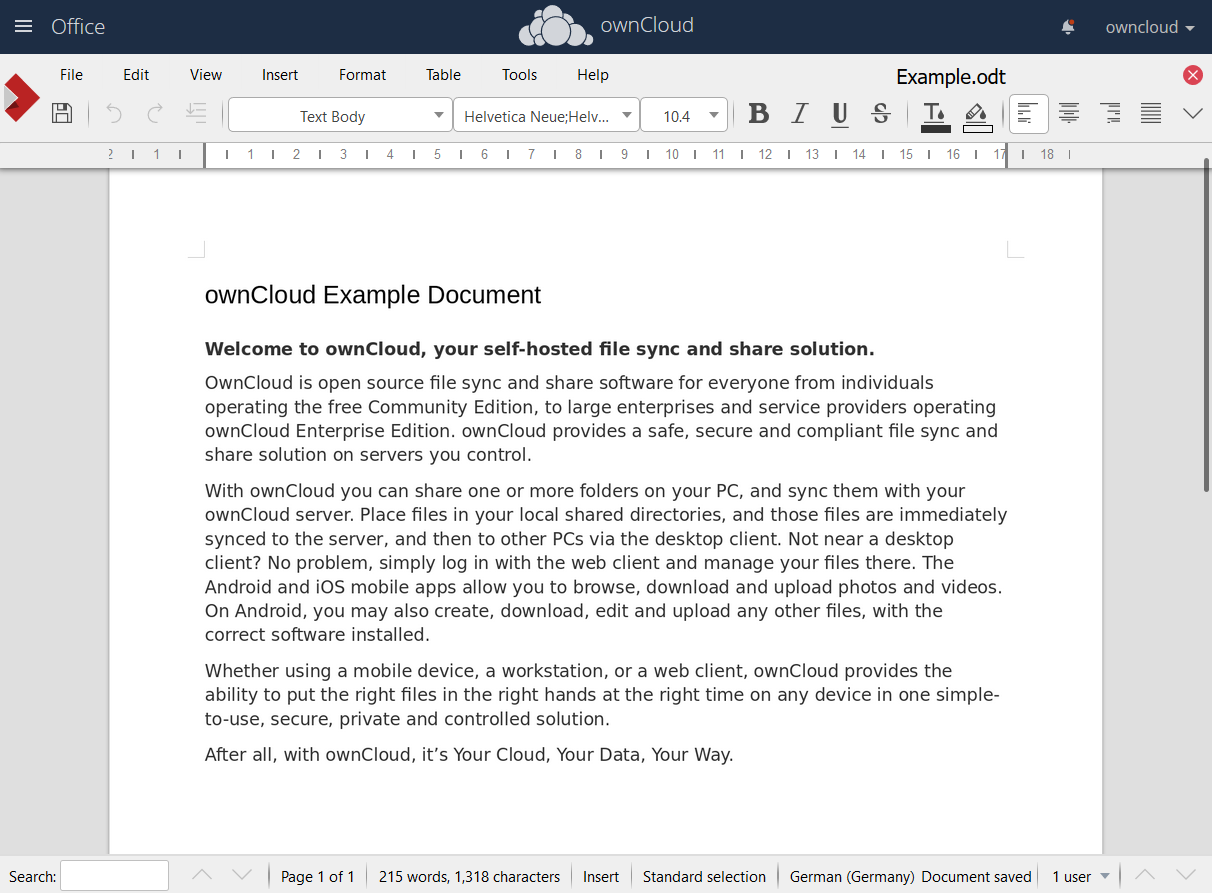
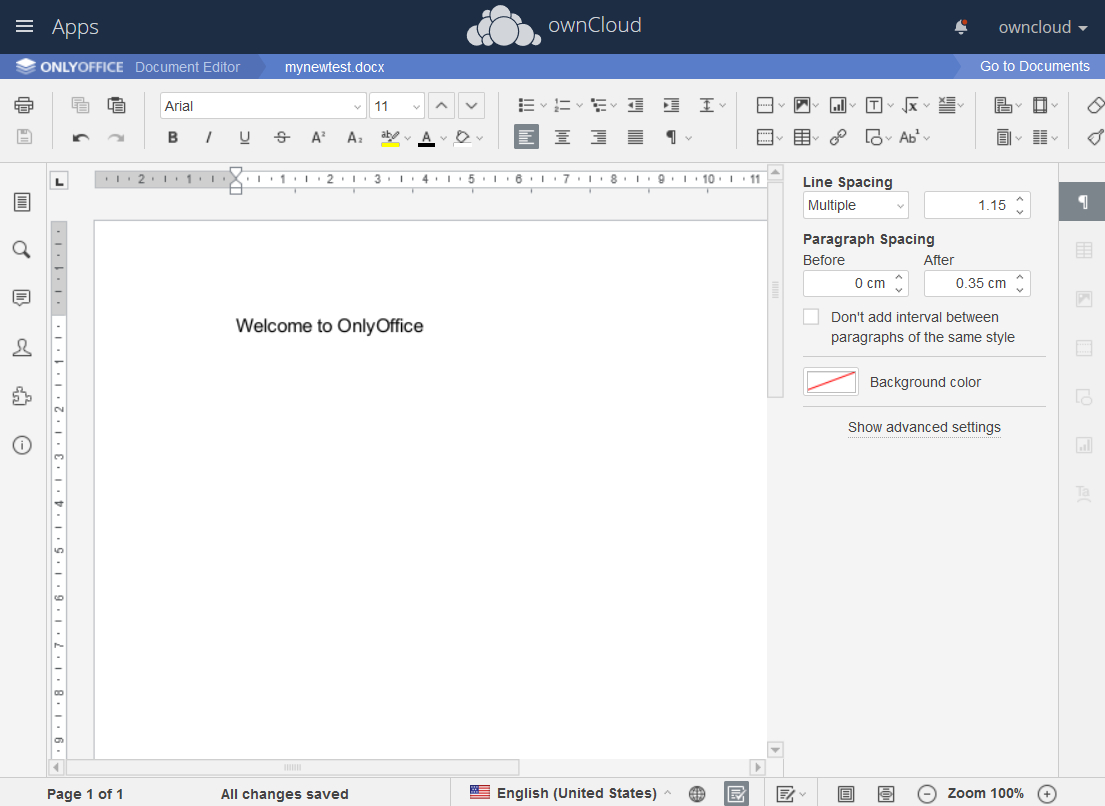
Now you can use Collabora within ownCloud. Start by creating a new Document.
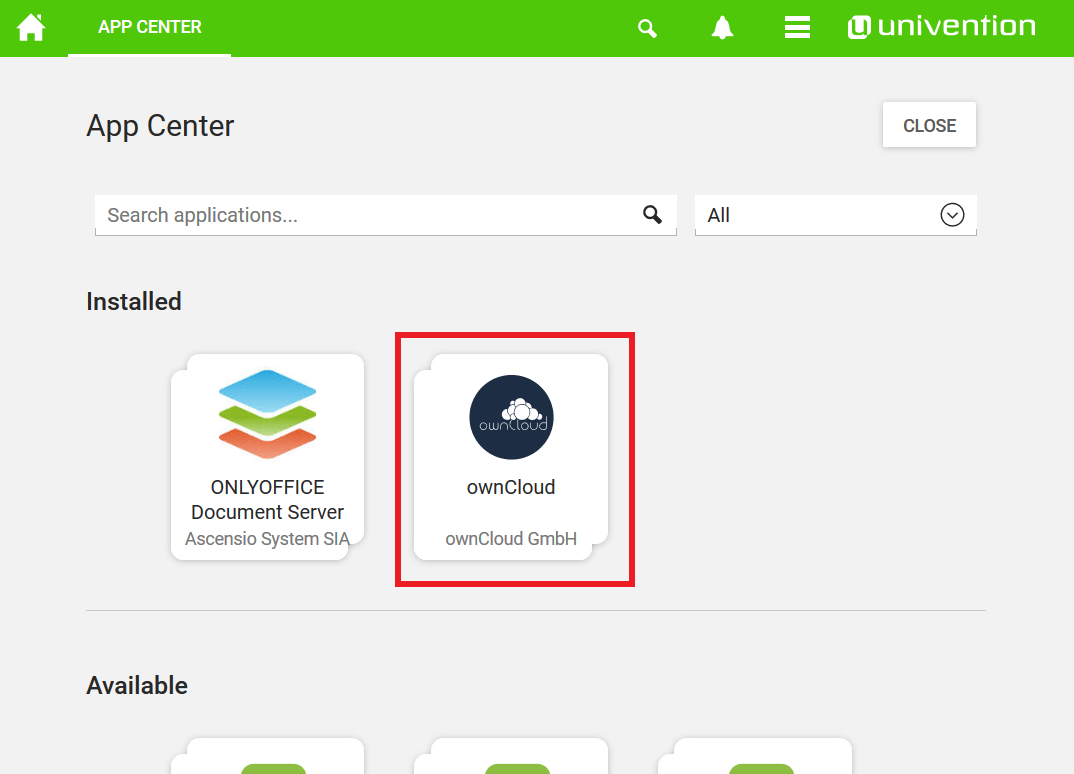
How to Install OnlyOffice
-
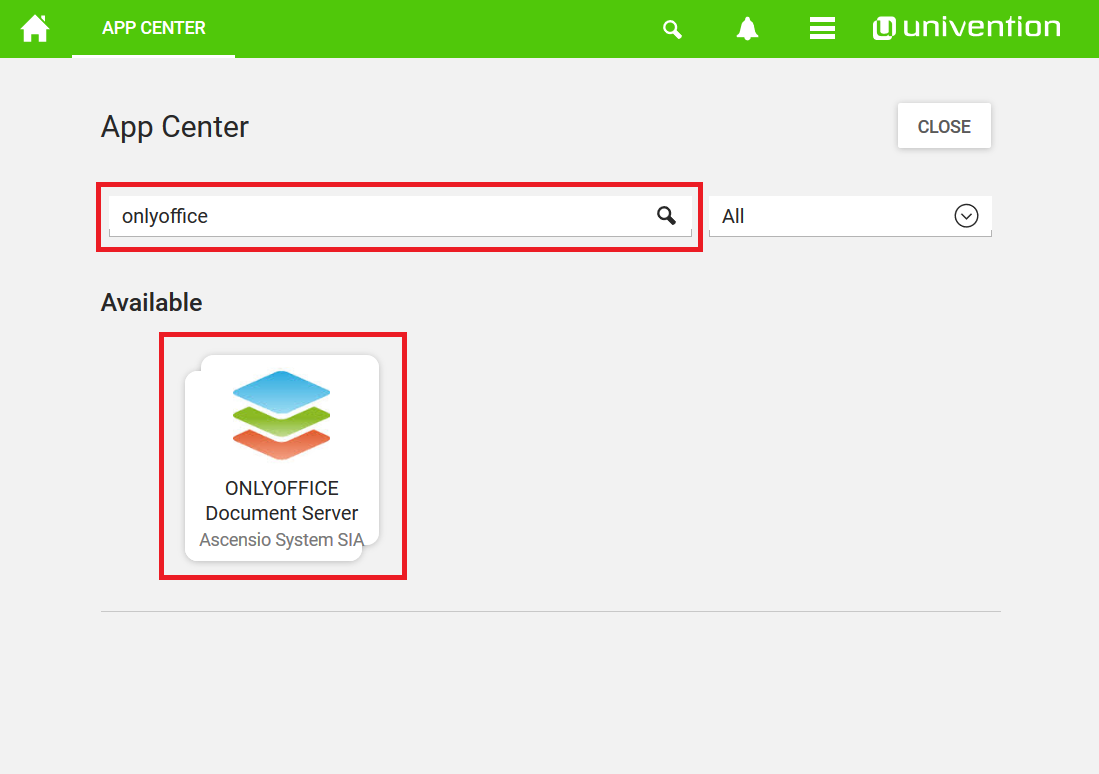
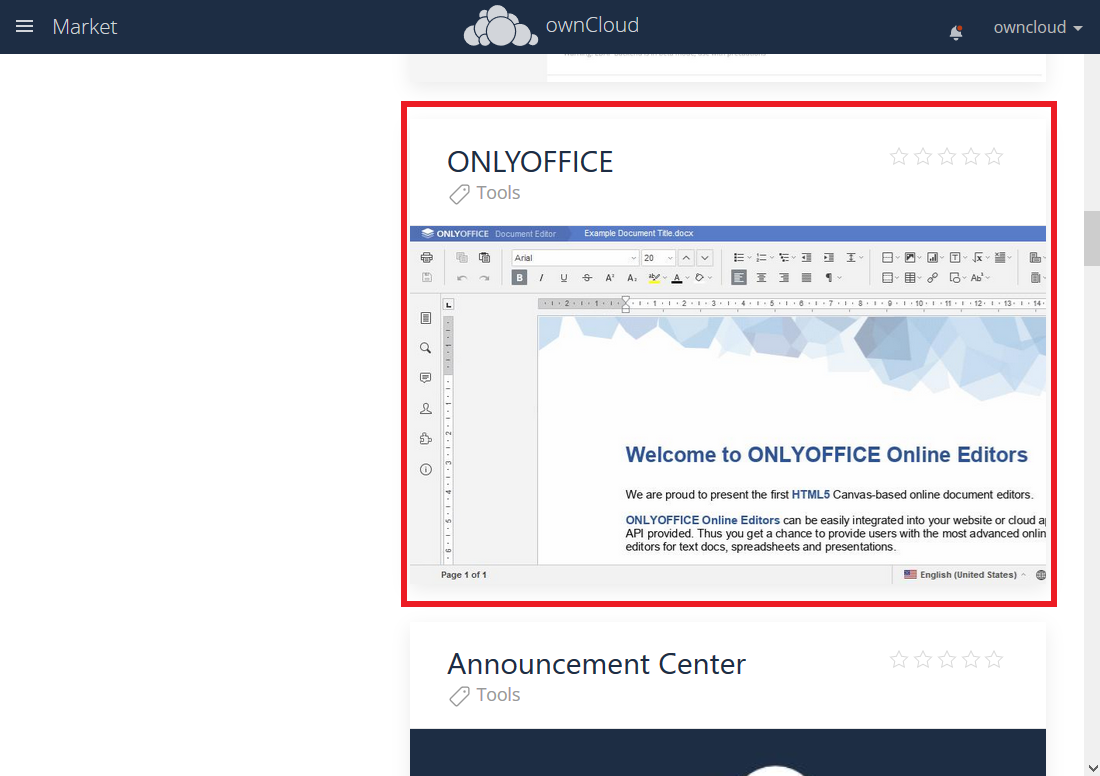
Search for "OnlyOffice" or select it from the application list in the Appcenter.
-
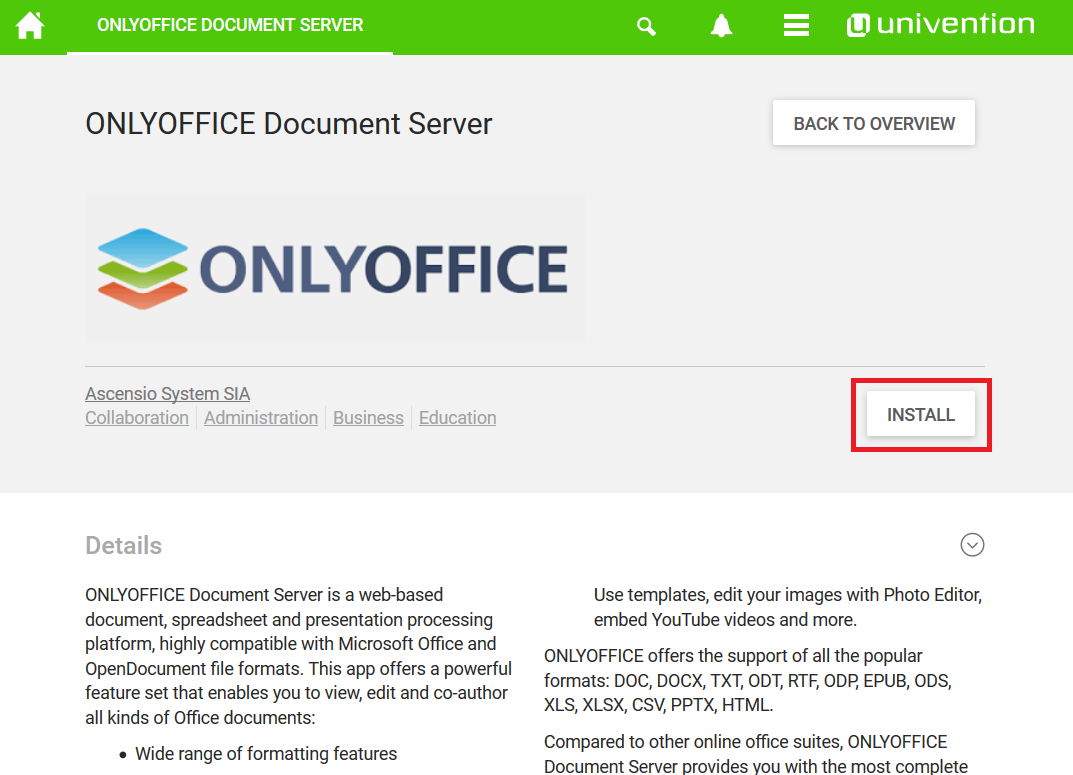
Install OnlyOffice.
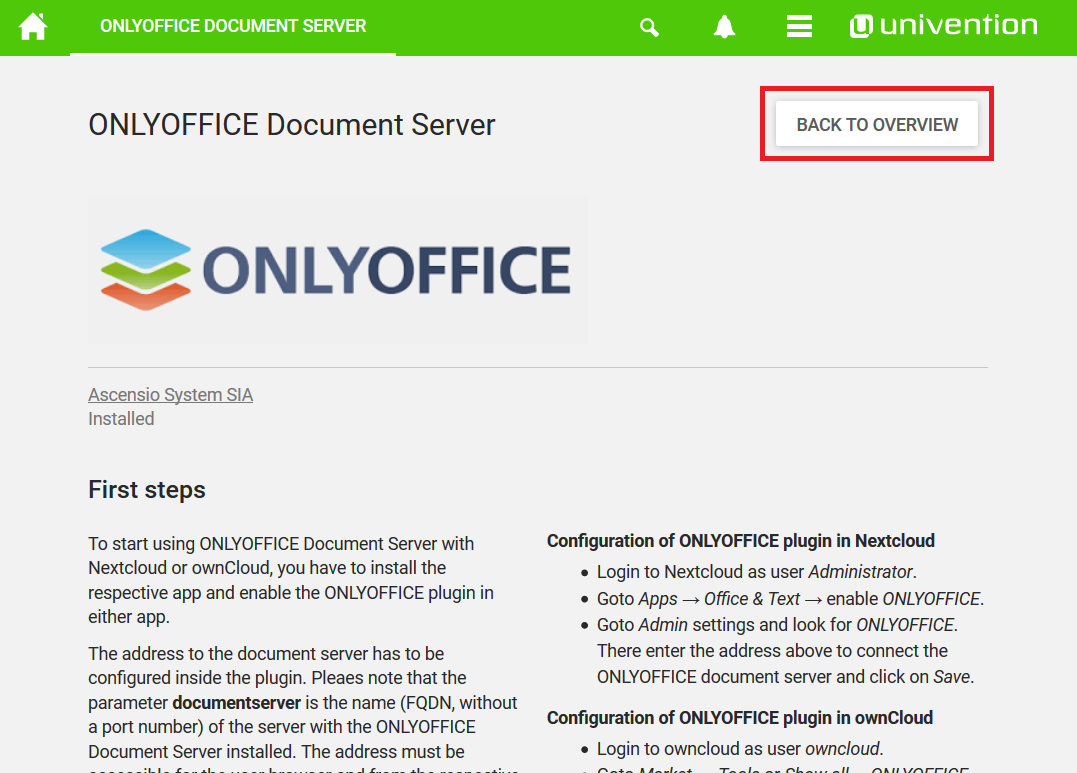
After the installation is complete, return to the Appcenter overview
-
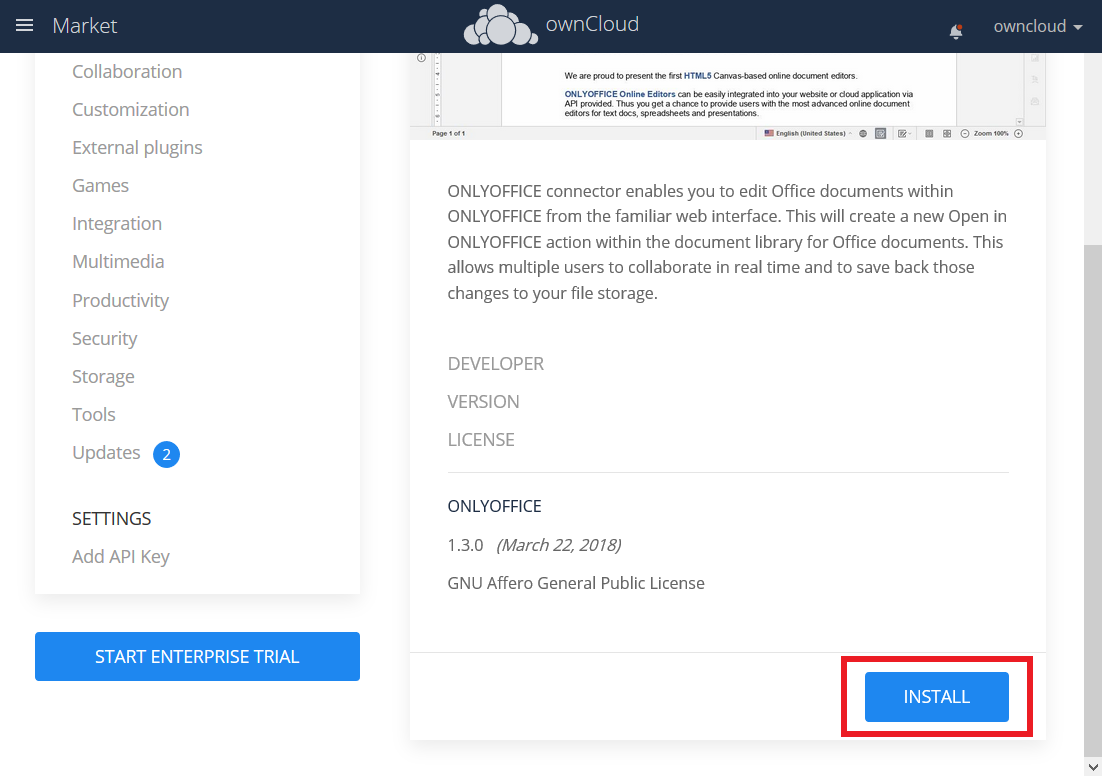
Install the ownCloud OnlyOffice connector App
-
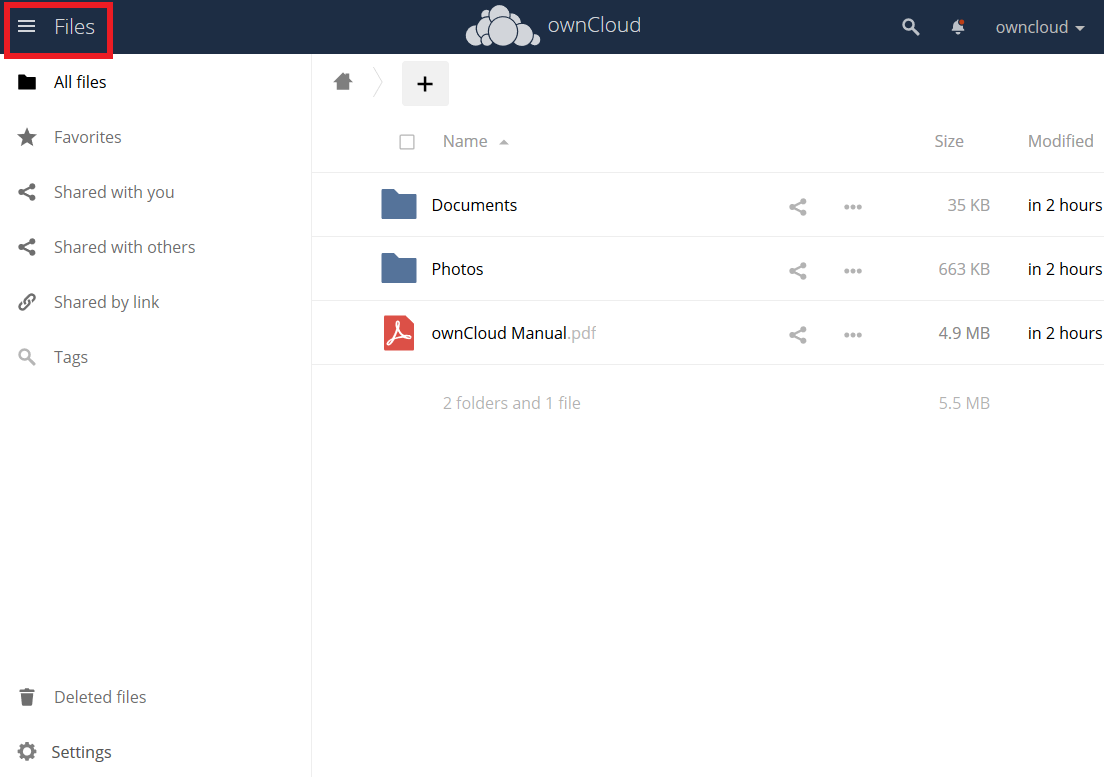
Go to ownCloud
-
Username and Password are owncloud
-
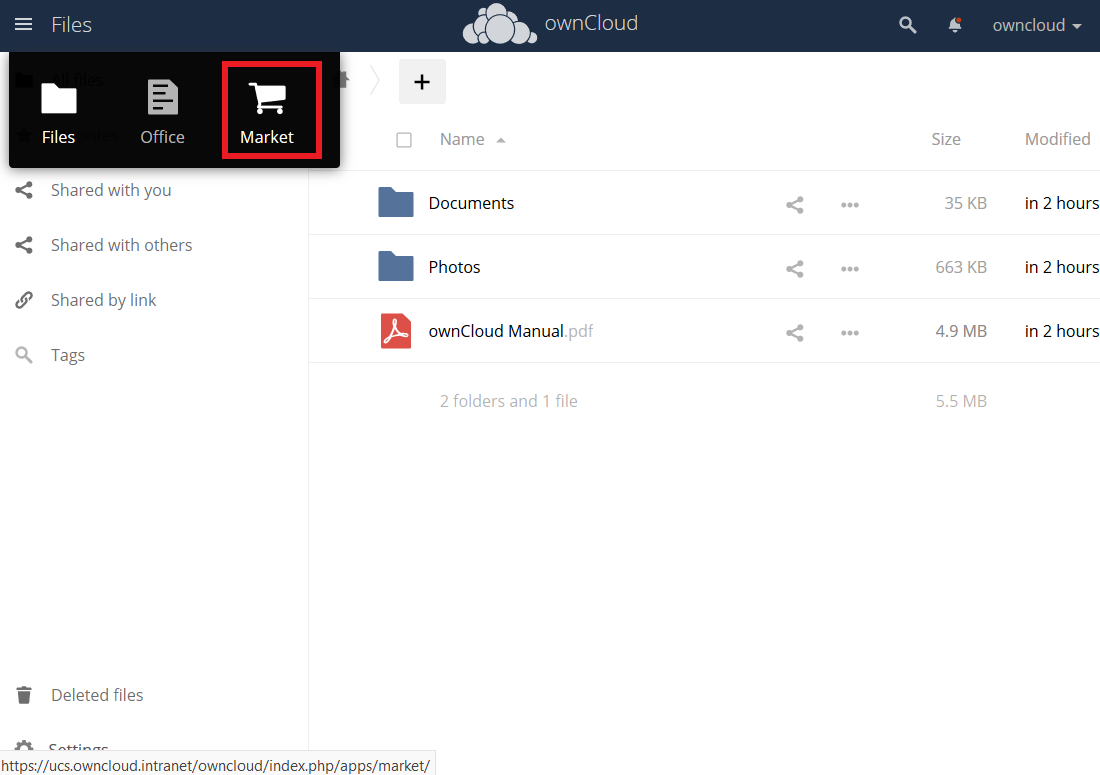
Market
-
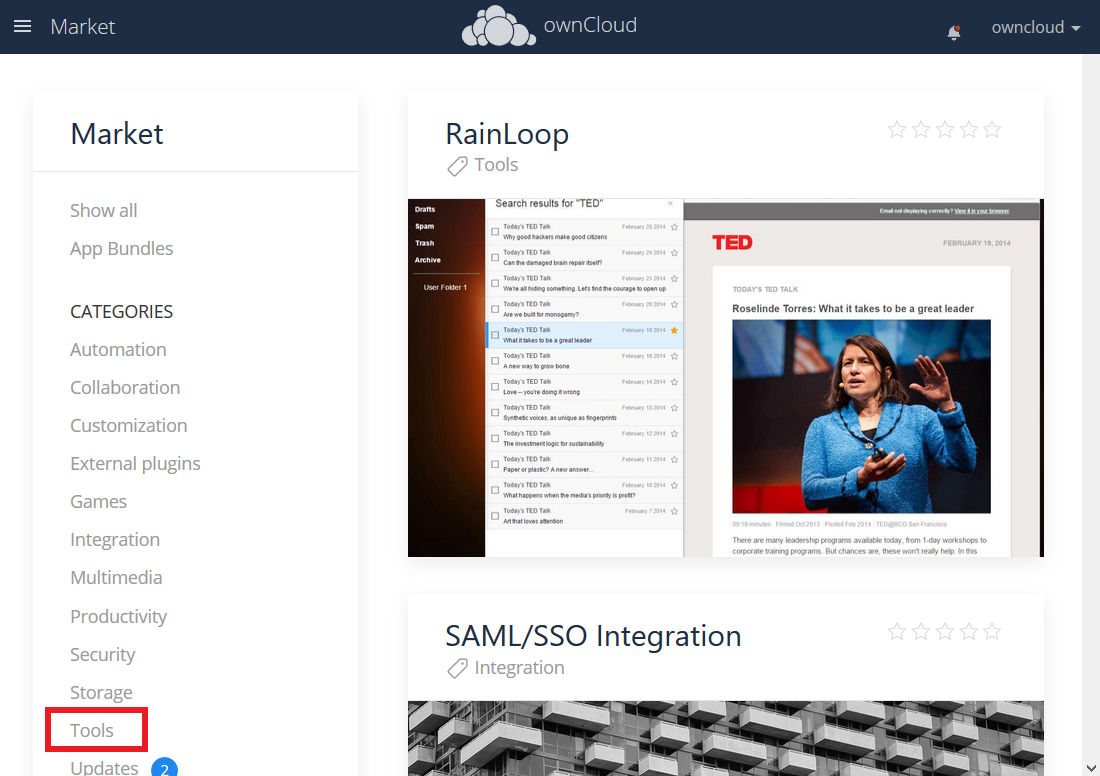
Tools
-
Install OnlyOffice
-
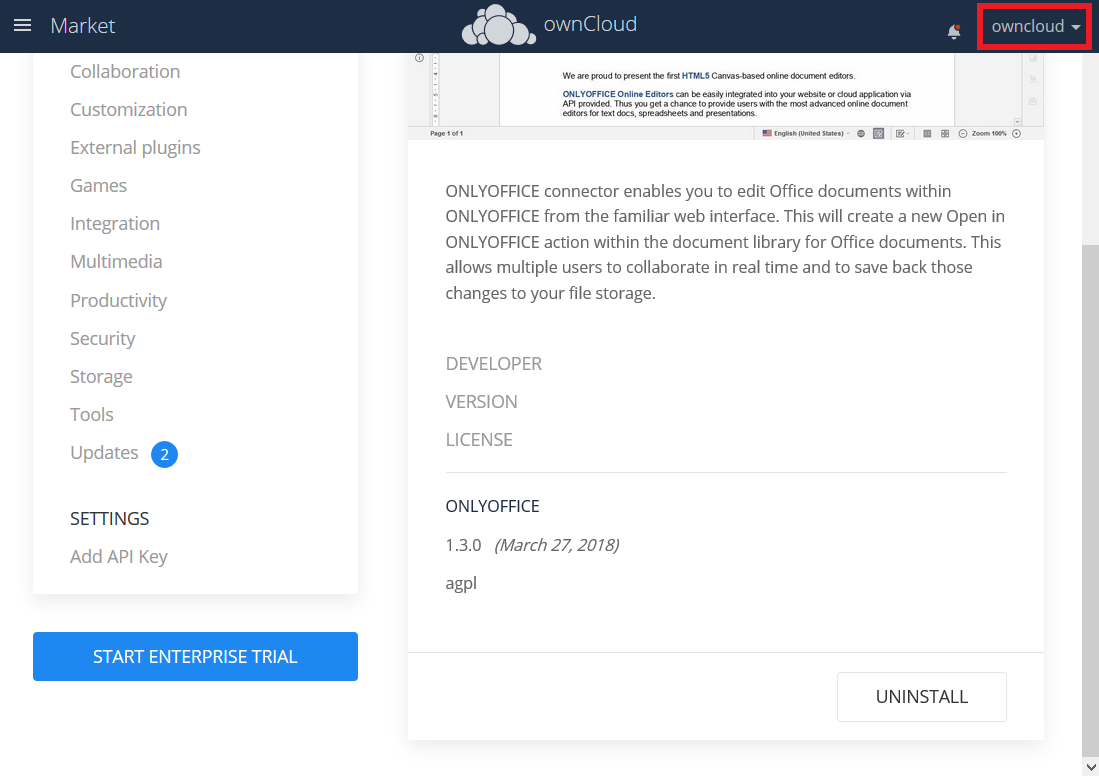
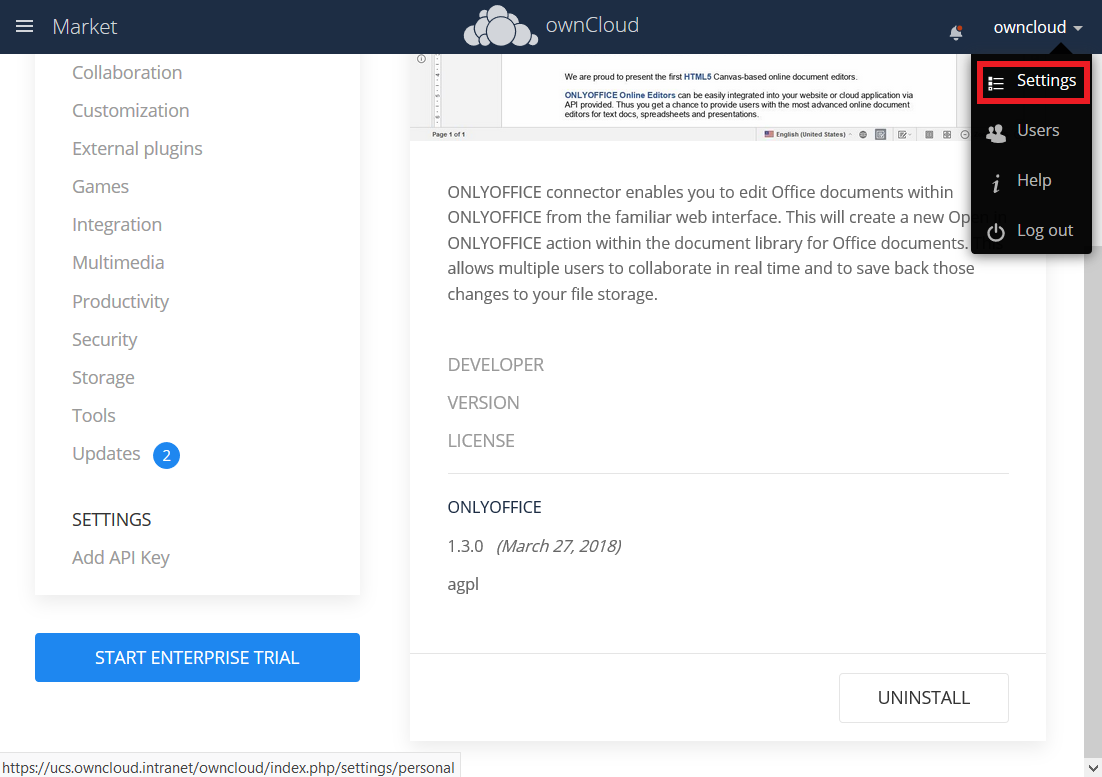
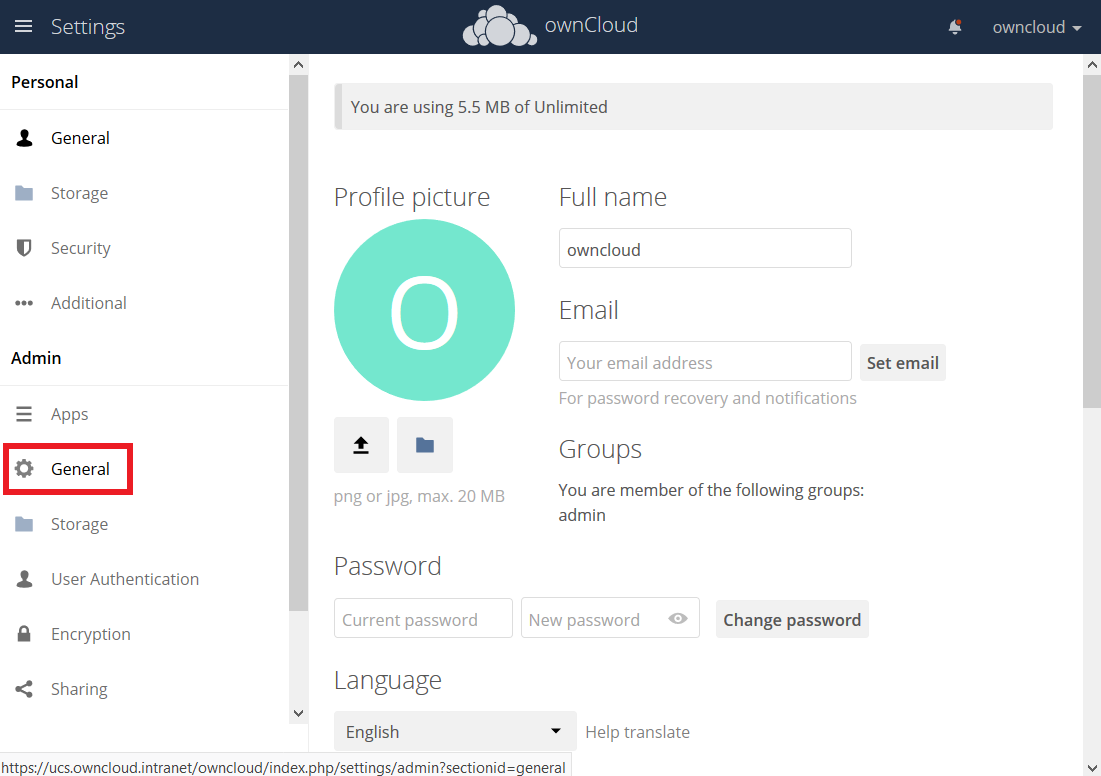
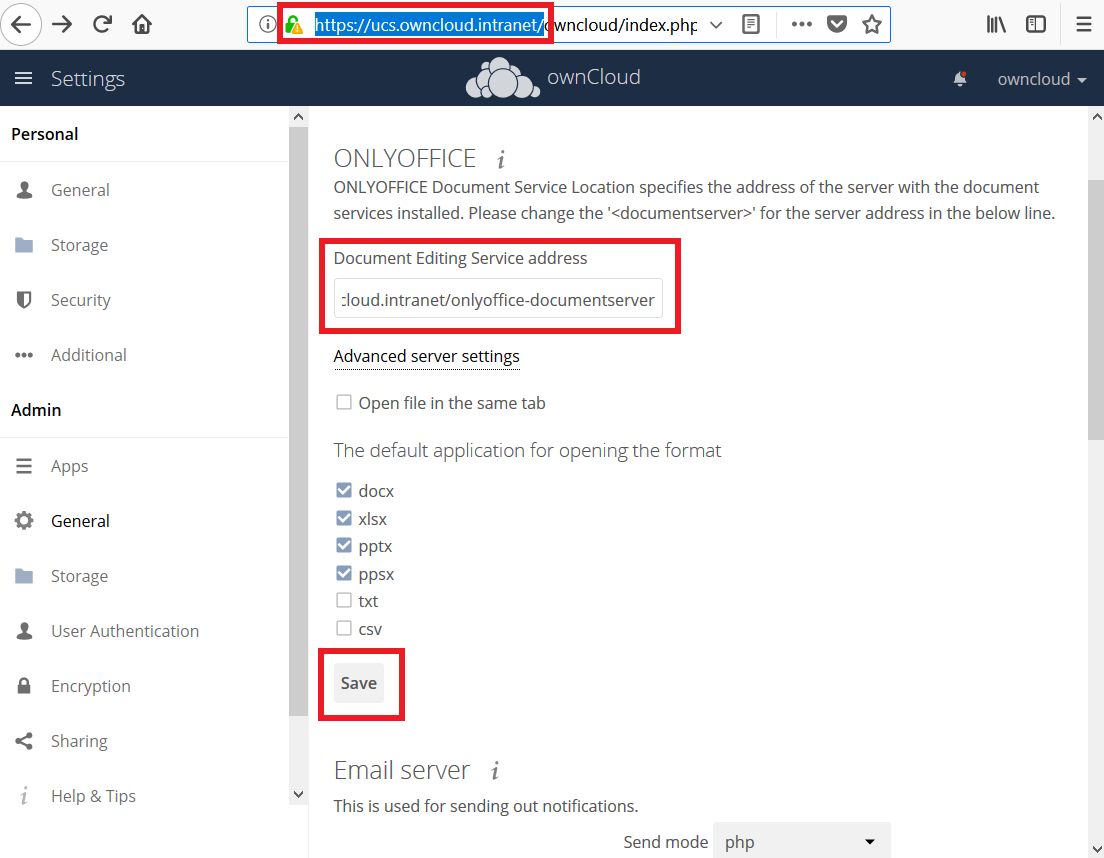
Go to the OnlyOffice settings inside ownCloud.
-
Enter the OnlyOffice server address in the following format and save it:
https://<your-domain-name>/onlyoffice-documentserver/
-
Now you can create a new document by clicking on the Plus button.
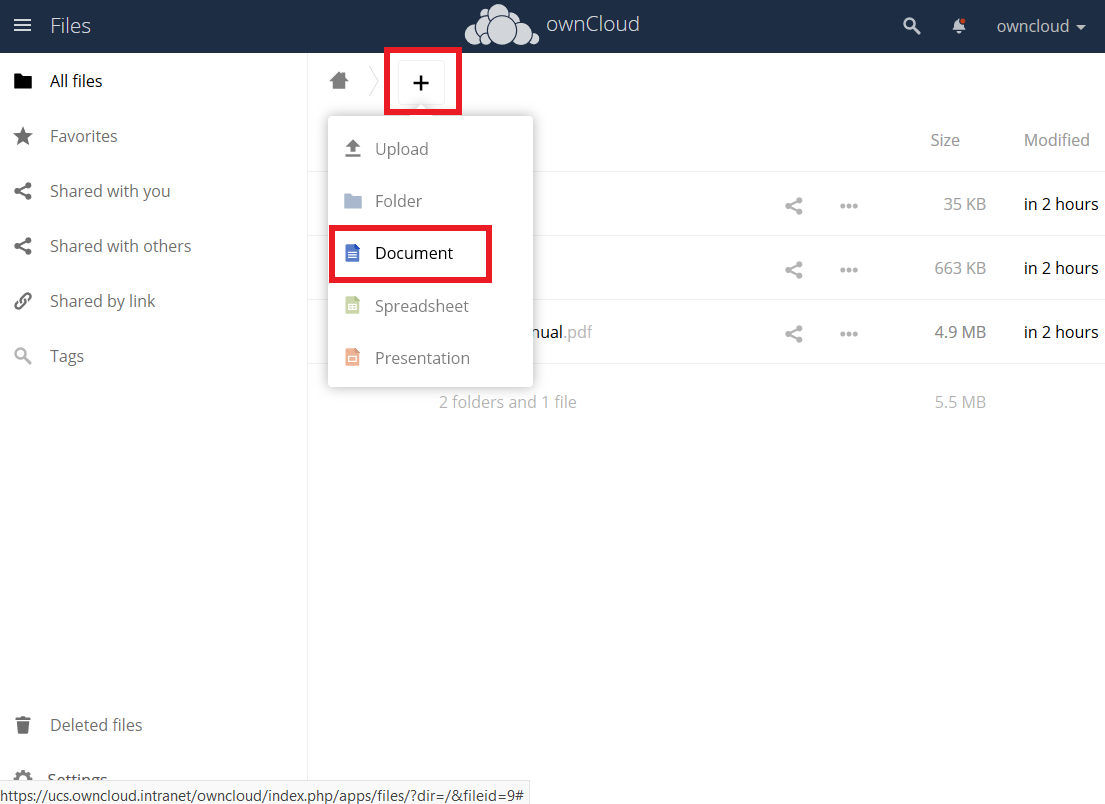
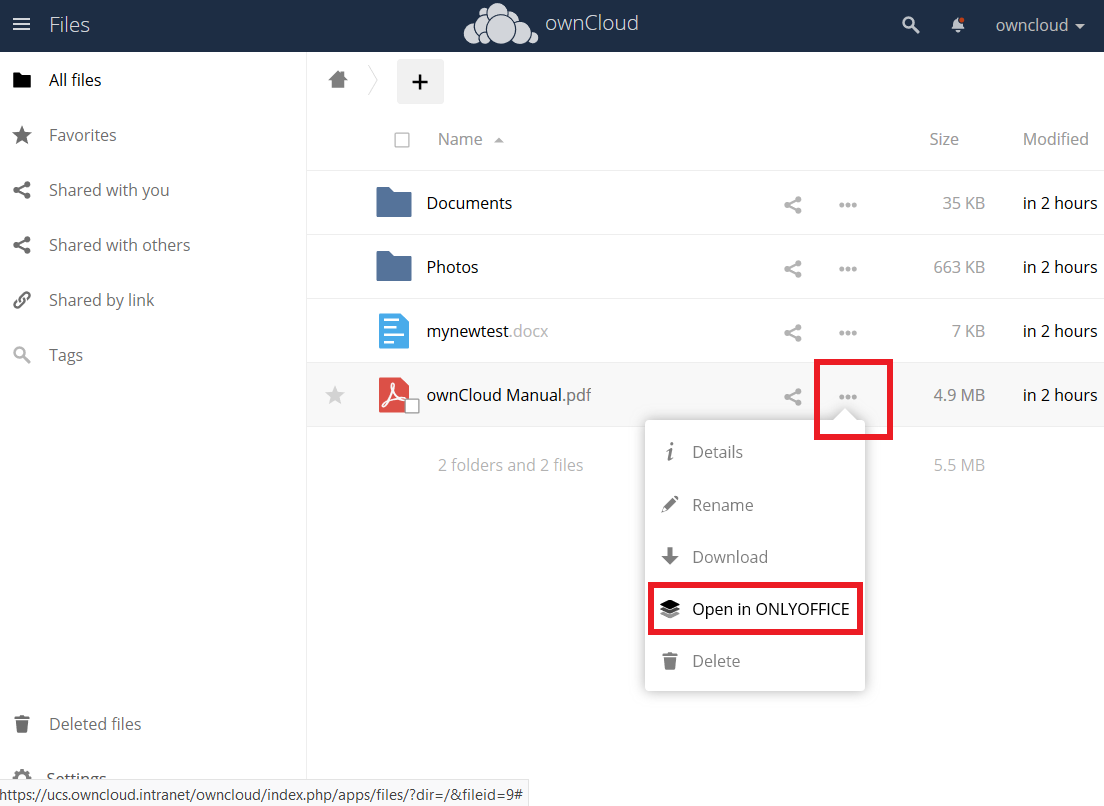
PDF documents can also be viewed in OnlyOffice
Updating
When a new App release is available you should update the Office App. Here are the required steps:
-
Select Software update
-
Check if an Update is available
-
Select on the App name
-
Upgrade the App
ONLYOFFICE Enterprise Edition
If you purchased the ONLYOFFICE Enterprise Edition and received the license.lic file, you need to import it:
/var/lib/univention-appcenter/apps/onlyoffice-ie/Data/license.licNow your ONLYOFFICE instance is registered and you have access to the enterprise features.
Additional information can be found in the ONLYOFFICE Documentation
Troubleshooting
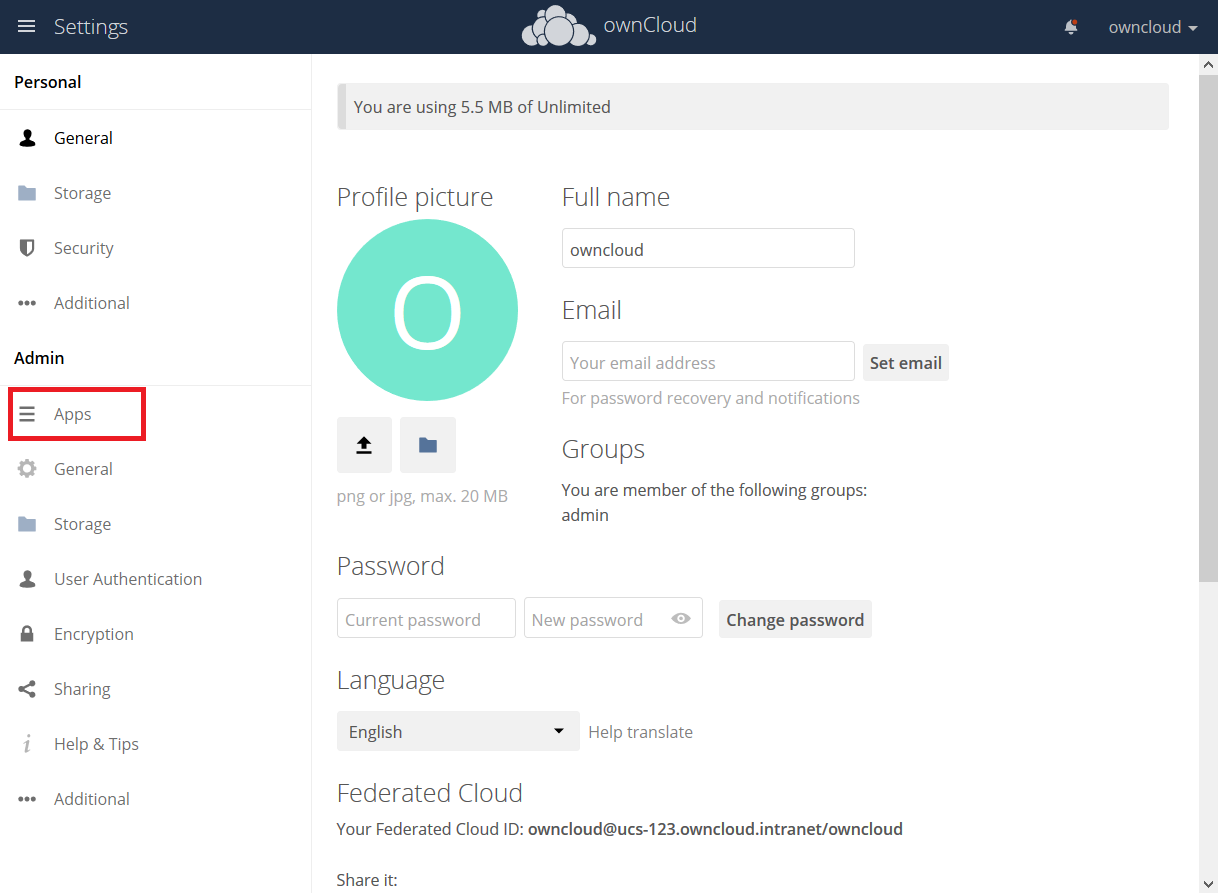
If you are not able to open documents: Check the defined Collabora Online Server in your ownCloud settings by navigating to (Settings > Admin > Additional > Collabora-Online) and make sure that the server address is configured correctly. It should be configured with the domain name of your appliance. If you find localhost:port being configured, remove it and replace it with the domain name of your appliance without any port.